DIY Diamond Art: Can I Make My Own Diamond Painting Masterpiece?
Can I make my own diamond painting masterpiece? Yes, you can! Diamond painting is an alluring craft that’s both addictive and deeply satisfying. Haven’t you ever felt the urge to branch out from pre-made kits and create a customized masterpiece of your own? As a fellow DIY enthusiast who loves getting hands-on, I can relate to this creative itch.
After countless cups of late-night coffee, hours poured into trial and error, not to mention an extensive deep-dive research journey – I’ve finally managed to put together a detailed guide aimed at helping you handcraft your own shiny work-of-art right in the cozy comfort of your home.
Sounds tempting, doesn’t it? So come on then; let’s embark on this sparkling adventure together!
Key Takeaways
- Diamond painting is a craft that allows DIY enthusiasts to create their own personalized artwork at home.
- Creating a grid using Photoshop is an important step in making your own diamond painting, as it helps with accurate placement and design.
- Resizing the image, choosing the right dimensions, and adding a grid pattern are key steps in creating your own diamond painting using Photoshop.
- Assembling your diamond painting involves printing the image onto canvas and carefully gluing each diamond drill onto the corresponding symbol on the canvas.
Creating the Grid with Photoshop

To create the grid for your diamond painting, start by setting up the canvas in Photoshop and then draw the grid lines using the program’s tools.
Setting up the canvas
First, let me tell you how to set up the canvas for diamond painting.
- Find a quiet, clean spot where you can work without getting disturbed.
- Place a large table or desk in this spot.
- Now, take your adhesive canvas and place it on the table.
- Flatten it out so there are no bumps or folds.
- Make sure it is straight and smooth before you begin drawing on it.
- This setup will help make your diamond painting look neat and beautiful.
Drawing the grid lines
First, let’s talk about how to draw grid lines for your diamond painting. This step is key in making sure your design turns out right.
- Open Photoshop on your computer.
- Click on “File” and then “New” to start a new project.
- Select the size you need for your canvas.
- Look for the “View” menu at the top of the screen.
- Click on it, and you will see an option called “Show.”
- In the “Show” menu, you will find “Grid.” Click to turn it on.
- Now, go back to the “View” menu again.
- Find an option called “Snap To.” Make sure it is turned on as well.
- Grid spacing and visibility can be changed in Photoshop too.
- This helps match the size of diamonds you have for your painting.
Creating Your Own Diamond Painting with Photoshop
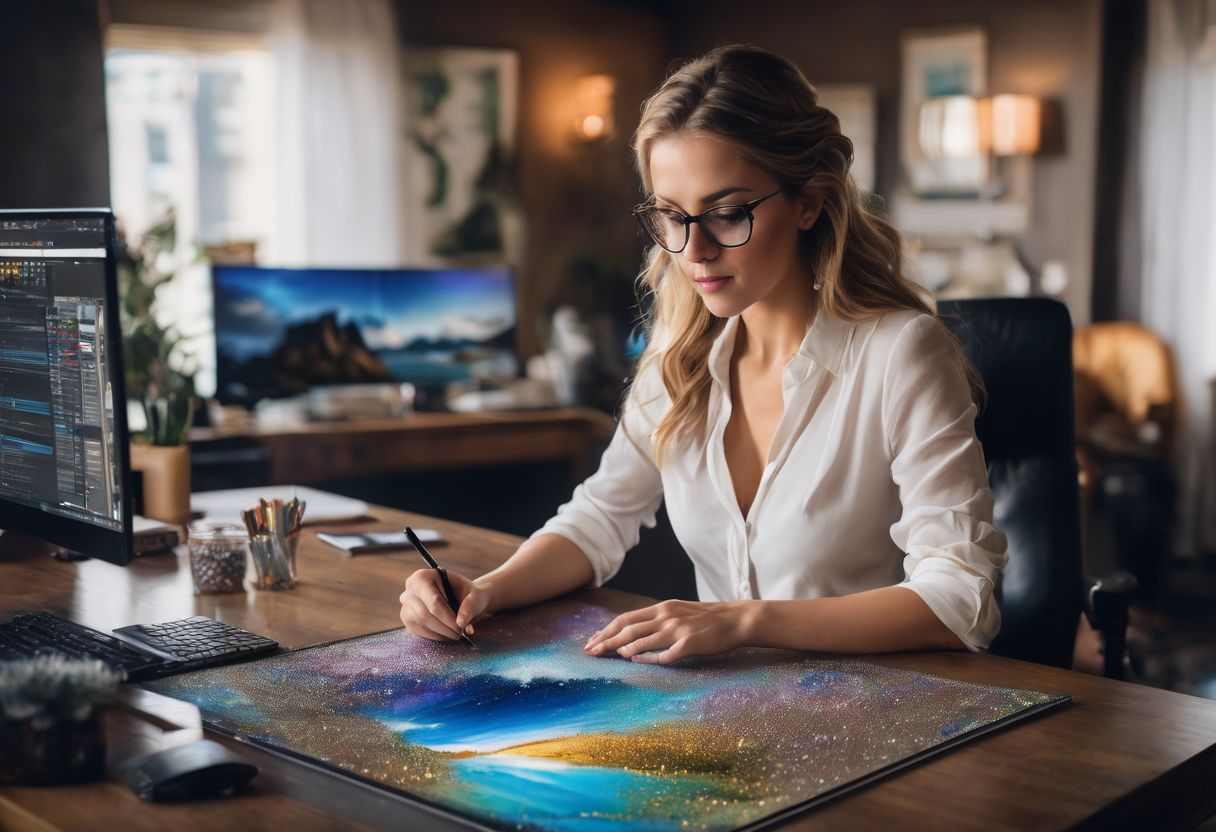
In this step, we will guide you through the process of creating your own diamond painting using Photoshop. Choose the dimensions for your canvas and resize your image accordingly. Then, add the grid pattern to ensure accurate placement of the diamond drills.
Choosing the dimensions
I am going to talk about how to pick the right size for your diamond painting. Picking the right size is one of the first things to do.
- Open a new file in Photoshop.
- Type in your desired size.
- I like using a square shape for my projects.
- Be sure you use a high – quality picture.
- It’s best if your image has at least 1000 pixels.
- You can find free patterns on apps or websites.
- Brands like Dotterly and Diamond Art Club have kits with everything.
- The kit makes picking a size easy and fun.
Resizing the image
When creating your own diamond painting with Photoshop, resizing the image is an important step. Here are some key points to keep in mind:
- Create a new file: Open the image in Photoshop and create a new file with the desired dimensions for your diamond painting.
- Enter dimensions: When creating the new file, enter the width and height that you want for your diamond painting. Make sure to match the size and orientation of your canvas.
- Maintain image clarity: Resizing an image can sometimes lead to a loss in clarity. To enhance clarity, use Photoshop’s image editing tools to adjust brightness, contrast, and sharpness.
- Ensure visibility of details: Diamond paintings require clear visibility of details. Zoom in on the resized image and check if all the small elements are still visible. Adjust as necessary.
- Save and export: Once you’re satisfied with the resized image, save it in a format suitable for printing or further editing. JPEG or PNG formats are commonly used for diamond paintings.
Adding the grid pattern
To create your own diamond painting, you will need to add a grid pattern to your artwork. Here are the steps:
- Open Photoshop and select the canvas size you want for your diamond painting.
- Draw evenly spaced horizontal and vertical lines to create a grid on your canvas.
- Make sure the grid lines are straight and evenly spaced.
- Use different colors or line styles for the horizontal and vertical lines to make them easier to follow.
Assembling Your Diamond Painting
To assemble your diamond painting, start by printing the image onto the canvas. Then, carefully glue each diamond drill onto the corresponding symbol on the canvas using a diamond painting pen and applicator gum.
Take your time and be precise to ensure that all of the drills are securely in place. Once you have finished gluing all of the drills, allow them to dry completely before displaying or framing your finished masterpiece.
Printing the image
To make your own diamond painting at home, it’s recommended to print out the design before starting the assembly process. This will help you keep track of the pattern as you place the diamond drills on the canvas. Here are some tips for printing the image:
- Use a high-quality printer: Ensure that your printer is capable of producing clear and detailed prints.
- Select the right paper: Choose a sturdy paper that can handle the weight of the diamond drills without tearing or wrinkling.
- Adjust the settings: Configure your printer settings to achieve optimal print quality. Adjust options like brightness, contrast, and color saturation if necessary.
- Print in sections: If your design is larger than a standard sheet of paper, consider printing it in sections and then assembling them together using clear tape or glue.
- Take care when handling: Once printed, be careful when handling the image to avoid smudging or damaging it. Place it in a clean and flat surface while you work on your diamond painting.
Gluing the diamond drills
To complete your diamond painting, you will need to glue the diamond drills onto the canvas. Here are the steps:
- Prepare your workspace: Find a clean and flat surface where you can comfortably work on your diamond painting.
- Lay out the drills: Open your kit and carefully pour out the diamond drills onto a tray or shallow container. Make sure they are organized and easy to access.
- Start with small sections: Begin by applying adhesive to a small section of the canvas, using poured adhesive for the best results. Poured adhesive is recommended because it allows for better coverage and ensures that all drills stick securely.
- Place the drills: Use your diamond painting pen or applicator tool to pick up one drill at a time, then press it firmly onto the corresponding symbol on the canvas. Repeat this process for each drill, working in small sections at a time.
- Apply gentle pressure: Once a section is complete, use gentle pressure to ensure that all drills are securely attached to the canvas. You can lightly roll over them with a rolling pin or use your hand to press them down evenly.
- Continue section by section: Repeat steps 3 to 5 until you have completed gluing all of the diamond drills onto the canvas.
Preparing Your Tools
To prepare your tools for diamond painting, gather a diamond painting pen, applicator gum, and diamond drills.
Diamond painting pen
The diamond painting pen is an essential tool for DIY enthusiasts who want to create their own sparkling diamond art. This pen is specifically designed to pick up diamond drills and place them onto the matching symbol on the canvas.
It usually comes with a comfort grip, making it easy to hold and use for long periods of time. The diamond painting pen also has different tips that can be used for various techniques, allowing you to achieve different effects in your artwork.
Whether you’re a beginner or an experienced artist, the diamond painting pen is a must-have tool for creating beautiful and shimmering diamond paintings at home.
Applicator gum
The applicator gum is an important tool when it comes to diamond painting. It helps the diamonds stick to the diamond pen securely, so they don’t fall off while you’re working on your project.
The gum is applied to the tip of the pen, which has a wax-filled end. This sticky adhesive allows for easy pickup and transferability of the diamonds onto the canvas. You’ll often find applicator gum included in diamond painting kits to make your crafting experience smoother and more enjoyable.
Diamond drills
Diamond drills are an essential tool for creating diamond paintings. These drills come in two shapes: round and square. Round drills have a diameter of about 2.8 mm, while square drills are popular among artisans for their complete look with no gaps between diamonds.
When working on your DIY diamond painting project, it’s important to use high-quality diamond drills to ensure precision drilling and a stunning final result. So, make sure you have these cutting tools handy when starting your artistic journey!
Craft-Ease Custom Diamond Painting
Craft-Ease offers a fantastic option for custom diamond painting. With their kits, you can create your own unique diamond painting at home. Craft-Ease provides a wide selection of styles, colors, artists, and themes to choose from.
Whether you want a colorful design or an artist-inspired piece, they have something for everyone.
What makes Craft-Ease’s diamond painting kits even better is that they are designed with beginners in mind. They provide all the necessary tools and materials to get started right away.
You don’t need any prior experience or artistic skills to enjoy this craft.
If you’re feeling extra creative, you can also order a custom diamond painting kit from Craft-Ease. Simply upload your own picture and select the size you want. It’s a great way to turn your favorite memories into stunning works of art.
With Craft-Ease’s custom diamond painting kits and their wide range of options, there’s no limit to what you can create! So why not give it a try and unleash your creativity today?
Earn with Craft-Ease
Craft-Ease offers an opportunity to earn money through their custom diamond painting service. If you don’t have time to create your own DIY project, you can become a Craft-Ease partner and start your own diamond painting business.
Don’t worry if you have no money or experience in starting a business, as Craft-Ease provides a 10-step guide that will help you get started. With this artistic venture, you can turn your passion for painting into a profitable source of income.
So why not seize the opportunity and join Craft-Ease to earn with ease?.
Sign up for Exclusive Offers and Inspiration
Sign up for exclusive offers and inspiration from Craft-Ease today! When you sign up, you’ll gain access to a variety of benefits that can enhance your DIY experience. By signing up, you’ll receive exclusive promotions, special deals, and unique discounts on diamond painting kits.
These limited-time offers will allow you to save money while still enjoying the creative process.
In addition to great savings, signing up for exclusive offers also means gaining access to inspirational content. You’ll receive DIY project ideas and creative inspiration straight to your inbox.
Whether you’re a seasoned DIY enthusiast or just starting out, these ideas can help spark your creativity and take your diamond painting skills to the next level.
Don’t miss out on these incredible opportunities! Sign up today and start receiving exclusive discounts, inspiring content, and amazing project ideas from Craft-Ease. Join our community of DIY enthusiasts who are passionate about creating beautiful art with diamond painting.
Finding Craft-Ease
Craft-Ease is the perfect place to find DIY painting kits for all your artistic creations. They offer a wide range of painting projects, from paint by numbers sets to diamond art kits.
The designs are colorful and diverse, with themes inspired by different artists and styles. Whether you’re looking to relax with a creative hobby or create beautiful artworks, Craft-Ease has something for everyone.
One of the great things about Craft-Ease is that they make it easy to find exactly what you’re looking for. Their website allows you to search for themebased artworks or browse through their collection of kits.
With so many options available, you’re sure to find something that sparks your creativity.
So if you’re ready to start your next painting project, head over to Craft-Ease and find the perfect kit for you. You’ll be amazed at what you can create with their help!
Conclusion
In conclusion, making your own diamond painting at home is a fun and creative DIY project. With the step-by-step guide provided, even beginners can easily create their own personalized diamond artwork.
So grab your diamond painting kit and get started on your masterpiece today!
FAQs
1. What is diamond painting?
Diamond painting is a craft that involves placing tiny resin diamonds on a canvas to create colorful and sparkling designs.
2. Can I make my own diamond painting at home?
Yes, you can make your own diamond painting at home by purchasing a kit that includes the necessary materials and following a step-by-step guide.
3. What materials do I need for diamond painting?
For diamond painting, you will need a canvas with adhesive, small resin diamonds (also known as drills), a tray to hold the diamonds, tweezers or an applicator tool, and wax or glue to pick up the diamonds.
4. How long does it take to complete a diamond painting?
The time it takes to complete a diamond painting depends on factors such as the size of the canvas and level of detail in the design. It can range from several hours to several weeks.
5. Is diamond painting suitable for beginners?
Yes, diamond painting is suitable for beginners as it requires no prior artistic skills. The process is straightforward and can be enjoyed by anyone who wants to create beautiful artwork with shiny gem-like accents.


