What is the difference between whitewashing and pickling?
Transforming your wood pieces takes more than just slapping on a coat of paint; it’s about choosing the right finish to achieve that perfect vibe. Whitewashing and pickling are two popular methods, each breathing its own distinct life into wood.
Our blog post will guide you through these techniques, helping you decide which path to take for that ideal aged or luminous look. Ready to find out? Let’s dive in!
Differences Between Whitewashing and Pickling
Diving into the world of wood finishes, you’ll soon discover that even though whitewashing and pickling might seem similar at a glance, they each bring a unique character to your timber treasures.Embracing these techniques can transform plain wood into stunning statement pieces—let’s explore how their distinct processes and aesthetics set them apart like day and night.
Visual Differences
Whitewashing and pickling both let the natural wood grain peek through, but they shine in their own ways. A whitewash stain gifts wood a delicate, rustic vibe with its pale, muted tones that whisper of tradition and simplicity.
It’s like giving your furniture a soft white veil that enhances without hiding.
Pickled wood finishes stand out more boldly. They carry a bright, vintage appeal as if each piece holds stories from the past. The technique lightens the wood while celebrating its lines and patterns—creating pieces that look seasoned with history yet fresh and modern at the same time.
Using these techniques turns ordinary wood into conversation pieces, each with its distinct personality shining through every swirl and knot of the grain.
Application Differences
Applying whitewash or pickling stain to wood changes its look and feel. Let’s explore how these application processes differ:
- Whitewash uses various techniques such as dry brushing, basic painting, or a combination with sanding. These methods let the wood grain show through.
- To apply whitewash, you need a watery paint mixture. Brush it on the wood, then wipe off excess for a lighter finish.
- Pickling starts with applying a pre – stain conditioner to prevent blotchiness. This helps the pickling stain absorb evenly.
- After conditioning, you brush on a thick coat of pickling stain. Unlike whitewashing, you don’t wipe it away immediately.
- For sealing whitewashed wood, using a clear sealer is common. It protects the color without hiding the grain.
- Sealing pickled finishes often requires a polyurethane topcoat. This seals in the white hue and provides long-lasting protection.
Longevity and Maintenance Differences
Limewash, used in whitewashing, stands up to the test of time. It’s known for lasting years without needing a touch-up. This makes whitewashed wood a champion for low-maintenance lifestyles.
For busy families or those who want style without constant care, it’s perfect.
Pickled finishes require more attention to keep them looking fresh. Over time, they may need resealing to protect against wear and tear. They offer beauty and lightness but come with the commitment of upkeep.
Stainless steel tools can help apply sealants smoothly on pickled wood surfaces, ensuring longer life and better protection from daily use.
Understanding Whitewashing
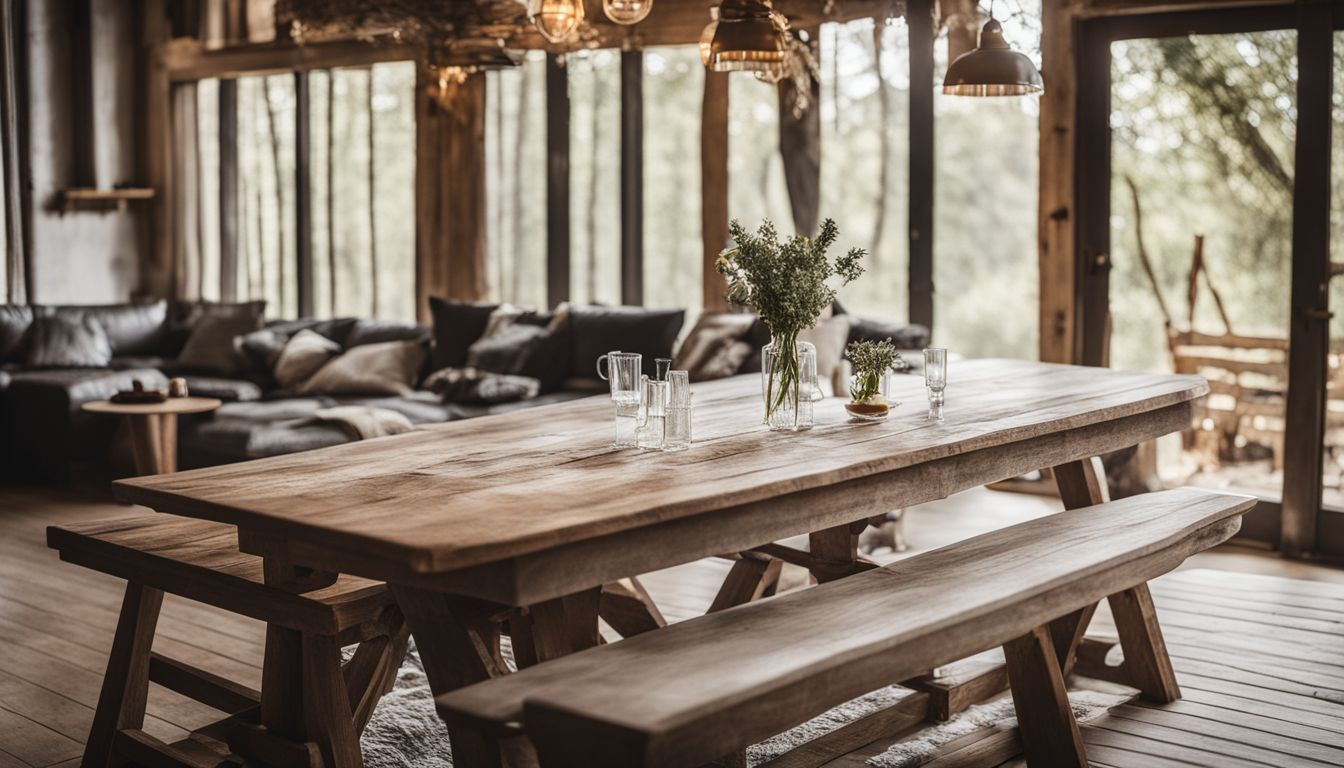
Whitewashing breathes new life into wood, offering a lighter touch compared to traditional painting—a subtle charm that enhances without overpowering. It’s about striking that perfect balance, allowing the wood’s natural grain to whisper through a soft veil of white.
What is Whitewash?
Whitewash is a type of wood finish that lets you see the natural patterns in wood. It uses a thin, white paint mixture that often includes ingredients like limewash or plaster of paris.
This technique brightens up wooden furniture or walls while keeping the beautiful lines and swirls visible. Unlike heavy paints, whitewash adds just a hint of color and can create an airy, laid-back feel in any room.
You apply whitewash stain by brushing it on and then wiping off the excess to reveal the wood grain beneath. It’s important to know that even though it looks good, whitewashing doesn’t protect your pieces from scratches or spills.
Sealing isn’t needed for the look but if you want more protection, adding a clear sealer could be helpful. Yet this might change how your project looks, so think about what you want before sealing.
How Do You Apply Whitewash Stain?
Understanding what whitewash is sets the stage for learning how to apply it. Now let’s get into the steps of transforming your wood with this unique finish:
- Prepare your workspace by laying down drop cloths or newspapers to catch any drips.
- Start with clean wood. Remove any dirt or grease that might be on the surface.
- Sand the wood lightly using fine grit sandpaper. This helps the stain stick better.
- Stir your whitewash stain well to mix any settled particles.
- With a brush, apply the whitewash in long strokes, following the wood grain.
- Work in small sections so the stain doesn’t dry before you wipe it off.
- After a few minutes, use a rag to wipe away excess stain; this reveals more grain.
- Let each section dry before moving on to the next one.
- Check for missed spots and touch them up with more stain if needed.
- Allow everything to dry thoroughly—usually overnight.
Do You Need to Seal Whitewash Stained Pieces?
Once you’ve applied the whitewash stain, sealing is your next step. Sealing whitewashed wood gives it a protective layer to keep the color locked in and safe from damage. This means spills, stains, and scratches won’t ruin your hard work.
For furniture and décor that will be used often or stay outside, like decks or fences, a good sealant is vital. Choose between various finishes such as shellac or lacquer to add durability to your pieces.
Remember to let the whitewash dry completely before you start sealing. This usually takes at least 24 hours. Then grab a clean brush and apply the sealant in thin coats for best results.
Each coat should dry fully before adding another one—this way; you get a smooth finish without any bumps or bubbles. Now your stained wood has an extra shield against wear and tear!
Is Whitewashing Easier Than Painting??

Whitewashing can be a breeze compared to painting. You don’t need as many coats, and it’s more forgiving if you make a mistake. Just mix water with your white paint, apply it over the wood, then wipe away the excess.
No stress about perfect coverage—whitewash is all about that rustic charm.
To get started, choose your sandpaper grit wisely; coarse grits prep the surface well for whitewash to stick. And there’s no need to seal it right after—you can leave that natural finish be, or decide later on sealing based on wear and tear.
Now let’s look into what pickling is all about.
Understanding Pickling
Dive into the art of pickling wood, an age-old technique that breathes new life into your timeworn treasures—keep reading to unlock a world where even the most subdued grain patterns can emerge with a delicate, antique charm.
What is a Pickled Wood Finish?
A pickled wood finish, also known as liming, is a technique to lighten dark woods. It gives your furniture or paneling a washed-out look while still highlighting the natural grain patterns.
While you might think of cucumbers when you hear “pickling,” it’s quite different for wood! This method can transform older, darker pieces or brighten up newer ones like pine or birch.
To get that trendy, faded patina on wood finishes with this technique is straightforward. First, you sand down your piece with fine sandpaper grits to prepare the surface. Then apply a mixture that typically includes lime and water to create that distinctive white tinted effect.
Unlike paint which just coats the top layer, pickling soaks in and reacts with the wood fibers—allowing you to see all those unique lines and swirls in hardwoods beneath. It’s perfect for giving any room an airy feel by modernizing old paneling without hiding its character under heavy paint layers.
How do you Make Wood Look Pickled?
Making wood look pickled gives it a light, fresh appearance. This process brightens the natural grain and adds a subtle white hue.
- Start with clean, sanded wood. Remove any old finish or dirt for the best results.
- Mix your pickling solution. Use a pre-made pickling stain or create your own by thinning white paint with water.
- Apply the mixture across the wood’s grain. This allows the color to penetrate deep into the pores, especially in hardwoods like oak.
- Wipe away excess stain. Do this before it dries to get an even, translucent look.
- Let it soak into the pores of the wood. Give it time to seep in and highlight the natural patterns of the grain.
- Sand lightly once dry. This step is important for a smooth, finished look.
- Protect your work with a clear sealer. Sealant keeps your pickled finish looking great over time.
How do you Seal Pickled Wood?
Once the wood has that perfect pickled look, sealing it is the next step to protect your work. You can seal pickled wood by using a mixture of white latex primer-sealer and water. Paint this mix onto the wood.
This seals the grain and locks in that soft, whitewashed finish. Sealed pickled wood looks great and lasts longer.
You’ll find all you need for this at your local hardware store – they usually have a range of stains and sealers. When applying sealer, use even strokes with a brush or rag for best results.
After it dries, your pickled wood will stand up better against wear and moisture while keeping its unique charm.
Conclusion
Whitewashing and pickling both lighten wood for a unique look, but they’re not twins. Whitewash creates a subtle charm, letting wood’s lines peek through. Pickle finish? Think bright and beachy, like driftwood under the sun.
Your choice hinges on whether you want rustic whispers or vibrant stories from your woodwork. Each technique has its own magic—pick the spell that suits your style!
Wondering about the ease of whitewashing compared to painting? Discover more in our detailed discussion on whitewashing versus painting.
FAQs
1. Can you explain the main difference between whitewashing and pickling wood?
Certainly! Whitewashing is a technique where you apply a watered-down paint solution to wood, giving it a faded, white appearance while still showing the grain. Pickling, on the other hand, uses a similar process but with a clear or lightly tinted stain that soaks into the wood for more of an antique finish.
2. What kind of look will I get if I choose whitewashing?
Whitewashing gives your wood this charmingly weathered vibe – like it’s spent years basking in the sun at some cozy beach house. It’s perfect when you want to add brightness without hiding those unique wood patterns.
3. Will my furniture last long if I decide to pickle the wood?
Absolutely – pickling isn’t just about style; it also serves up protection! This method seals your precious pieces against wear and tear, keeping them fresh and sturdy for years ahead.
4. Is one method easier than the other for beginners?
Both are pretty straightforward – with whitewashing, think painting with an airy touch; whereas, pickling feels more like applying nail polish smoothly over each groove and detail of your wooden treasure.


