Whitewash vs Chalk Paint: Which is best for your project?
Have you ever stood in front of an old piece of furniture, wondering how to give it new life without losing its character? Whitewash and chalk paint are two popular options for transforming home decor.
This blog post will dive into the differences between these finishes so that you can choose the perfect one for your project. Get ready to make your furniture shine!
Understanding Whitewash and Chalk Paint
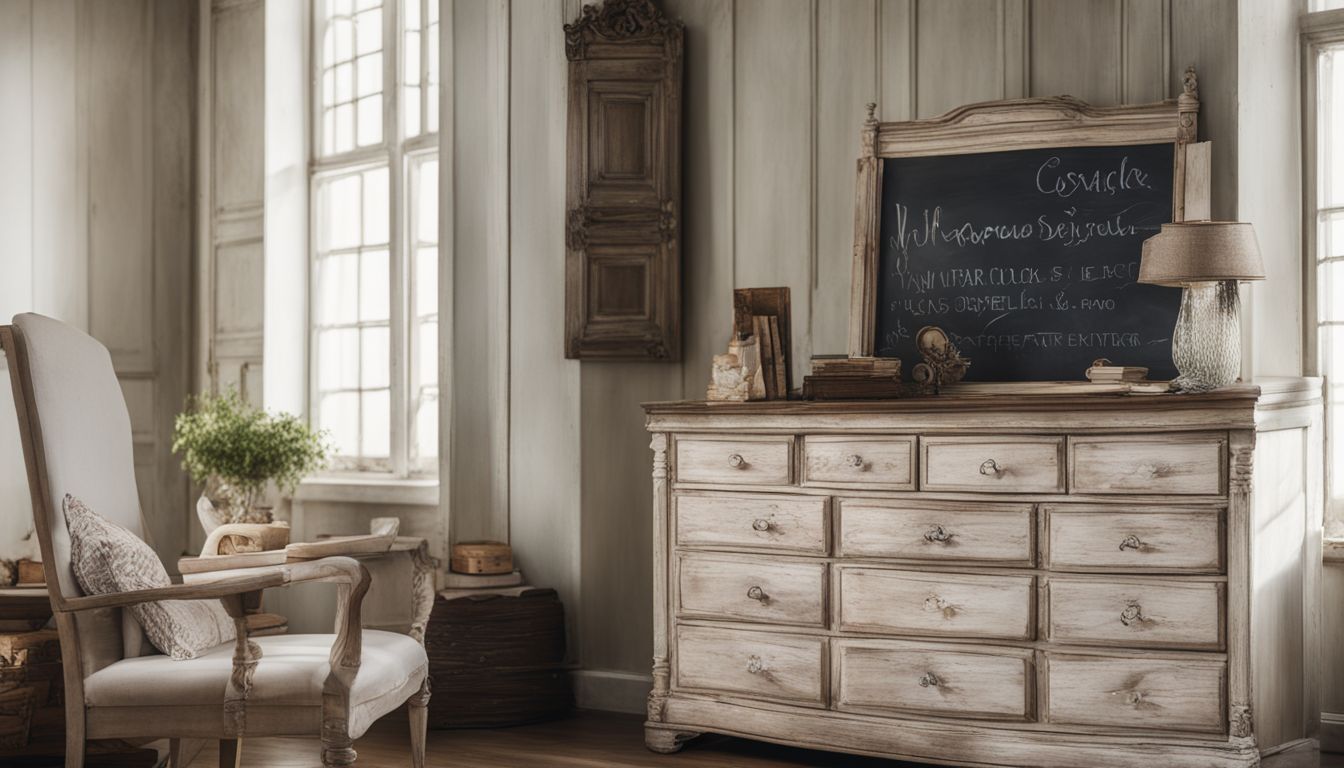
Dive into the world of transformative wood finishes where whitewash and chalk paint reign supreme—each harboring its own unique charm that can elevate your furniture from ordinary to outstanding.
Let’s unravel the mysteries behind these popular painting techniques, distinguishing their characteristics and unveiling how they can turn any drab piece into a statement of style.
Definition of Whitewash
Whitewash is a type of paint made from slaked lime or chalk and water. People use it to give surfaces a bright, white finish. It’s often seen on fences, brick walls, and wood surfaces.
Whitewashing lets the natural textures and grains of the wood show through while coating the surface lightly.
This kind of paint has been around for ages. Folks like it because it’s natural and doesn’t have chemicals that harm the environment. Plus, whitewash can breathe, meaning moisture isn’t trapped beneath it—this keeps mold away from your beautiful wood pieces!
Definition of Chalk Paint
Chalk paint gives your furniture a vintage charm with its matte finish. It sticks to almost any surface without the need for primer or sanding. This type of paint is perfect for crafting a rustic look on wood, metal, and even fabric.
Its thick consistency makes it easy to control, which is great for beginners. You don’t need lots of coats either; often one or two will do the trick.
Once you’ve painted with chalk paint, you can add character with white wax or distressing techniques. The result is a piece that feels like an antique find! Now let’s explore how texture and finish differ between whitewash and chalk paint.
Key Differences Between Whitewash and Chalk Paint
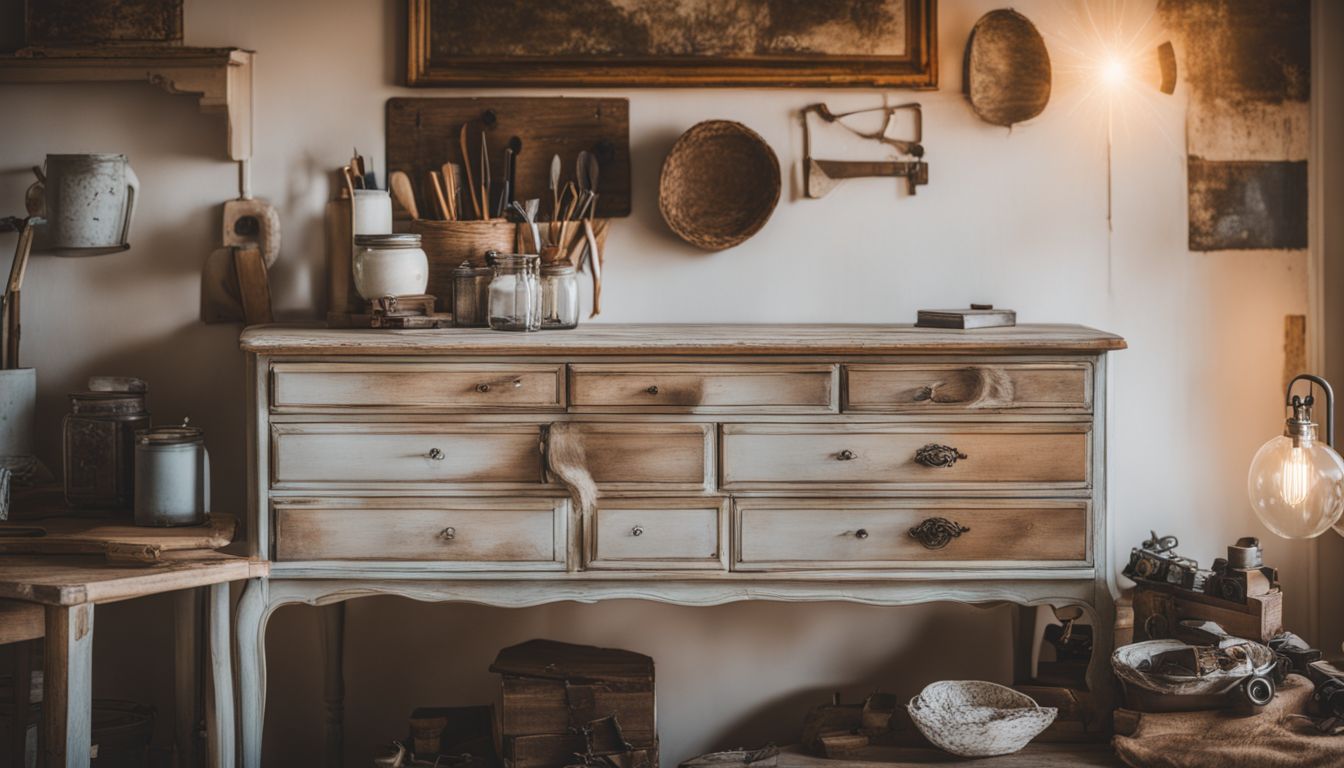
When we peel back the layers, whitewash and chalk paint may seem like cousins in the world of furniture revamping, yet they hold their unique secrets. To truly master your next DIY project or to give that old dresser a new lease on life, understanding these differences is key—let’s dive into texture, application, and how each finish will live with you day by day.
Texture and Finish
Whitewash paint gives wood grain a subtle, washed-out look. It’s perfect for creating that Shabby Chic style many people love. Imagine running your hand over a piece of whitewashed wood and feeling the slight roughness, where the paint highlights the natural patterns in the wood.
Chalk paint offers something different with its velvety matte finish. Its thick consistency means you can see brush strokes after it dries, adding character to any piece of furniture.
You get that vintage vibe without too much work—just apply chalk paint and watch as it transforms old furniture into something beautiful and full of history!
Application Process
Putting on whitewash is like giving your walls or furniture a makeover. First, mix up your whitewash solution using water and lime—if you want extra sticking power, add a bit of salt.
Grab a brush and apply it over the wood in even strokes for that perfect rustic look. You can change how thick or thin the coat is just by adding more water or less to the mixture.
For chalk paint, start with clean surfaces—wipe down that old dresser and make sure it’s dry. No primer needed; go straight to brushing on Annie Sloan’s magical paints for an ultra-matte finish.
Want some texture? Use quick, light strokes with a dry brush. Make it unique by sanding edges after painting for a worn feel or layer colors like an artist! Seal everything with clear wax using a lint-free cloth to keep that gorgeous new color safe and sound.
It’s all about having fun while creating something beautiful!
Durability and Maintenance
After learning how to apply whitewash and chalk paint, let’s talk about how long they last and how to take care of them. Chalk paint stands out for its tough nature. It holds up well over time and can handle some rough treatment.
You won’t have to worry too much about chips or scratches. In fact, a little wear often makes furniture with chalk paint look even better.
Whitewash is also strong, especially on different surfaces like wood and brick. Over time, it may need a new coat to keep its fresh look but generally doesn’t ask for much attention.
Both finishes are winners if you want something that lasts without constant touch-ups or fixes.
How to Apply Whitewash
Ready to give your wood a time-worn, naturally faded look? Applying whitewash is simpler than you might think – it’s all about that perfect mix and gentle strokes. This transformative coat breathes new life into furniture or walls with its unique, rustic charm, and I’m here to guide you through every brush of the way.
Let’s dive in and unlock the secrets of a successful whitewashing project!
Preparation of Surface
Preparing your surface is an important first step for whitewashing. You want a clean, smooth area to work on. Here’s how you can get started:
- Clear the wood of any dirt or debris with a damp cloth.
- Make sure the wood is completely dry before moving on.
- Strip away old paint or finish if it’s peeling or uneven.
- Fix any cracks or gaps in the wood with a wood filler.
- Sand the surface gently to create a little texture for better adhesion.
- Wipe off all sanding dust with a tack cloth.
- Check for any remaining rough spots and sand again if needed.
- Tape off areas you don’t want to whitewash using painter’s tape.
Mixing and Applying Whitewash
Mixing whitewash is easy and won’t hurt your wallet. You only need white water-based paint and plain water.
- Start with a clean bucket for mixing your whitewash.
- Pour equal parts of white water – based paint and water into the bucket.
- Stir the mixture well until you get a smooth and consistent texture.
- Use a wide paintbrush or a sponge for applying the whitewash to wood.
- Dip your brush or sponge into the mix, then squeeze out extra liquid.
- Brush onto the wood in long, even strokes, going with the grain.
- Apply more coats if you want a less see – through look.
- Let each coat dry completely before adding another one.
- Go for light layers rather than thick ones to avoid drips.
Can You Whitewash Over Painted Wood?
Yes, you can whitewash over painted wood. To create that classic white washed look on already painted surfaces, chalk paint works wonders. Chalk paint brings new life to furniture painting techniques.
Add equal parts of water to your DIY chalk paint for a perfect whitewash mix. With this 1:1 ratio, the paint becomes thin enough to spread easily over your piece.
For a smoother finish, apply this diluted mixture with long strokes using a brush or sponge. Cover the entire area and let it dry completely. The beauty of this method is its simplicity and ability to transform laminate or solid wood into something fresh and modern without stripping away old paints or stains.
Finishing and Sealing
After whitewashing over painted wood, the next step is finishing and sealing. This locks in your hard work and gives the wood a lasting, beautiful look. Here’s how to do it right:
- Let your whitewash dry completely before you start sealing. Waiting times may vary, so check after a couple of hours.
- Choose the right sealer for your project. For indoor furniture, use a clear, water – based polyurethane for protection without changing the color.
- If you’re working on outdoor items, pick a sealer that stands up to weather like an exterior – grade varnish.
- Stir your sealer gently to avoid creating bubbles. Bubbles can transfer to your surface and create an uneven finish.
- Use a clean brush or roller to apply thin layers of sealer over the whitewash. Start with light strokes to prevent drips or excess.
- Allow each layer to dry as recommended on the sealer’s instructions. Don’t rush this part – patience pays off!
- Sand lightly between coats with fine – grit sandpaper if you want a super smooth finish. Wipe away dust before adding another layer.
- Apply at least two coats of sealer for good coverage and durability. More layers add extra protection.
- Check your sealed surface in different lights to spot any missed spots or potential drip marks.
How to Use Chalk Paint
Diving into the world of chalk paint opens up a realm of creative possibilities, where even the most novice DIYer can transform mundane furniture pieces into works of art. It’s all about embracing that velvety matte finish and enjoying the simplicity with which this forgiving medium allows for personal expression and impressive makeovers.
Prepping the Area
First, clear the room. Make sure there’s plenty of space to work. Lay down drop cloths or old sheets to protect floors from drips and spills. Next, take a close look at the piece you’re painting.
Wipe it down with soapy water to remove any dirt or grease that might keep the chalk paint from sticking well.
Get rid of smells and treat woodworm if needed – this ensures your finish will last longer. If you notice rough spots or peeling paint, a light sanding can help smooth everything out before you start with the chalk paint.
But remember, sanding isn’t always necessary; chalk paint sticks well even without it!
Sanding (Optional)
Once the area is prepped, you might think about sanding. But here’s a great tip: with chalk paint, you can skip this step! Chalk paint clings to surfaces well, even if they’re not sanded first.
This is perfect for saving time and effort. You don’t need any special basecoats either. Just grab your brush and start painting!
Some people do like to sand their furniture lightly before using chalk paint. They want an extra smooth finish or aim to remove old bumps and scratches. If that sounds like you, go ahead and lightly sand the surface with fine-grit paper.
Then wipe away the dust, so your chalk paint goes on clean and smooth. Remember, it’s up to you – sanding is totally optional with chalk paint!
Painting and Customization
After smoothing the surface, it’s time to bring your furniture to life with color and creativity. Chalk paint allows you to transform old items with a unique, vintage look. Here’s how you can put your personal touch on furniture using chalk paint:
- Choose the right chalk paint: Pick a color that fits your style and room where the item will go.
- Gather your tools: Find brushes or rollers that work best for chalk paint. You might also want a rag or wax if you plan to distress the finish later.
- Start painting: Apply chalk paint in thin, even coats. Let each coat dry before adding another one.
- Distress if desired: Once the final coat is dry, use sandpaper to gently rub edges or surfaces where natural wear would occur.
- Seal the paint: Protect your work with a clear wax or varnish suitable for chalk paint.
- Add personal touches: Stencil patterns, add designs, or layer colors to make the piece uniquely yours.
- Reattach hardware: Put back any knobs, handles, or hinges you might have removed before painting.
Conclusion
Whitewash and chalk paint both transform furniture, but in unique ways. Think of whitewash as a light veil—it lets the wood’s character shine through. Chalk paint, on the other hand, gives a thicker coverage and often ends up with an elegant, distressed look.
You can play around with textures using either method. Remember: whitewash uses lime for its sheer touch, while chalk paint does not actually have chalk in it! Ready to refresh that old dresser or chair? Pick your style—whitewashed simplicity or chic chalky finish—and get painting!
FAQs
1. Can you tell me what the main difference is between whitewash and chalk paint?
Absolutely – think of it this way: whitewash penetrates wood, giving it a softened, time-worn look with hints of the grain showing through. Chalk paint, on the other hand, sits right atop surfaces – like magic! Its matte finish transforms furniture into something truly unique without hiding the charm beneath.
2. What’s special about using lime in whitewashing?
Lime washing or limewash adds an old-world feel to wood; its natural ingredients let your pieces breathe while providing a protective layer. In contrast, latex paints seal off surfaces but don’t have that same breathable quality.
3. Does chalk paint require special care compared to whitewash?
Sure does! With chalk paint, embrace gentle love – touch-ups are easy-peasy and distressing reveals layers for extra character. Whitewashed beauties ask for very little maintenance; they’re frankly tough as nails!
4. I’m all about eco-friendly options; which one wins there —whitewash or chalk paint?
Here’s a green thumbs-up: both win! Whitewash uses lime, which naturally occurs in nature—gentle on our earth friends indeed! Chalk paint often contains casein (a type of milk protein) which means less chemical stuff—bonus points for eco-lovers!


