Learn the secret to whitewashing over painted wood!
Are you staring at your painted wood furnishings and wondering if a fresh, whitewashed look is within reach? Whitewashing over paint is not just possible; it’s a game-changer for upcycling enthusiasts.
From drab to fab—our guide walks you through transforming your pieces with an airy, beachy vibe. Keep reading—we’re about to brighten things up!
Understanding Whitewashing Technique
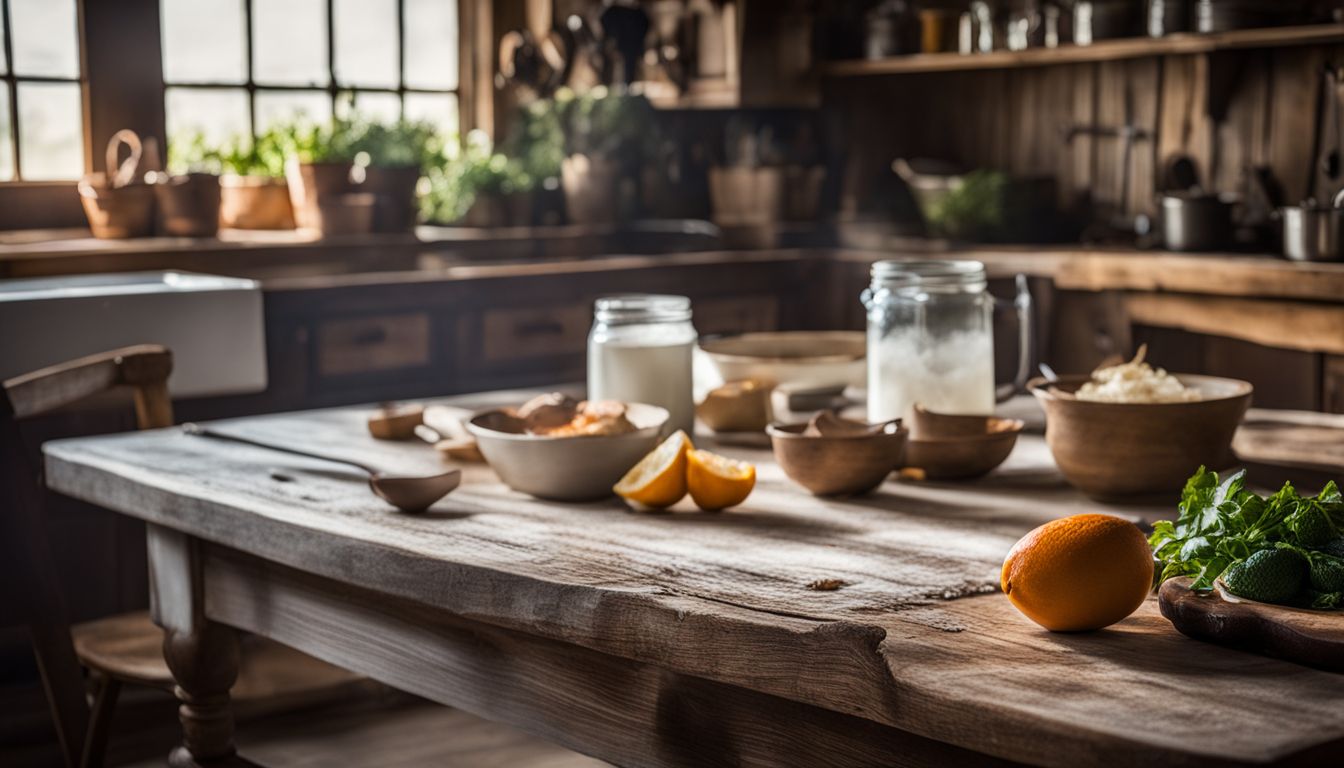
Whitewashing breathes new life into wood, highlighting its natural beauty with a soft, white hue. It’s like giving furniture or any wooden surface an ethereal glow that still allows the original texture to shine through.
This technique involves diluting white paint with water to create a thin mixture that partially soaks into the wood grain rather than coating it completely.
Dive right in and start mixing your paint and water. You’ll want to aim for a consistency that’s thin enough to penetrate the surface but opaque enough to leave a faint color on top of the wood.
Apply this mix with smooth strokes using your brush, working it into every crevice for an even coverage. As you go along, use a lint-free cloth to wipe away excess whitewash before it dries—this will ensure you get that perfect streaky look without masking those lovely wood details underneath.
Can You Whitewash Over Painted Wood?
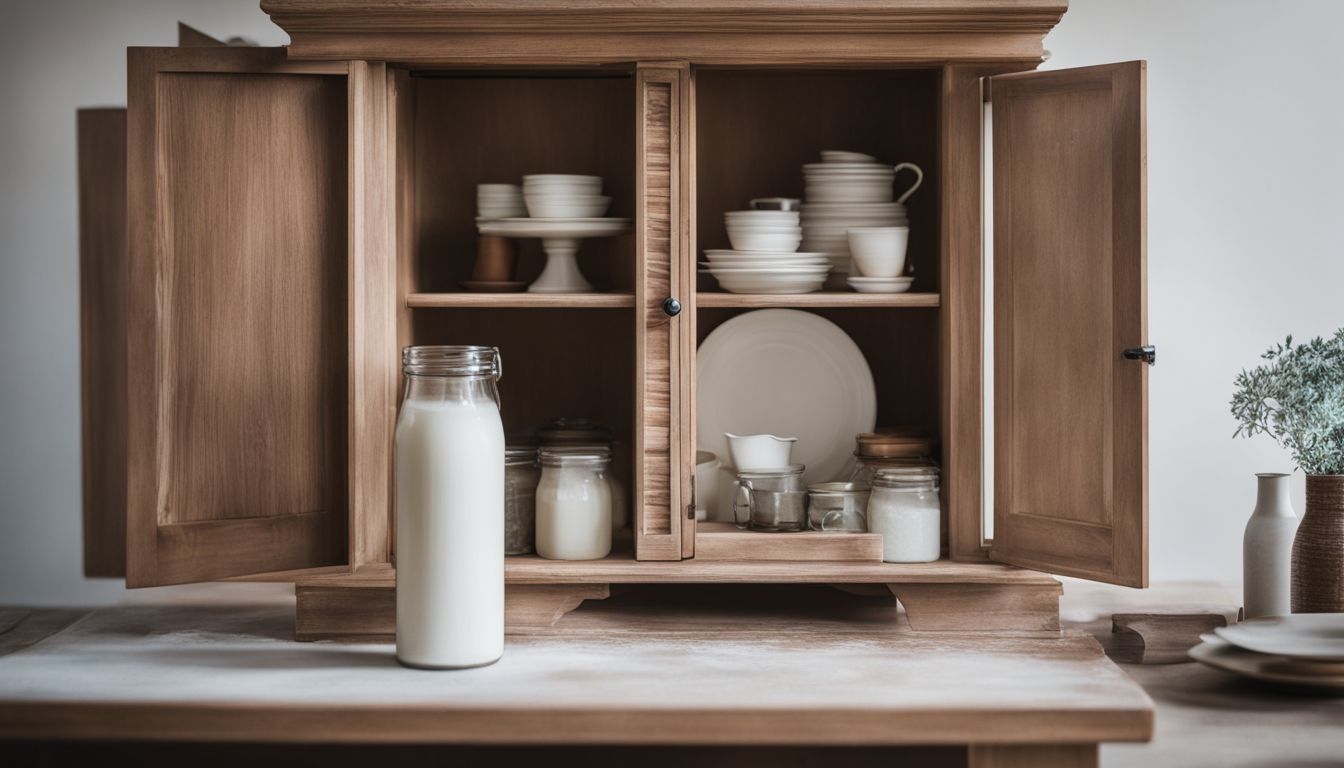
Knowing how to whitewash means you can refresh almost any wooden surface. Yes, you can whitewash over painted wood! The paint underneath will show through slightly, adding depth and texture.
Use a mix of matte white paint with water for best results. This creates a thinned-out solution that’s perfect for the job.
Apply this mixture using a paintbrush and work it into the wood grain. Then wipe off excess with a rag, allowing the original color to peek through. It’s important to let each layer dry before deciding if another one is needed.
Enjoy transforming your oak kitchen or furniture makeover without stripping off the old paint! Be sure to seal your work with a clear sealer or water-based polyurethane after it dries for long-lasting beauty.
Whitewashing Over Different Finishes
Discover the transformative power of whitewashing and how it can breathe new life into various wood surfaces, regardless of their current finish—unlock a world of aesthetic potential that’s just waiting for your touch.
Whitewashing over another paint finish
Whitewashing over a previous paint finish can transform your wood pieces. You might choose this to brighten up a room or give furniture a rustic, worn look. It’s important to use the right type of white paint for the job.
Latex and acrylic work best for creating that classic whitewash effect.
Be careful not to overload your brush with watery whitewash—it should be moist, not dripping. Gently apply the whitewash across the old paint, working in sections. This method lets you control how much of the original color shows through.
Now let’s see how we tackle varnished wood surfaces!
Whitewashing over varnished wood
Varnished wood has a seal that stops whitewash from soaking in. But don’t worry, you can still get that cool white finish. First, grab some sandpaper and give the varnish a good rubbing.
This makes sure your new whitewash sticks well.
You’re ready to mix up your own whitewash once the sanding is done. Use chalk paint for an easy blend – it’s perfect for covering varnished surfaces. Just mix water and chalk paint in equal parts and apply with a brush.
Remember, thin coats work best! Now watch as your piece transforms before your eyes into something fresh and bright.
Steps to Whitewash Over Painted Wood
Discover the transformative power of whitewashing as we walk you through a seamless method to refresh your painted wood pieces—no prior experience needed, just your readiness to invigorate your space with this charmingly rustic aesthetic.
Mixing water and paint
Mixing water with paint is the first step in creating a whitewash. Get your materials ready and find a clean mixing container to start.
- Choose white paint suitable for wood surfaces, like latex, mineral, or acrylic paint.
- Pour equal parts of water and white paint into a bucket. Aim for a 1:1 ratio unless you prefer a different thickness.
- Stir the mixture well until it looks like heavy cream. This consistency is ideal for whitewashing.
- Test the consistency on a small piece of scrap wood. Adjust with more paint or water if needed.
- Add dry calcium if desired properties are required in your whitewash mixture.
- Mix thoroughly to ensure all elements blend together perfectly.
Applying whitewash with a paintbrush
Applying whitewash can transform your wood furniture into a beautiful, rustic piece. It’s a simple process with the right tools and steps. Here’s how to do it:
- Choose a paintbrush that will help you apply the white wash evenly. A wide, flat brush works best.
- Start by dipping your paintbrush into the mixture of water and paint you’ve prepared.
- Brush the whitewash onto the wood in long, even strokes.
- Work in sections, so the whitewash doesn’t dry before you can work with it.
- After applying whitewash to a section, quickly wipe away excess with a rag.
- Keep going until you cover all of the wood surface you want to whitewash.
- Look at your work from different angles to make sure you didn’t miss any spots.
- Let it dry for about 24 hours before touching or using the wood furniture.
Wiping away with a rag
Whitewashing wood is like giving it a new life with a fresh, light look. It’s all about getting that right mix of paint and transparency.
- Dip your clean rag into the water to dampen it slightly.
- Wipe the whitewash gently over the surface of the wood to spread the mixture evenly.
- Use long, smooth strokes to maintain consistency across the entire piece.
- Immediately follow behind with another clean rag to blend and remove excess whitewash.
- Focus on one section at a time before moving on to ensure even coverage and effect.
- Keep rags handy as you’ll need several to complete a full project without recycling too much paint.
Applying a second whitewash paint coat if needed
Once you’ve wiped away the excess whitewash with a rag, check your work. It may look great with just one coat, but sometimes a second is needed for the perfect finish.
- Let the first layer dry thoroughly. You’ll want to wait 24 hours to ensure it’s completely set.
- Look at your wood surface. Does it have the look you want? If not, get ready for round two.
- Mix your paint and water again. Aim for the same consistency as before to match your first coat.
- Dip your brush into the mix. Don’t soak it – a little goes a long way.
- Gently brush on another layer. Keep your strokes even and smooth.
- Move with the grain of the wood. This helps blend the whitewash naturally into the wood.
- Use your rag again after applying paint. Wipe away excess for that classic whitewashed look.
- Don’t rush – take your time. Applying too much pressure or rushing can make strokes visible.
- Check coverage as you go. Make sure you don’t miss any spots or overapply in others.
- Stand back and review often. It’s easier to catch drips or heavy spots from a distance.
Special Considerations When Whitewashing Over Paint
Embarking on the adventure of whitewashing over painted wood carries with it a handful of special considerations. It’s not just about slapping on a new layer; understanding the quirks and nuances will help ensure your efforts enhance, rather than compromise, your wood’s charm and character.
The need for sanding before whitewashing
Sanding down the wood surface is a must before you start whitewashing. It helps strip away old paint or varnish, giving you a cleaner slate for your whitewash to stick to. Imagine trying to draw on a page with lumps and bumps—you won’t get that smooth stroke of color.
The same goes for whitewashing over unsanded surfaces; it just won’t look or wear right.
Think about your end goal: a beautifully whitewashed piece where the wood’s natural texture lightly shows through. To make this happen, grab some sandpaper or an electric sander and work over the entire area you want to refresh.
Once you’ve removed existing finishes and smoothed out the surface, move on to primer application—yet another step towards transforming your painted wood into something stunningly rustic.
Primer application before whitewashing
Before you start whitewashing, putting on a layer of primer is key. This step sticks to the painted surface and gives the white paint something solid to hold onto. It helps the whitewash look even and last longer.
Make sure your wood has had 24 hours to dry after priming it.
Use a good brush or roller to apply the primer evenly over the whole piece of wood furniture. Wait for it to dry fully before moving on with your whitewash project. This patience pays off in creating a beautiful finish that doesn’t chip or peel easily.
Cost Considerations When Whitewashing Wood Surfaces
Whitewashing wood surfaces can be gentle on your wallet. You might only need to buy some paint and a few simple tools. Often, you’ll choose a white latex paint for the project. Mix this with water, and it stretches further than regular paint jobs.
This means fewer trips to the hardware store and more money in your pocket.
Think about the size of your project too. Small pieces like chairs or end tables won’t cost much at all. For larger projects, like cabinets or walls, you’ll use more materials but still save compared to other finishes such as varnishing or applying polyurethane.
Remember that time is also valuable; whitewashing can usually be done faster than these other methods, saving hours of work and speeding up your room’s transformation.
Conclusion
You can absolutely give your painted wood a new life with whitewashing. It’s like magic for old cabinets, walls, or furniture! Imagine the charm of weathered beach wood right in your home.
Remember, it’s simple and budget-friendly – you just mix paint with water and apply. Get ready to transform that dark wood into something light, airy, and full of character!
FAQs
1. Is it possible to whitewash wood that has already been painted?
Absolutely! You can apply a whitewash even over previously painted wood to achieve a fresh, light finish that lets the wood’s natural textures show through.
2. What do I need to do before I start whitewashing my stained wood cabinets?
First things first, grab a screwdriver and carefully remove any hardware from your cabinets. Then clean the surface well so the new wood stain holds better after you apply the whitewash.
3. Can I learn how to properly apply a whitewash by watching a video tutorial?
For sure! Watching a video tutorial is an excellent way to see exactly how experts brush on the wash and work it into the grain of the wood for that perfect finish.
4. After whitewashing, should I protect my project with polyurethane?
Yes – adding polyurethane after staining will seal your hard work and give your project lasting protection against wear and tear.


