Step-By-Step Guide to Whitewashing Your Kitchen Cabinets
Whitewashing Kitchen Cabinets
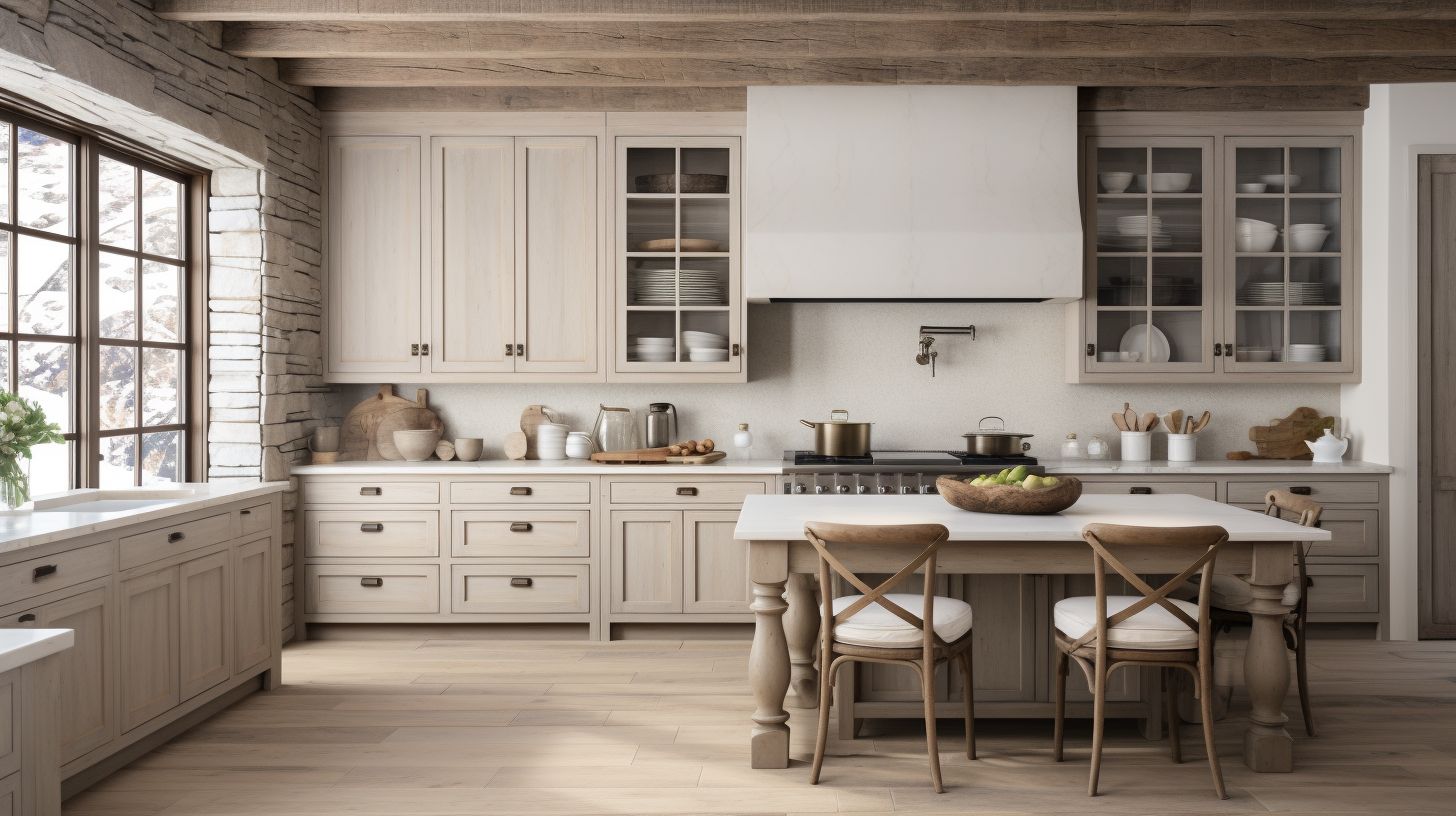
Gone are the days of dated brown cabinets; say hello to the trend of whitewash kitchen cabinets! Ideally suited for soft woods like pine, whitewashing combines white paint brightness with natural wood texture, infusing life into your cooking area.
In this article, you will see a comprehensive guides that break down everything you need to know about whitewashing kitchen cabinets, from preparation and materials choice to application and maintenance tips, which will help you whitewash your kitchen on a budget. Excited? Let’s dive in!
Key Takeaways
- Whitewash cabinets are a good way to brighten your kitchen. They make it look clean and new.
- The process is simple: choose the right materials, prepare your space, and follow careful steps for cleaning, sanding, painting, and sealing the wood.
- Good tools help do the job well. Some top brands are Purdy brushes, Wooster rollers, 3M sanding blocks, Elmer’s Wood Filler, Kilz Primer and Minwax Sealer.
- If you take care of them by washing often and fixing little scratches fast they will shine for many years!
Understanding Whitewashing Kitchen Cabinets
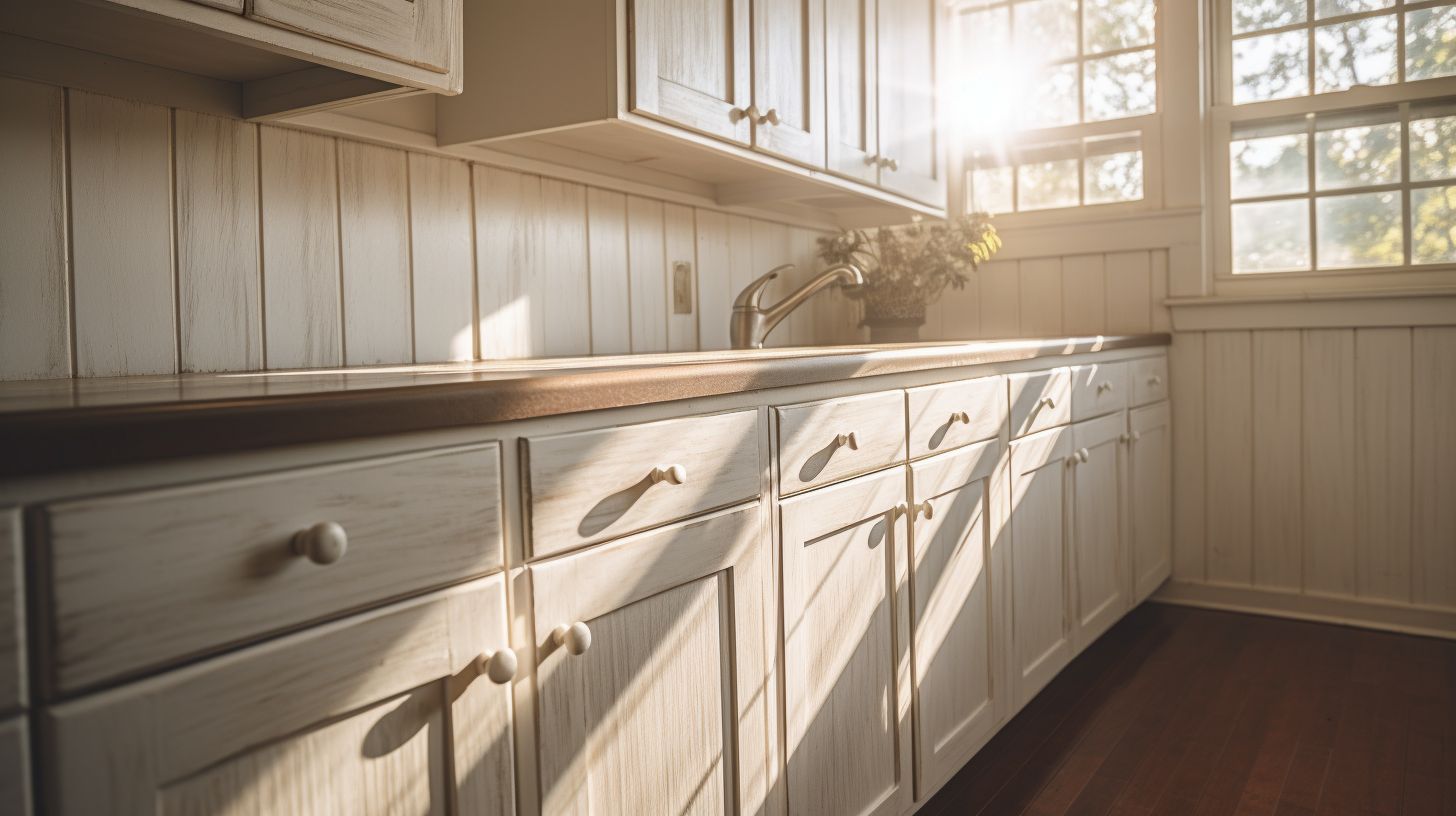
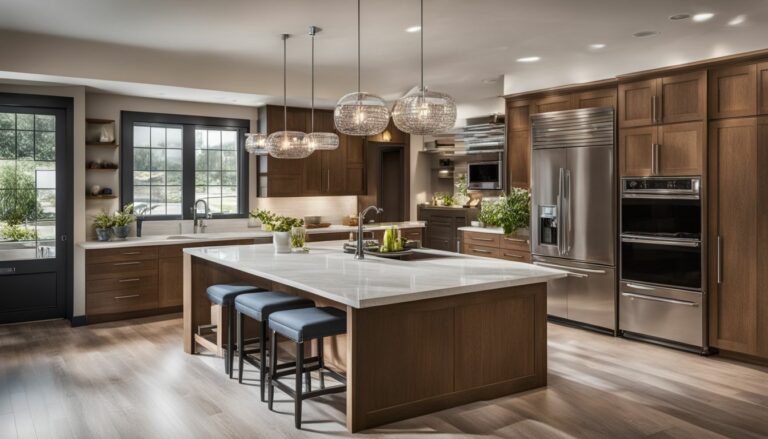
Whitewash cabinets bring a touch of charm to your kitchen. They mix the clean look of white paint with the warm feel of wood. This style is great for soft woods like pine and oak. These cabinets become even more beautiful over time as they age.
When done right, whitewashing keeps the grain line of the wood visible. It creates a light, airy feel in your kitchen by allowing natural light to bounce off its surface. Each cabinet has its own unique character because no two pieces of wood look alike when whitewashed.
Benefits of Whitewashed Kitchen Cabinets
Whitewash kitchen cabinets add a new look to your home. The mix of white paint and the touch of wood gives a fresh feel. It brightens up the place and makes it more open. Here are some of the benefits:
1. Fresh Feel & Modern Aesthetic
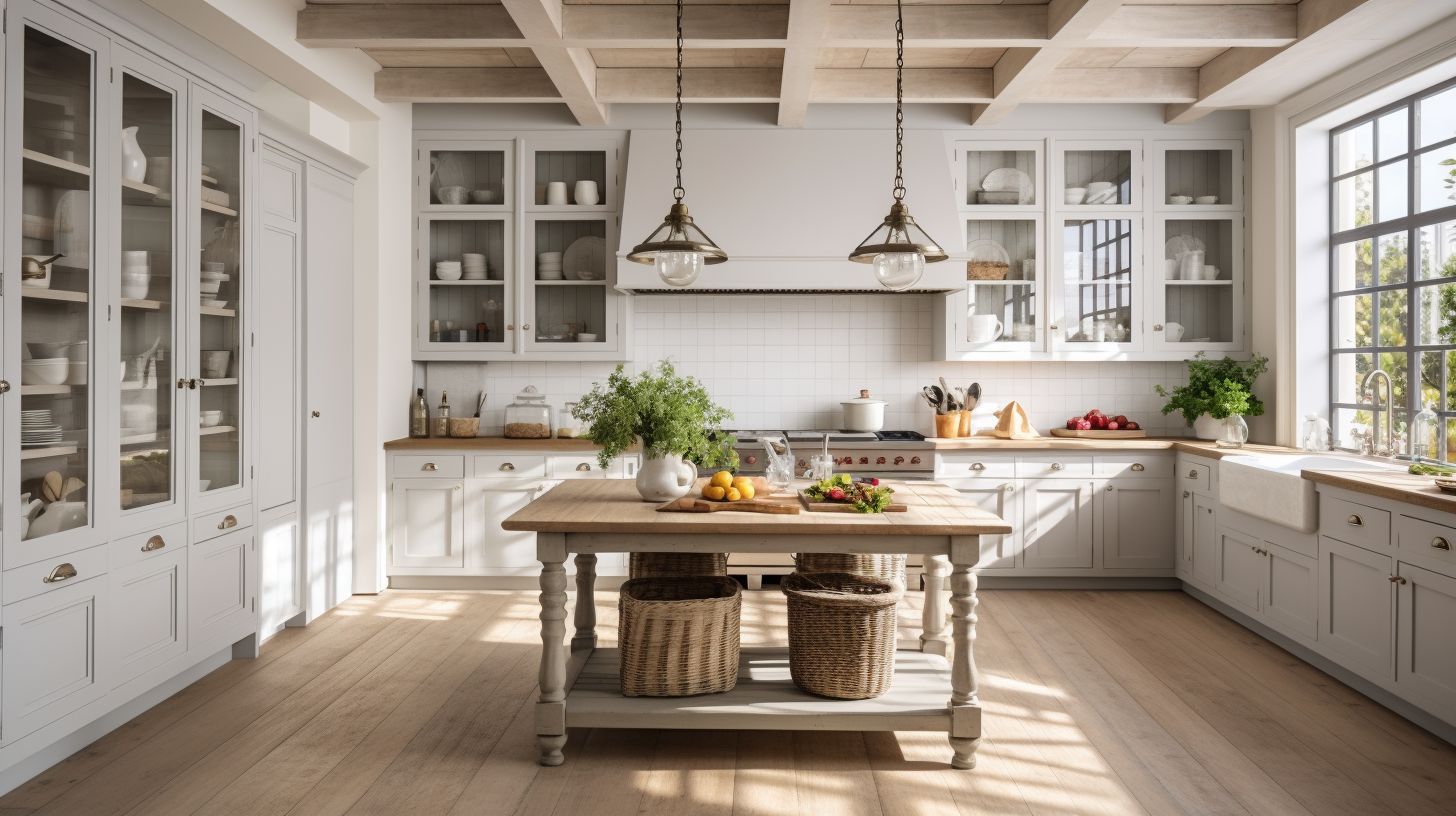
It merges contemporary design with rustic charm for more modern and naturally brighter look.
2. Showcases Wood Grain:
Allows natural grain to shine through for more sturdy look.
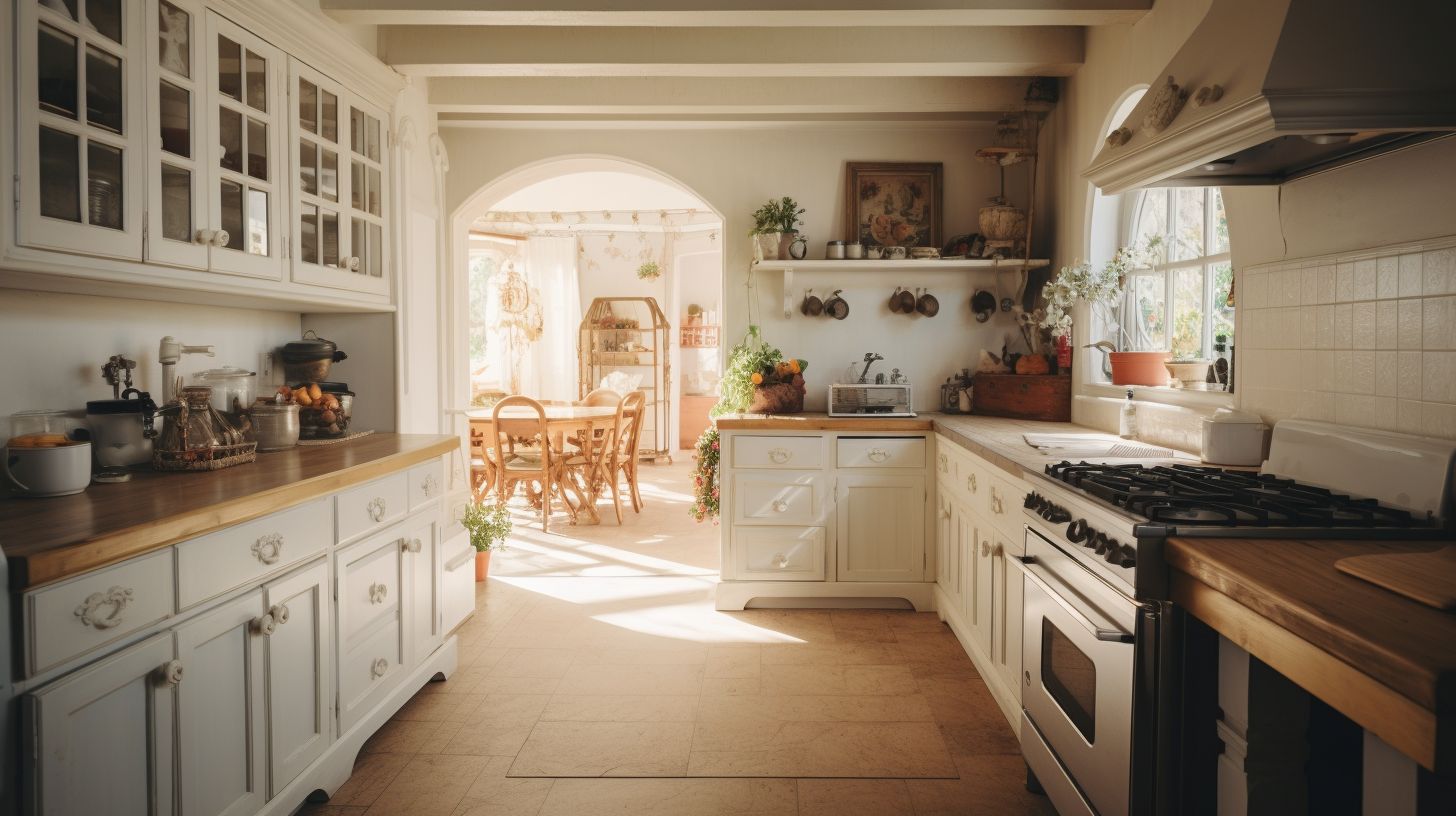
3. It Allows For Personalized Touch
It Allows varying levels of opacity for a customized look.
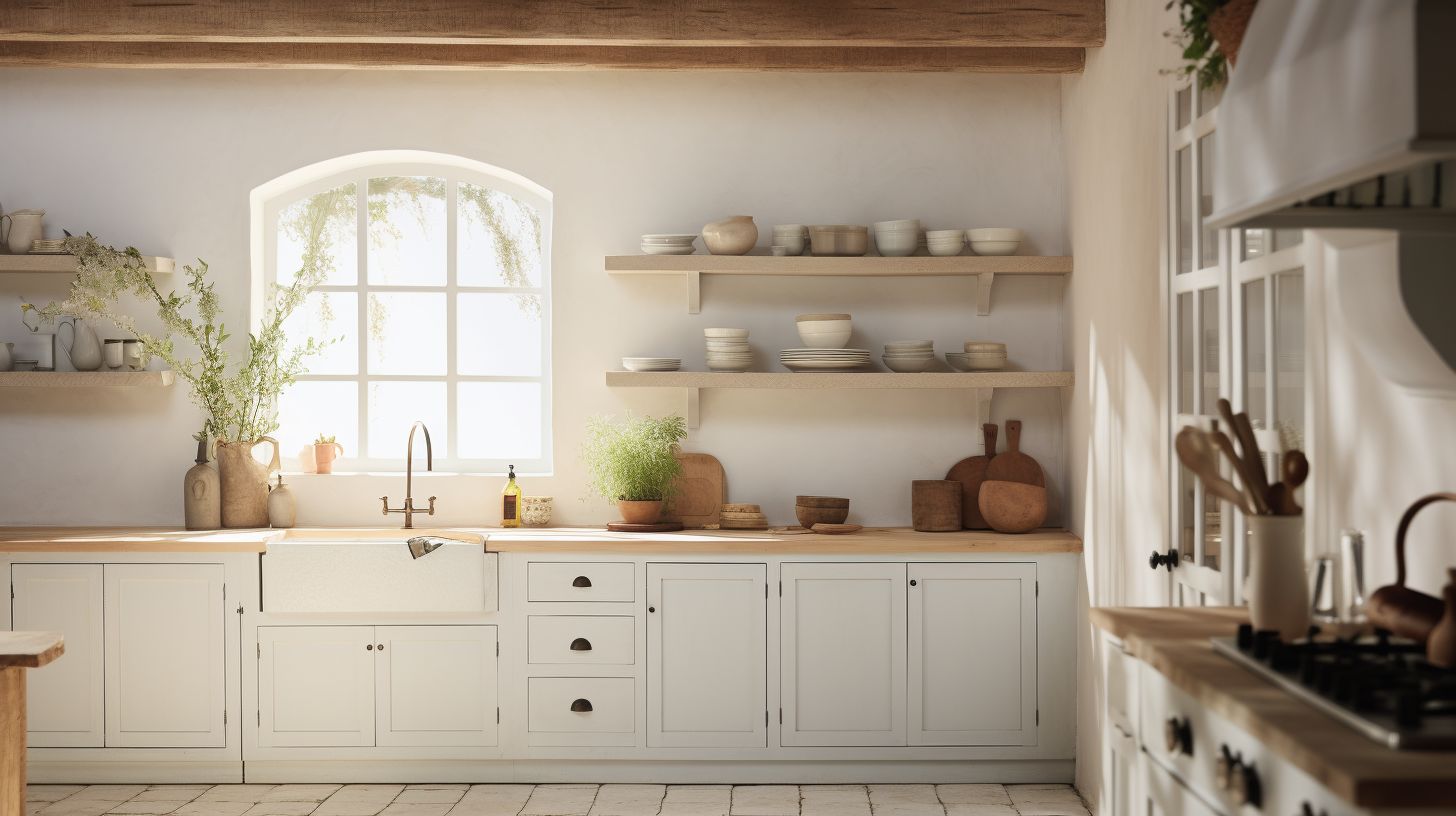
Other Important benefits Include:
- Visual Spaciousness: Lighter finish can expand the feel of a space.
- Flexibility in Design: Pairs well with various countertops, backsplashes, and hardware.
- Cost-Effective Refresh: A budget-friendly update for existing cabinets.
- Durability: Masks minor imperfections, ensuring a longer new look.
- Timeless Appeal: Blends trendiness with a classic touch.
- Warm Ambience: Imparts a cozy feeling to the kitchen.
- Eco-Friendly Option: Reduces waste and conserves resources.
- Increased Home Value: Can boost resale value with a modern design appeal.
- Easy Maintenance: Requires simple cleaning to maintain its pristine look.
- Versatility: Fits various design aesthetics, from coastal to modern minimalist.
- Enhanced Room Lighting: Helps scatter and amplify natural light.
- Compatibility: Blends well with various flooring types.
Upgrade your kitchen with the multifaceted charm of whitewashed cabinets
But this means you’ll always have clean cabinets.
Whitewashing suits soft woods best like pine wood but it can work with other types too. There are different ways to do whitewashing on dark or stripped wood as well. With whitewashed cabinets, your home will get that rustic yet modern style due to their unique texture.
These cabinets also stay in good state with time because of whitewashing’s long-lasting effect! Light colors give an ageless appeal without yellowing over time.
Preparing for Whitewashing
Preparation is the key to perfect whitewashing, from choosing high-quality materials to prepping your workspace and meticulously cleaning and sanding your cabinets for a flawless finish.
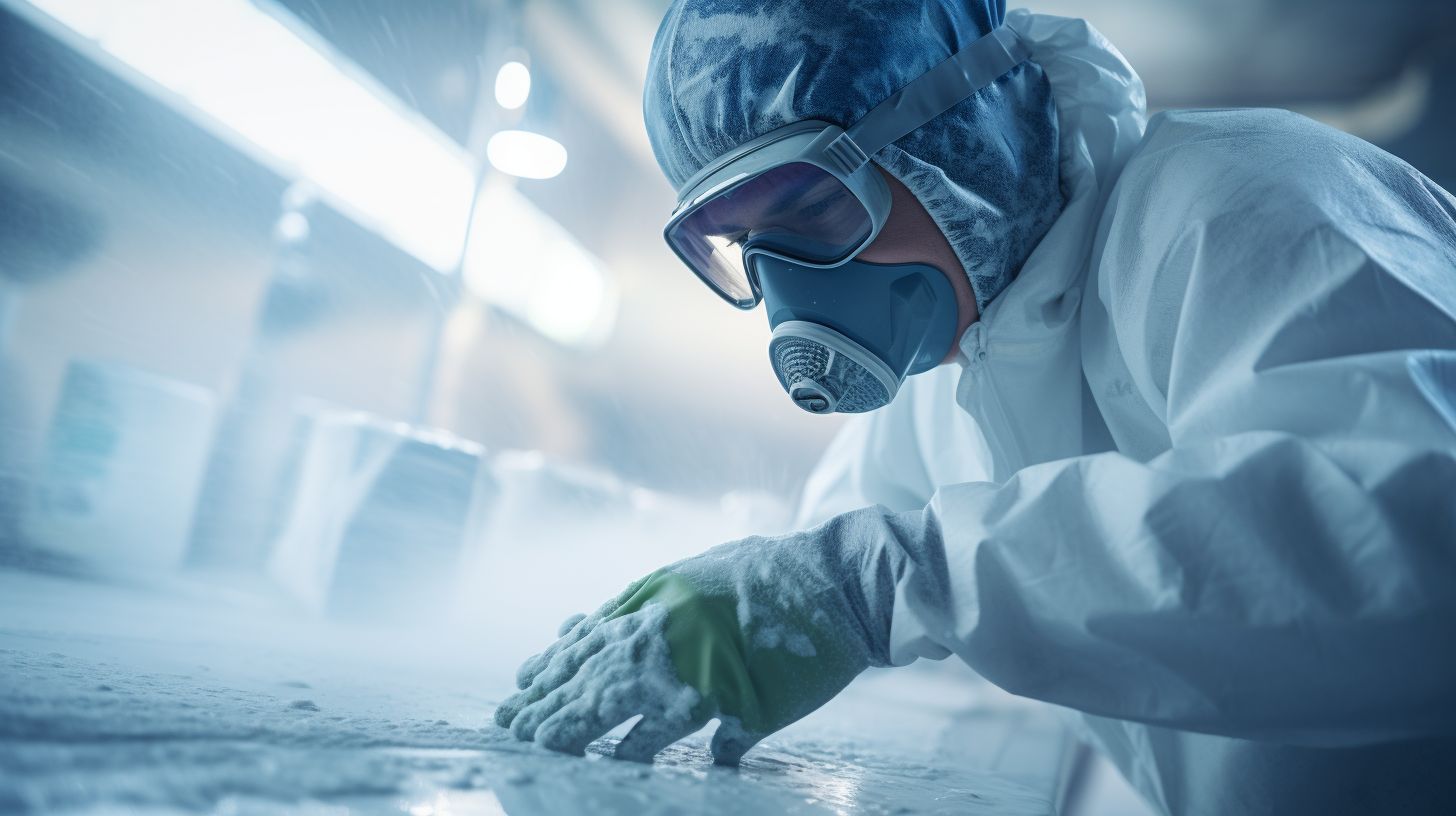
Check out this video below.
Dive in more to learn about each step in detail!
What You Need To Do In Preparation For Whitewashing
- Assessment:
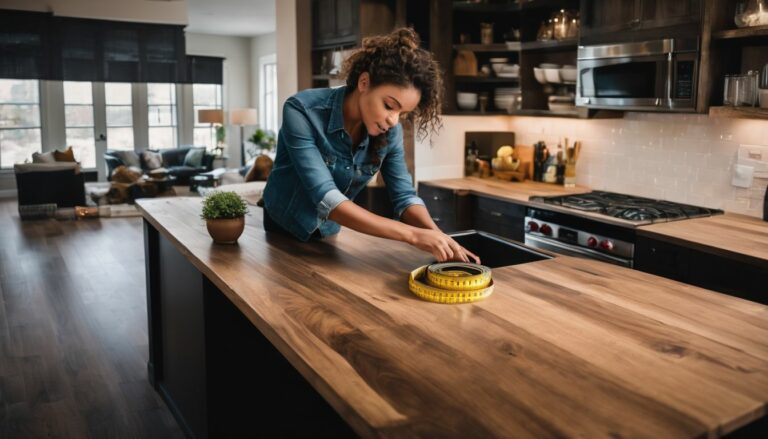
- Measure cabinet dimensions for paint quantity estimation.
- Check the cabinet material: soft woods like pine are ideal for whitewashing.
- Gather Materials:
- Whitewash paint or a mix of white paint and water.
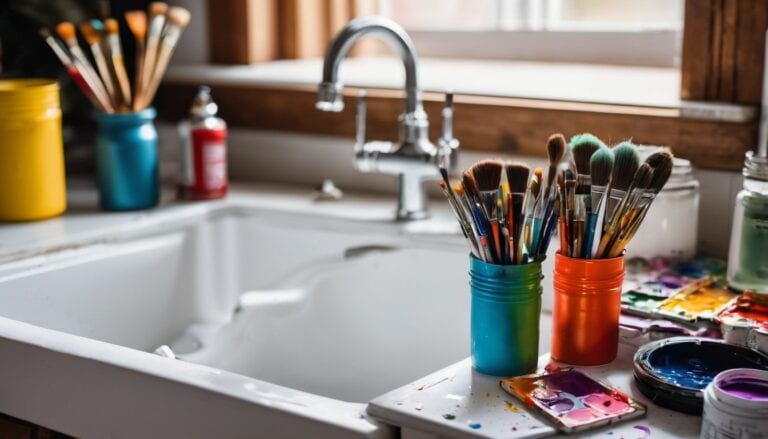
- Paint brushes (both wide and narrow for edges).
- Paint tray.
- Sandpaper (120-grit and 220-grit).
- Clean rags or old T-shirts.
- Painters tape.
- Drop cloths or old newspapers.
- Clear the Area:
- Remove any items on the countertops.
- Clear out the contents of your cabinets.
- Cover countertops and appliances with drop cloths or newspapers to protect them from paint splatters.
- Remove Cabinet Hardware:
- Unscrew knobs, pulls, and handles.
- Remove hinges to take off cabinet doors for easier painting.
- Keep all hardware in labeled plastic bags to simplify reassembly.
- Clean the Cabinets:
- Mix a solution of warm water and a few drops of dish soap.
- Scrub cabinets gently to remove grease, grime, and dust.
- Rinse with a damp rag and allow cabinets to dry completely.
How To Choose the right materials
Picking the right stuff is important. Your wood type makes a big change in how your whitewash will look. Soft woods like pine and ash work best for whitewashing. You also need good paint and stain for your cabinets.
Some people prefer Minwax or other water-based wood stains. Make sure you have a sturdy brush, too – a Purdy paint brush may be an ideal pick for this job!
How to Prepare the workspace
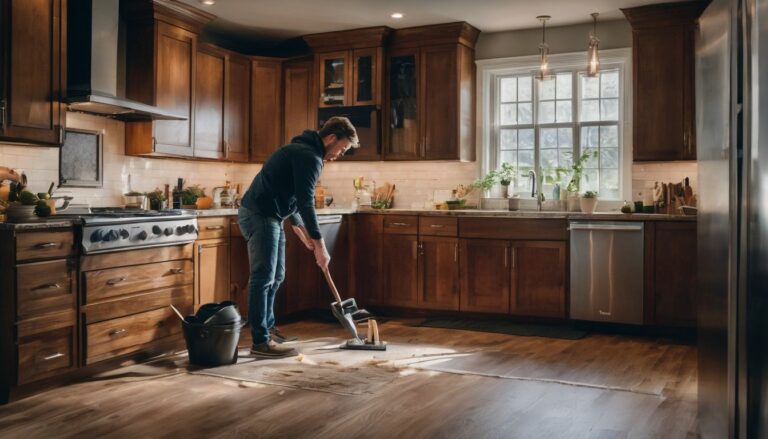
Before you start, make sure your workspace is ready. Clear out all the things that don’t need to be there. You will need a lot of space. Cover the floor with old sheets or newspapers to catch any drops of paint.
Make sure you have good light so you can see what you are doing clearly. Also, keep all your tools close by so they’re easy to reach when you need them.
How To Clean and sand the cabinets
Making your cabinets clean and smooth is a key step before you start whitewashing. Follow the steps below:
- Take off the cabinet doors. Keep screws in a safe place so you don’t lose them.
- Use a strong cleaner to take away dirt and grease.
- Make sure your cabinets are dry after cleaning.
- Choose sandpaper with 120 – grit for a rough wood or old paint.
- Start sanding the cabinets with pressure, but not too hard though. Be sure to follow the grain of the wood.
- Get into every nook and cranny while you sand, making sure that all surfaces are smooth well-done.
- After sanding, wipe off dust using a tack cloth until it’s neat.
- Use Polyurethane finishes to seal the wood grain and get ready for painting.
Step-by-Step Guide to Whitewashing Cabinets
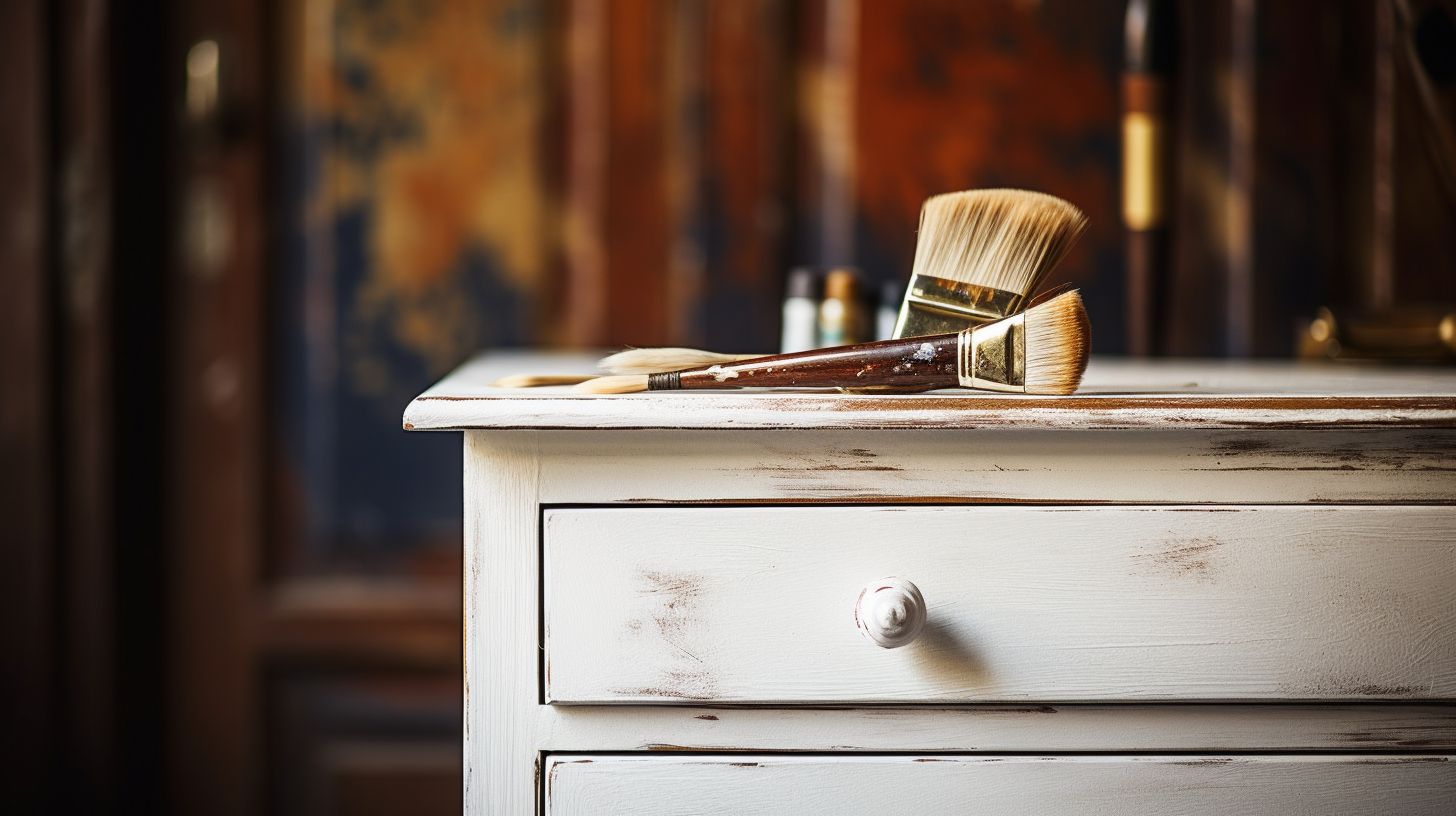
This section provides a comprehensive guide, unfolding the procedure of whitewashing cabinets step by step, from applying the whitewash to sealing it off for a perfectly finished look.
Applying the whitewash
Start the process by using a clean brush. The brush gives the whitewash a smooth and even look. Make sure to stir the whitewash before you use it. Next, dip your brush into the whitewash and let it absorb some paint.
Sealing the whitewash
After using whitewash on your cabinets, the next step is to seal it. Here’s how you can do that:
- Pick a top coat for your cabinets. This layer helps keep the whitewash in place and makes it shine.
- Choose between water – based lacquer, clear acrylic, or natural Tung oil.
- If you want a non – yellowing layer, a clear acrylic coat is good.
- Start to apply the top coat with your choice of brush.
- Use even, light strokes so the end look stays smooth.
- Allow your cabinets to dry well before you start using them.
- Once dry, reinstall your whitewashed cabinets in your kitchen.
Tips for Whitewashing Cabinets
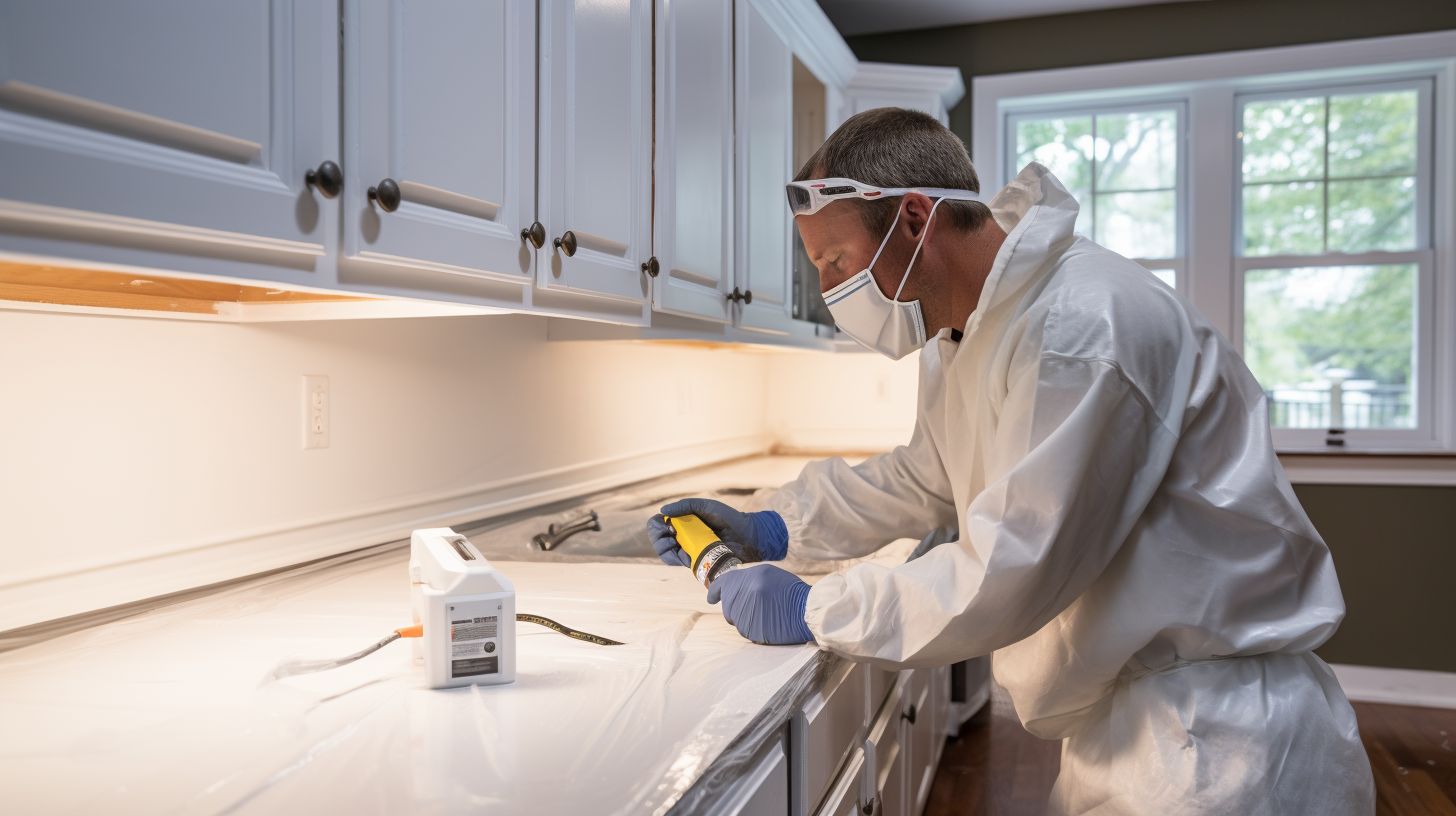
Mastering the art of whitewashing your kitchen cabinets can be made easier with a few key tips such as selecting the right brush for an even application, achieving the perfect paint consistency by mixing well, and testing on inconspicuous areas to ensure desired results.
Using the right brush
The brush you use can change the look of your cabinets. Soft brushes with long bristles are good for this job. They make smooth lines and cover a big area fast. This is nice if you have many kitchen cabinets to paint.
Be sure to clean the brush well after each use! A brush that’s not clean will not spread the whitewash evenly. This could spoil how your cabinets turn out. Treat your tools well, and they will help you get a beautiful end result.
Mixing the whitewash
First, take some white paint. It can be any type you like, for example latex paint or whitewash wood stain. Put it in a big bowl that you don’t use for food. Now pour the same amount of water into your bowl of paint.
If you have one cup of paint, add one cup of water too! Mix them well using a stir stick until they blend together and become thin like milk. Be sure to mix it evenly so there are no globs floating around in it! Your mixed whitewash is ready to go on your kitchen cabinets now!
Testing a small area first
Let’s start with testing a small spot. Pick a part of the cabinet that is hard to see. Use your brush to paint this spot with whitewash. Let it dry for about an hour or so. Does it look like what you had in mind? If yes, you can move on to do the same for all the cabinets! This step helps make sure that nothing goes wrong when you change all your cabinets at once! Test first, then work with no worries.
Maintenance of Whitewashed Cabinets
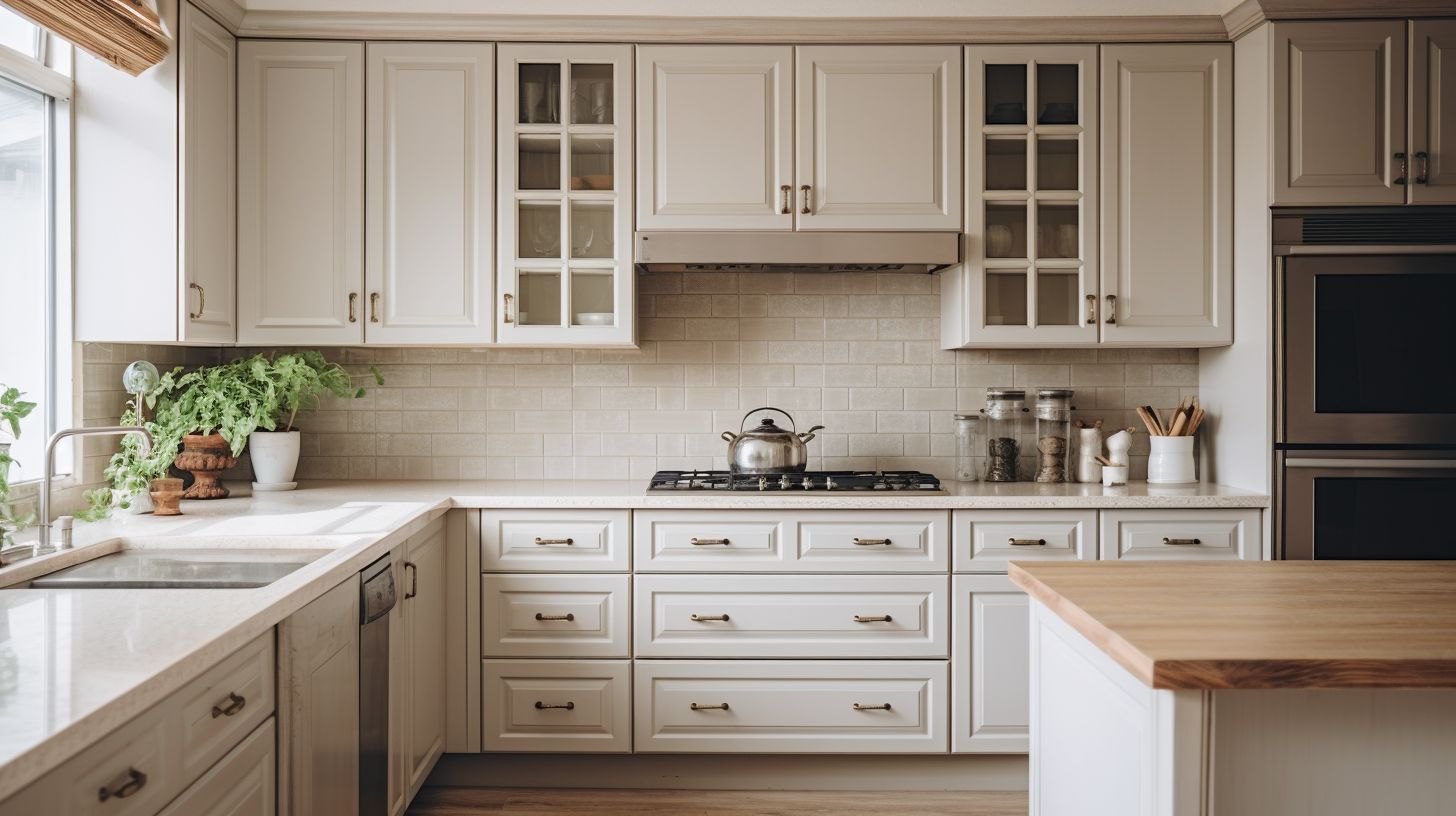
After beautifying your kitchen with whitewashed cabinets, ensure they maintain their unique charm by conducting regular cleaning and addressing any sign of wear or damages promptly through touch-ups and repairs.
How To Maintain A Whitewashed Kitchen Cabinets
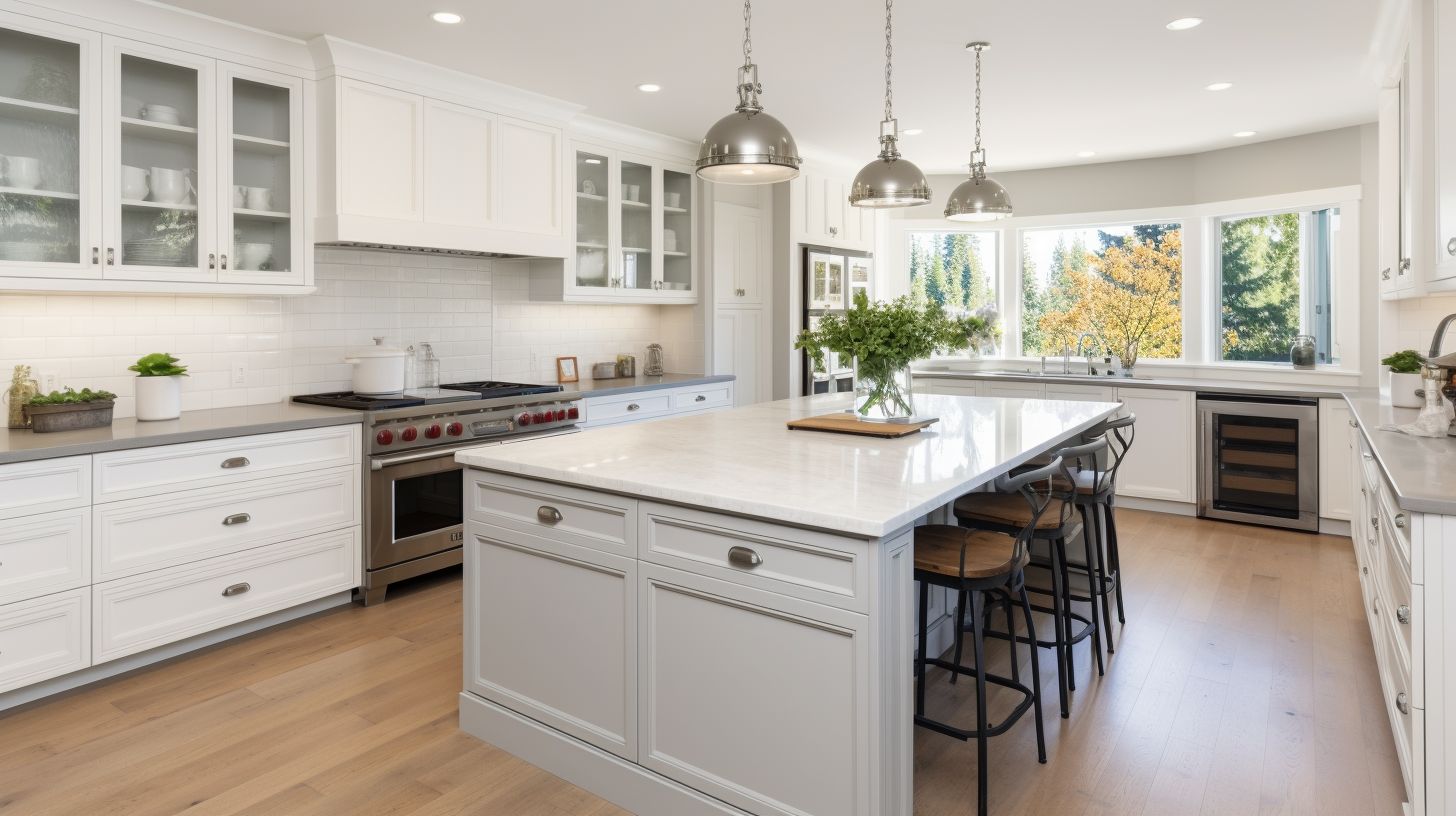
1. Regular cleaning
Keep your kitchen cabinets clean for them to last longer. Wash the wood part with a mild soap and warm water mix every few weeks. Wipe it dry right after washing, so it doesn’t soak in water.
Stains like food or oil need fast cleaning or they set in deep. Use a soft scrubber on these spots so you don’t hurt the finish of the cabinet. The better care you show towards your cabinets, the more years they will shine bright in your home!
2. Touch-ups and repairs
Scratches or chips can happen on your cabinets over time. Don’t worry! You can fix them easily. First, clean the area well with a cloth. Once it’s dry, add some whitewash paint to the chip or scratch.
Using a small brush helps in smaller areas. Leave it to dry and your cabinet will look as good as new.
Tool Brands Recommendations:
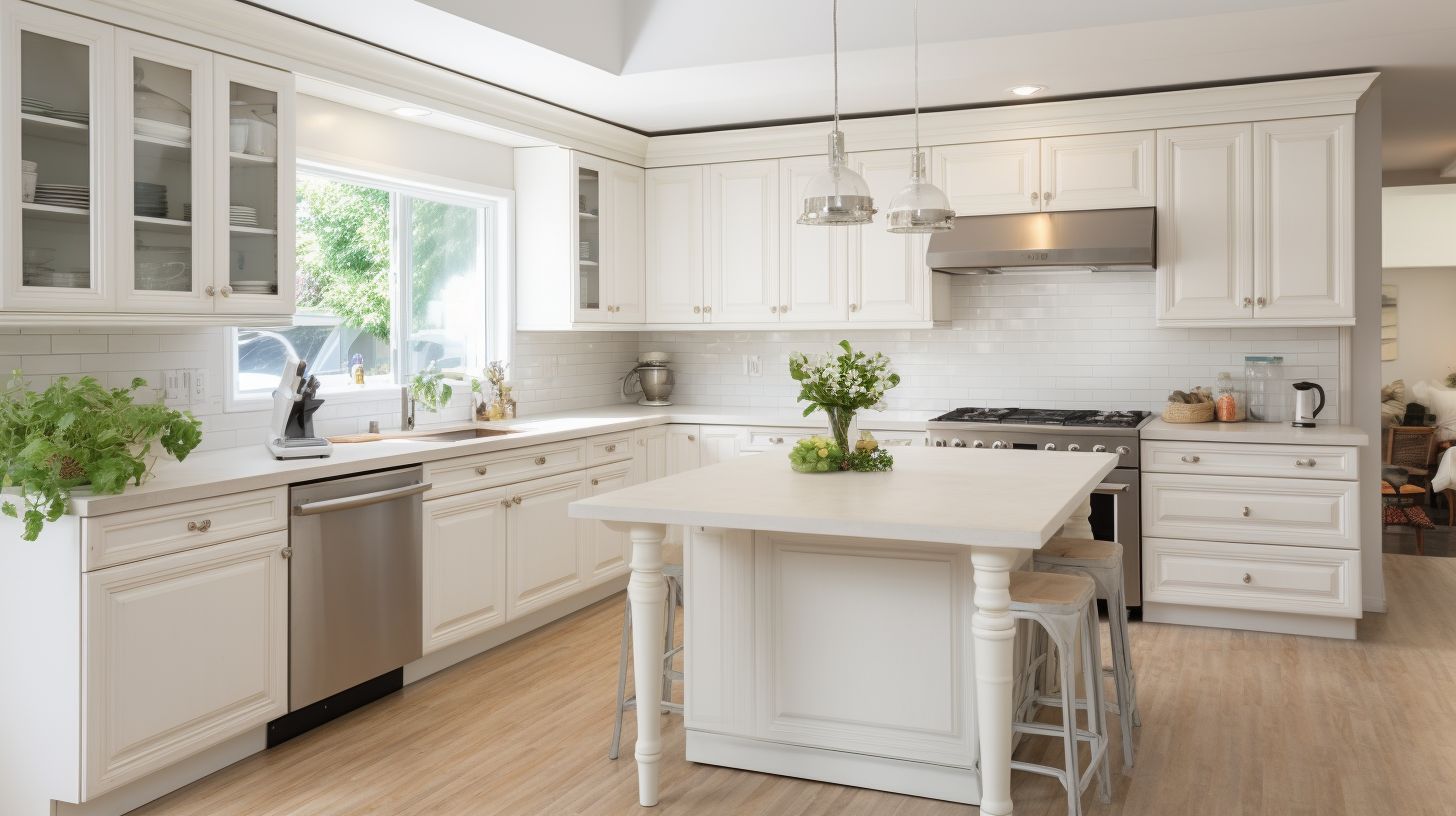
Specify brands or specific tools that are best suited for the job.
Whitewashing kitchen cabinets requires specific tools to produce a pleasing and durable finish. The following table lists the tools you need and some recommended brands that are known for their quality and performance.
| Tool | Recommended Brand |
|---|---|
| Paint Brush | Purdy |
| Paint Roller | Wooster |
| Sanding Block | 3M |
| Wood Filler | Elmer’s |
| Primer | Kilz |
| Whitewash Paint | Benjamin Moore |
| Sealer | Minwax |
Purdy paintbrushes are known for their precision and durability, ideal for applying whitewash. Wooster paint rollers work well for larger surfaces, offering a smooth finish. For preparing your cabinets, 3M sanding blocks provide an easy-to-hold tool for smoothing surfaces. Elmer’s Wood Filler can help fix any imperfections before painting. Kilz primers are popular for their high-quality coverage, preparing your cabinets perfectly for the whitewash paint. When it comes to whitewash paint, Benjamin Moore offers a variety of shades and finishes. Lastly, to seal and protect your whitewashed cabinets, Minwax sealer is a trusted brand.
Cost Estimates For Whitewashing Kitchen Cabinets:

Average costs involved in whitewashing kitchen cabinets
On average, the cost of whitewashing kitchen cabinets typically ranges from $2,000 to $8,000. However, the total expense can vary greatly depending on the size, material, and condition of your kitchen cabinets, as well as whether you choose to do it yourself or hire a professional. Here’s a rough cost estimate for whitewashing kitchen cabinets:
| Task | DIY Cost | Professional Cost |
|---|---|---|
| Materials (paint, brushes, sandpaper) | $50 – $100 | Included in service |
| Preparation (cleaning, sanding) | $0 (your time) | $500 – $1,000 |
| Application of Whitewash | $0 (your time) | $1,000 – $2,500 |
| Sealing | $0 (your time) | $500 – $1,000 |
| Total Costs | $50 – $100 | $2,000 – $4,500 |
Please note that these are just estimates, and actual costs can vary. Also, if your cabinets are made of soft woods like pine, which is best suited for whitewashing, you might incur additional costs. Always assess the current condition of your cabinets before starting the whitewashing process.
Safety Tips: Safety precautions to take while whitewashing.
Taking safety seriously is key when whitewashing kitchen cabinets. Here are some helpful tips:
- Always wear a mask. This keeps dust or fumes from hurting your lungs.
- Use eye protection. This keeps you safe from splashes or dust.
- Work in a well – ventilated area. This makes sure enough fresh air comes in.
- Wear gloves to guard your hands against stains or chemicals.
- Carefully set up ladders if you are working on high areas.
- Keep kids and pets away until the job is done and everything is dry.
- Store all materials out of children’s reach.
- Wipe up any spills right away so no one slips or falls.
- Close paint cans tightly when not using them to prevent spills or fumes escaping.
- Never eat, drink, or smoke while working with stains and paints as they can be toxic.
Practical Insights
Dive in to uncover invaluable practical recommendations, tips drawn from real-life experiences, challenges one may encounter during the whitewashing process, and learn from firsthand testimonials of individuals who have embarked on this DIY project.
Practical tips
Always test the white paint on a hidden part of your cabinet first. This step makes sure you love the color before painting all cabinets. Doing this saves time and money later on. Make certain your tools are clean before beginning to get an even coat throughout.
Dirty tools might leave marks or bumps in the paint, which can mess up your end result.
What People Are saying
Some our readers who have tried whitewashing their cabinets share some facts. First, soft woods like pine hold the wash well. Another good fact shared is that white washed wood helps show off your cabinet’s texture but also any marks or dirt you can’t hide! Many of our readers have sent us emails asking if they can whitewash dark cabinets without stripping them first – yes, they can! Trying this task adds a bright touch with natural feelings to your kitchen area.
Challenges faced during whitewashing
Doing a whitewash job is not easy. One problem you can run into is the wood grain showing too much. For some, it’s hard to know how thick or thin to make the white paint mix. And if your cabinets were not clean before starting, spots might show up through the new paint layer.
Another issue people face is choosing the wrong tools for painting and sanding tasks. To keep smooth lines in your work, pick a good brush that fits your hand well and find fine-grit sandpaper.
Streaky finishes often come from using poor quality brushes or having uneven areas left after you’ve sanded down old top coats.
User testimonials
Many people love whitewashed kitchen cabinets. They say the finish is warm and bright. One user shared that she felt like a pro after her DIY project was done. She followed our steps to clean, sand, and then whitewash her oak cabinets.
Her kitchen looks fresh now. Another person said his pine cabinets came back to life with whitewash paint! He liked how easy it was to do this job himself. A third user told us she loves the rustic feel these cabinets give her home.

Frequently Asked Questions
This section gives comprehensive answers to common questions about whitewashing cabinets, addressing inquiries like the need for sealing the whitewash and estimating its longevity.
Does whitewash need to be sealed?
Yes, sealing whitewash is important. It keeps the color safe and makes it last longer. Seal your cabinets with a clear top coat after you put on the whitewash. This can be water-based lacquer or clear acrylic.
Sealing also helps keep out dirt and lets you clean your cabinets more easily.
How long will whitewash last?
Whitewash can last a long time if you take care of it. It often stays good for years! But, you need to protect it from wear and tear. A clear top coat on your cabinets will keep the whitewash fresh and beautiful.
You should also clean your cabinets often. This stops dirt and spills from staining the whitewash. With proper upkeep, your kitchen will look new even after many years!
Conclusion
In the end, whitewashing cabinets changes your kitchen. It gives a modern look with a twist of old charm. Plus, it doesn’t cost much or take too long. So why wait? Start your cabinet makeover today!
FAQs
1. What does it mean to whitewash kitchen cabinets?
Whitewashing kitchen cabinets is a DIY home improvement method. It gives wood surfaces like oak, pine, or old stain on golden oak cabinets a modern and rustic appeal.
2. How do you start whitewashing your Kitchen Cabinets?
Before applying the paint and completing techniques such as ‘striking off process’, the cabinet preparations should include detaching cabinet doors, cleaning them with degreaser and stripping any of the old stains away using furniture refinisher.
3. What materials are needed to get that pickled whitewash finish?
You will need several items such as pre-stain conditioner also known as Dewaxed Shellac, oil-based stains for pickling effect and Polycrylic sealant for a final top coat after drying the cabinets.
4. Can I use different colors other than white for my kitchen renovation?
Definitely! There’s more than just white wash oak cabinets; gray-washed kitchen units or options with different accents can offer diversity in color while maintaining that desired country look or Mark Twain era appearance!
5. Are there any special technique methods when painting pine corner cabinet doors?
Applying paint in varying directions then dragging downward (‘paint and drag’ technique) may work best due to their shape. Ensure stray bristles are limited by choosing brushes with tapered edges.
6. I hear about top coats like polyurethane often.Which sealer is appropriate when aiming at non-yellowing protective layer?
A choice between water-based matte sealer,satin polyurethane,and matte polyeurathane could be made.Don’t forget: A clear furniture wax results into sealed whitewased wood surface nicely taking care of possible blotchy finish occurrences!


