How to Remove Kitchen Cabinets: Step-by-Step Guides
Gather the necessary tools and supplies, such as a screwdriver, drill, utility knife, safety goggles, and gloves. Prep the kitchen area by removing any items from the cabinets and clearing space for easy maneuverability.
Protect floors and surfaces with drop cloths or cardboard to prevent damage during the removal process.
Gather necessary tools and supplies

Before starting any work, I always make sure to have the right tools and supplies. Here’s a handy list of what you will need for this job:
- A blade: This can be in the form of a utility knife, very useful for cutting through tapes or adhesives.
- Drop cloth: Use this to cover your kitchen floor and protect it from chips, dust, and scratches.
- Mallet: This helps when you need to loosen things up a bit.
- Wooden planks: Spare 2x4s come in handy as support when removing cabinets.
- Power drill: We will use this tool often during cabinet removal, so keep it charged and ready!
- Stepladder: Some cabinets are high up on the wall, we don’t want you straining your back reaching them.
- Screwdriver set: Useful for unscrewing hinges and other hardware.
- Ruler: Measuring tape is essential for accuracy while working.
- Nails: In case we need to do minor fixes along the way.
- Level: To make sure everything aligns perfectly.
Prep the kitchen area
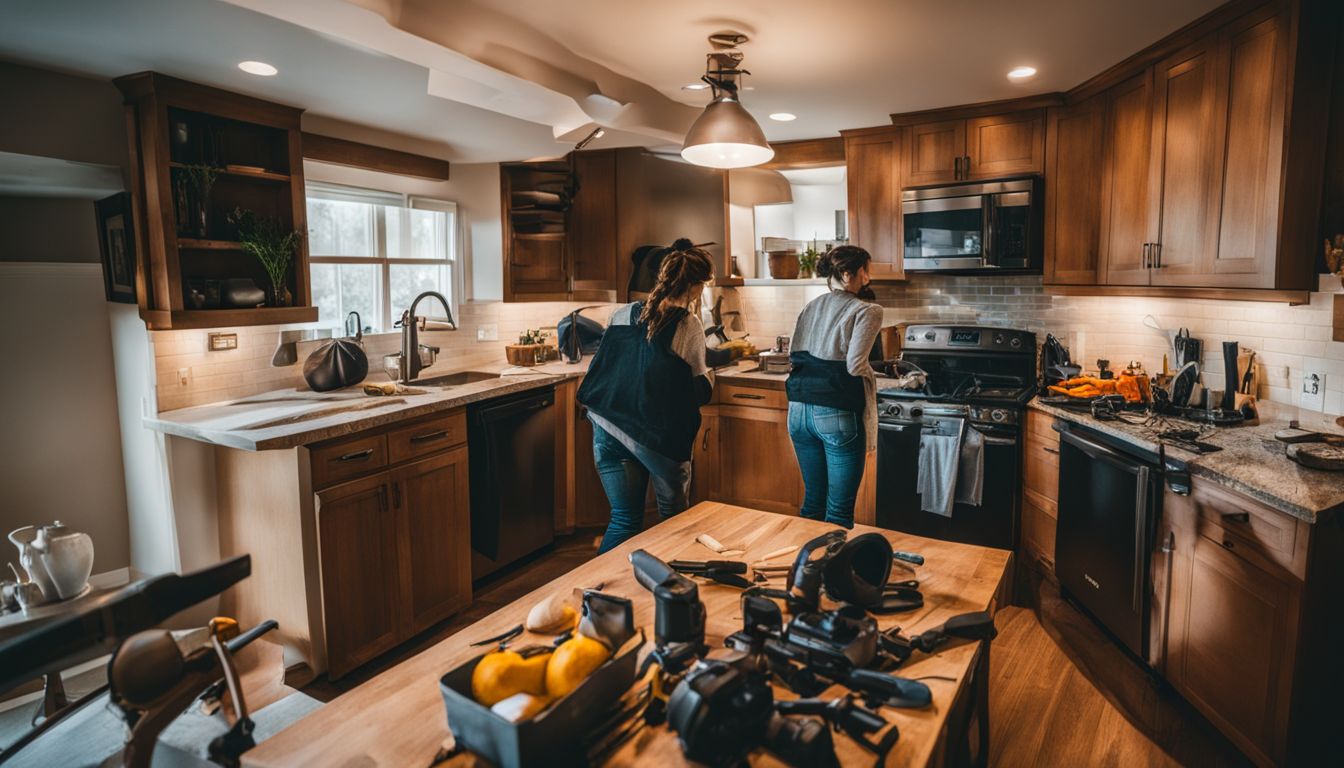
Getting your kitchen ready for cabinet removal takes a few key steps.
- First, make sure to cut power to the kitchen. It’s a needed step for safety.
- Clear out all things from your counters and cabinets.
- Making room in your kitchen helps with cabinet removal.
- Cover your floor and any surfaces you don’t want scratched or dirty.
- Get a drill or screwdriver ready as it’s useful for removing cabinet doors.
- Also, have supports handy for detaching wall cabinets later on.
- Be gentle while working to prevent any damage to the cabinets.
- If you find caulking or fasteners, make sure to remove them.
- Finally, keep a trash bag nearby for any trash or debris.
Protect floors and surfaces

Start with a clear plan for protecting your kitchen area. It’s like setting up the stage before a big show. The first and most vital step to take is to protect your floors and surfaces.
- Clear everything out of the cabinets.
- Remove all items from the countertops.
- Get a roll of floor protection film or use tarps to cover up your floors.
- Use a similar type of covering for your countertops.
- Make sure all the surfaces are well covered, leaving no space exposed.
- This will help avoid any scratches on your beautiful kitchen floor or countertops.
- Protection isn’t just about covering things up, it also involves turning off utilities in the kitchen.
Detaching Wall Cabinets
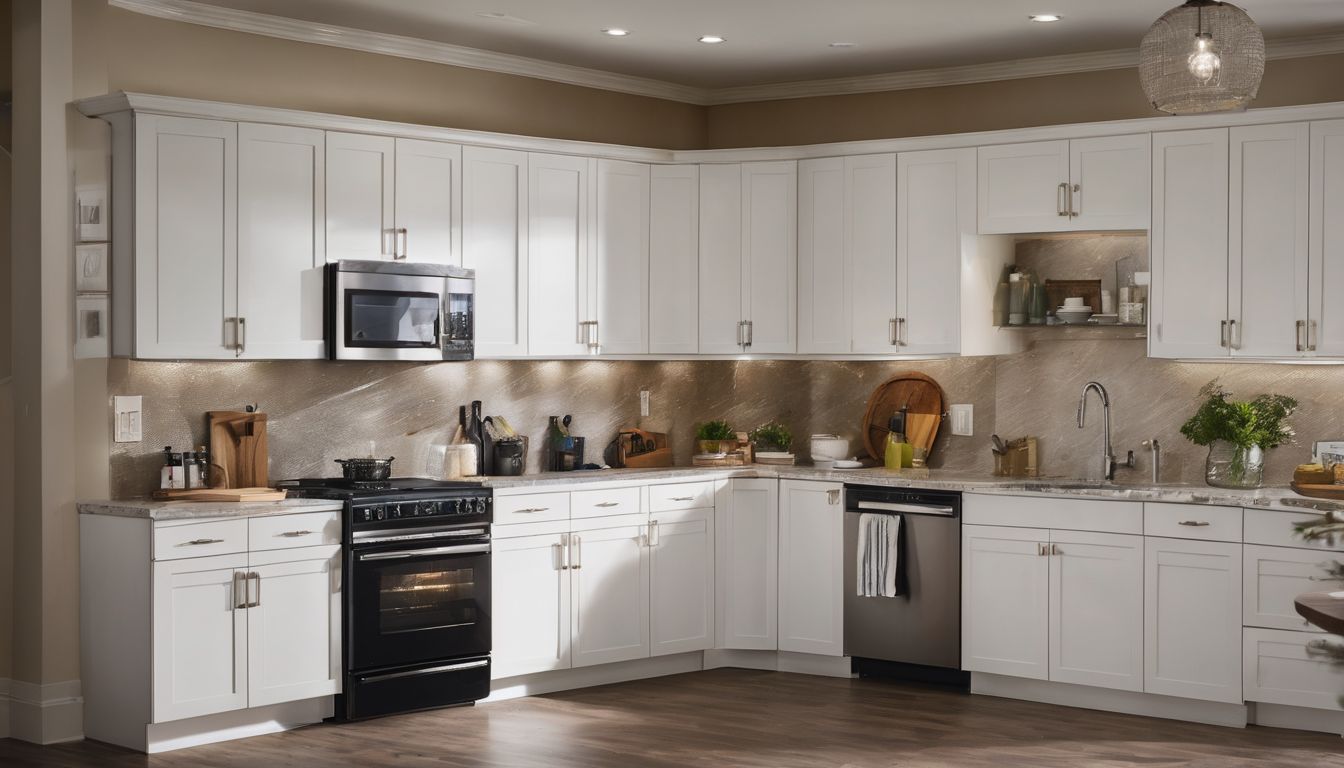
To begin removing the wall cabinets, unscrew the hinges and carefully remove the doors. Don’t forget to also remove any drawer fronts that may be attached. Once everything is detached, it’s time to take down all of the wall cabinets in your kitchen.
Unscrew hinges and remove doors
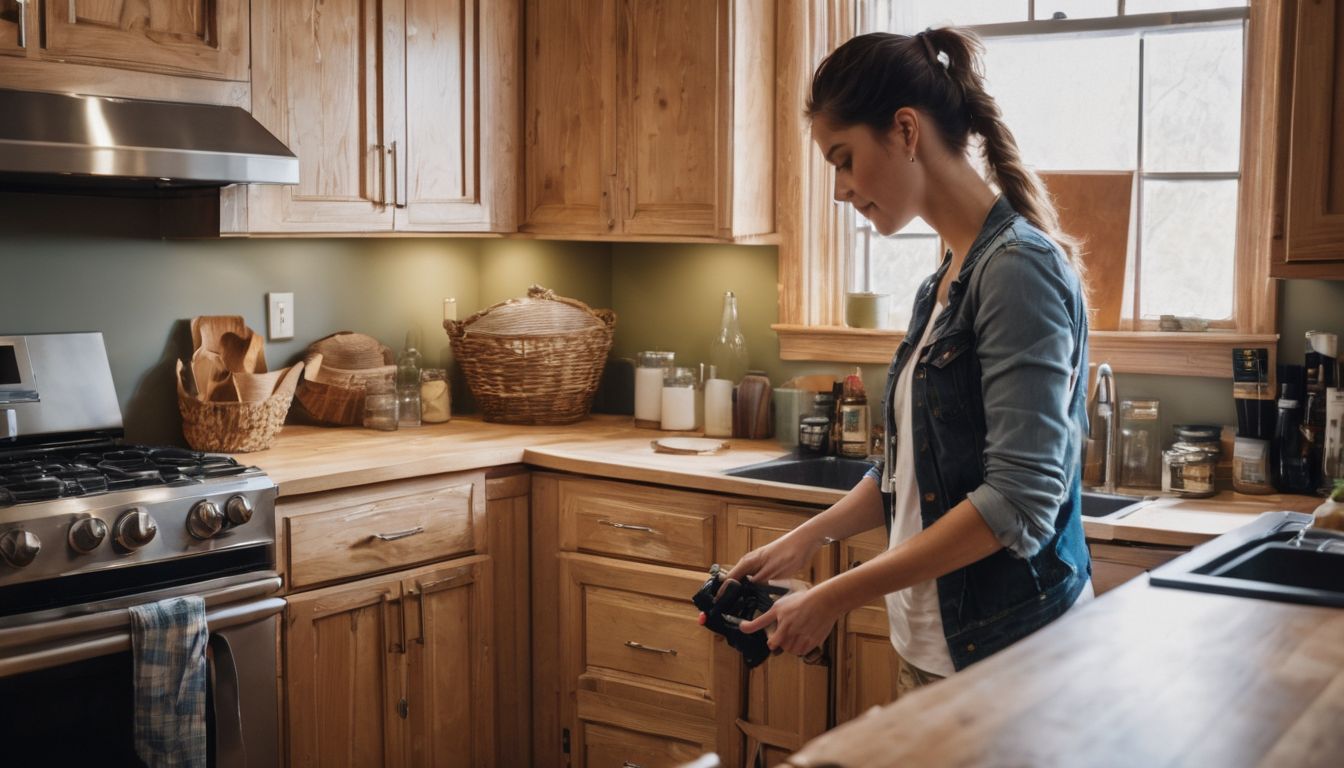
To remove the kitchen cabinets, I first unscrewed the hinges and removed the doors. Here’s how I did it:
- Opened all the cabinet doors to gain access to the hinges and screws.
- Supported each door while unscrewing the hinges to prevent any damage.
- Used a screwdriver to unscrew the door hinges from the cabinets.
- Carefully removed each door once all the screws were loosened.
Remove drawer fronts
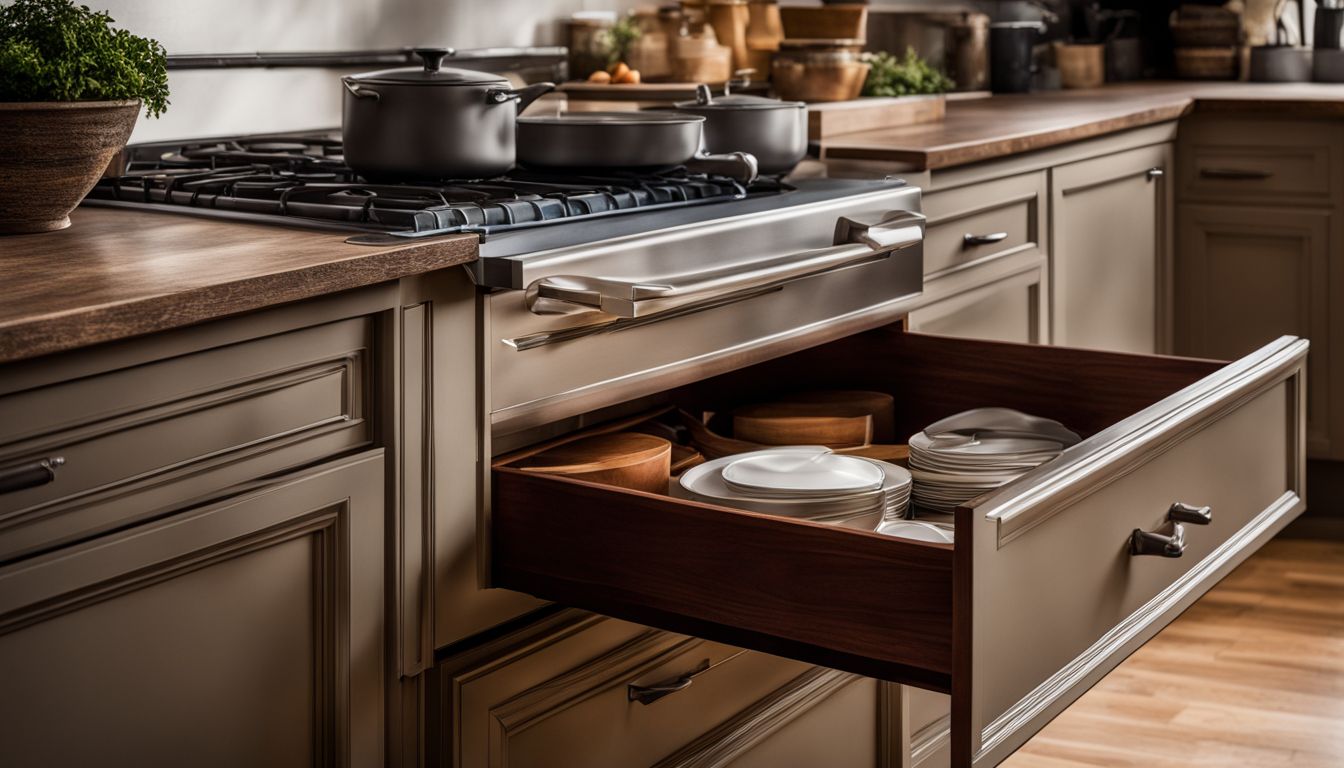
To remove the drawer fronts, follow these steps:
- Unscrew the hinges of the cabinets.
- Look for a release clip that may be present on the hinges. This will make unscrewing them easier.
- Lift the drawer slightly until you hear a click.
- The click means that the bottom slides of the drawer have detached from the slides attached to the cabinet.
- Once detached, pull out the drawer front.
Remove all wall cabinets

Removing wall cabinets in your kitchen can be a bit challenging, but with the right approach, it can be done safely. Here are the steps to remove all wall cabinets:
- Unscrew hinges from cabinet doors
- Remove the doors from the cabinets
- Take off drawer fronts if applicable
- Disconnect any electrical or plumbing connections to the cabinets
- Carefully unscrew and detach all the wall cabinets from the walls
Removing Base Cabinets
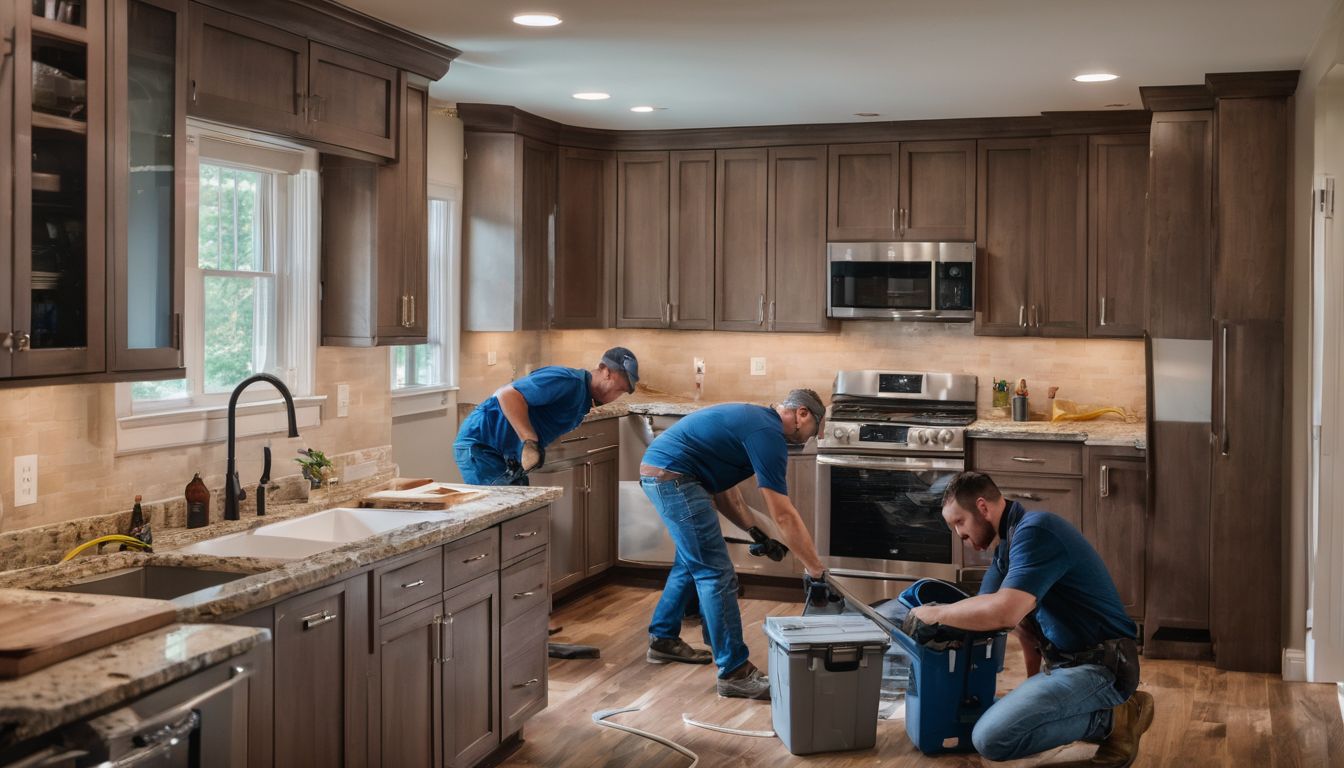
Disconnect plumbing and appliances. Remove countertops, backsplash tiles, and unscrew and remove base cabinets for a smooth and efficient cabinet removal process. Read on to learn more about the necessary steps for removing base cabinets in your kitchen renovation project.
Disconnect plumbing and appliances
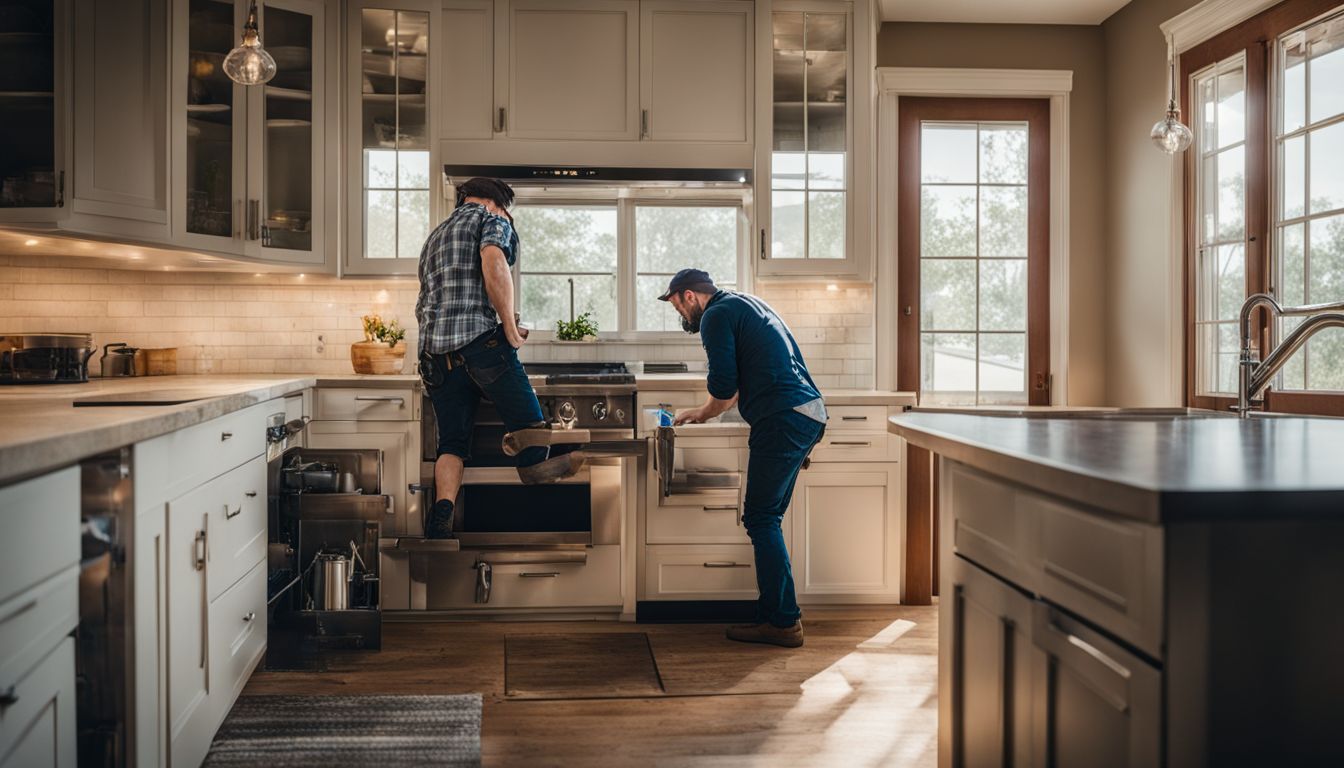
Disconnecting plumbing fixtures and appliances is an important step when removing kitchen cabinets. Here’s what you need to do:
- Unplug and disconnect any electrical connections for appliances such as refrigerators, ovens, and dishwashers.
- Turn off the water supply and disconnect plumbing fixtures like sinks and faucets.
- Remove any screws or fasteners that are keeping the appliances or plumbing fixtures in place.
- Carefully lift and remove the appliances or plumbing fixtures from their designated spots.
Remove countertops
To remove countertops, follow these steps:
- Gather necessary supplies and clear the area of obstructions.
- Disconnect the supply lines to appliances attached to the countertop, such as sinks or stovetops.
- Use a screwdriver to carefully remove the screws or bolts holding the countertop in place.
- If there is adhesive holding the countertop, gently pry it away from the cabinets using a putty knife or scraper.
- Once all screws, bolts, and adhesive have been removed, lift the countertop away from the base cabinets.
- Be careful not to damage any surrounding surfaces or cabinets during removal.
Detach backsplash tiles
Removing backsplash tiles is an important step in removing kitchen cabinets. Here’s how you can do it:
- Use a paint scraper to wedge between the backsplash and the wall.
- This will help loosen the adhesive that holds the tiles in place.
- If necessary, remove the bottom row of tiles before removing the rest of the backsplash.
- A hammer and pry bar can be used to peel the tiles away from the wall.
- Be prepared for some mess, but it’s usually easier to remove tiles from plastered walls.
Unscrew and remove base cabinets
To remove base cabinets, follow these steps:
- Start by disconnecting any plumbing and appliances connected to the cabinets.
- Carefully remove the countertops by unscrewing them from the base cabinets.
- If there are backsplash tiles, gently detach them from the wall using a putty knife or scraper.
- Unscrew the screws holding the base cabinets to the wall, starting from the bottom and working your way up.
- Once all the screws are removed, carefully lift and extract the base cabinets from their position.
Dealing with Appliances and Sink
Properly disconnect and remove all appliances, such as the refrigerator, stove, and dishwasher. Don’t forget to also disconnect and remove the kitchen sink before proceeding with cabinet removal.
Properly disconnect and remove appliances
To safely remove appliances during the kitchen cabinet removal process, follow these steps:
- Turn off the power or gas supply to the appliances.
- Unplug the cord from the socket if it’s an electrical appliance.
- For gas appliances, turn off the gas valve and disconnect any flexible tubing carefully.
- Remove the appliances first before starting with cabinet removal.
- Ensure all connections are properly disconnected and unplugged from power sources.
Disconnect and remove sink
To remove the sink from your kitchen cabinets, follow these steps:
- Turn off the shut – off valves for the hot and cold water supply pipes.
- Use a wrench to disconnect the water supply lines from the bottom of the sink.
- If there is a garbage disposal unit, unplug it and disconnect it from the sink.
- Loosen and remove any clamps or brackets securing the sink to the countertop.
- Carefully lift the sink up and out of its position on top of the cabinets.
- Set aside or properly dispose of the old sink.
Proper Disposal or Reuse of Cabinets

To properly dispose of cabinets after removal, it is best to contact a disposal service. They can help you get rid of the debris and ensure that everything is disposed of in an environmentally friendly manner.
If your cabinets are still in good condition and you don’t want them to go to waste, consider reusing them in another part of your home or donating them to someone in need. Properly disposing or reusing cabinets is important for both avoiding unnecessary waste and for preparing for the installation of new cabinets.
Cabinet Removal FAQs

What tools do you need to remove kitchen cabinets? Is it difficult to do it yourself? How much does cabinet removal cost? Find out the answers in our comprehensive guide.
What tools are needed?
To remove kitchen cabinets, you will need a few tools and supplies. First, gather a utility knife, tarps or drop cloths to protect your floors, a mallet for any stubborn parts, spare 2x4s to support the cabinets while removing them, a cordless drill with different bits, a step stool or ladder for reaching higher cabinets, a screwdriver set for unscrewing hinges and handles, and a measuring tape to ensure accurate measurements.
You’ll also need a crowbar or pry bar along with two putty knives for safely detaching upper cabinets. Additionally, it’s important to have other tools like gloves and goggles for safety purposes.
These are the essential tools needed for successful cabinet removal.
How difficult is it to remove cabinets?
Removing kitchen cabinets can be a challenging task, especially if they are securely attached to the wall or floor. Cabinets that are glued to the wall may require careful prying with a pry bar or chisel to remove them without causing damage.
For cabinets that are attached to the floor, unscrewing them using a drill or screwdriver is necessary. If the cabinets are mounted on the ceiling, additional support and caution should be taken to avoid any potential harm.
Following a step-by-step guide created by experts can make this process easier and ensure a smoother removal of kitchen cabinets.
What is the cost for cabinet removal?
The cost for removing kitchen cabinets can vary depending on whether you hire a professional or do it yourself. If you choose to hire a professional, including the labor and debris disposal fees, it can range from $570 to $1,219.
On the other hand, if you decide to tackle the project yourself, DIY cabinet removal can cost around $15 to $20 per linear foot or $300 to $600 for an average-sized kitchen. It’s important to keep in mind that these costs are just estimates and may vary based on factors such as the size of your kitchen and the difficulty level of the removal process.
Safety Warnings and Precautions

For your safety during the cabinet removal process, it is important to take some precautions. First, make sure to wear gloves and eyewear to protect yourself from any sharp edges or debris.
Also, before you start removing the cabinets, clear the work area of any hazards to avoid accidents. Remember to remove all items from the cabinets, including shelves and drawers, so that they don’t fall out during the removal process.
Another important safety precaution is cutting off power to the kitchen before you begin removing the cabinets. This will prevent any electrical accidents while you’re working. Lastly, when it comes time to dispose of the removed cabinets and other debris, it’s best to call a professional disposal service.
They have the proper equipment and knowledge for handling these materials safely.
By following these safety warnings and precautions, you can ensure a safer cabinet removal process without putting yourself at risk.
Potential Challenges and Solutions

During the process of removing kitchen cabinets, you may face some challenges. One potential challenge is locating and removing all the fasteners that hold the cabinets in place. These fasteners can sometimes be hidden or hard to reach, making it a bit tricky to remove the cabinets.
To solve this challenge, make sure to thoroughly inspect each cabinet for any screws or nails and use the appropriate tools (such as a screwdriver or pry bar) to carefully remove them.
Another challenge you might encounter is releasing any caulking or adhesive that may be holding the cabinets against the wall. This can require some effort and patience since caulking and adhesive can be strong and stubborn.
To overcome this challenge, you can use a putty knife or scraper to carefully loosen and remove any caulk or adhesive before attempting to remove the cabinets.
One more potential challenge is ensuring that all items from shelves and drawers are properly removed before starting the removal process. It’s important not to overlook anything because leaving items inside could cause damage when removing the cabinets.
The solution here is simple – take your time to empty out all shelves and drawers thoroughly before proceeding with cabinet removal.
By being aware of these potential challenges ahead of time, you’ll have an easier time tackling them during your kitchen cabinet removal process.
Conclusion
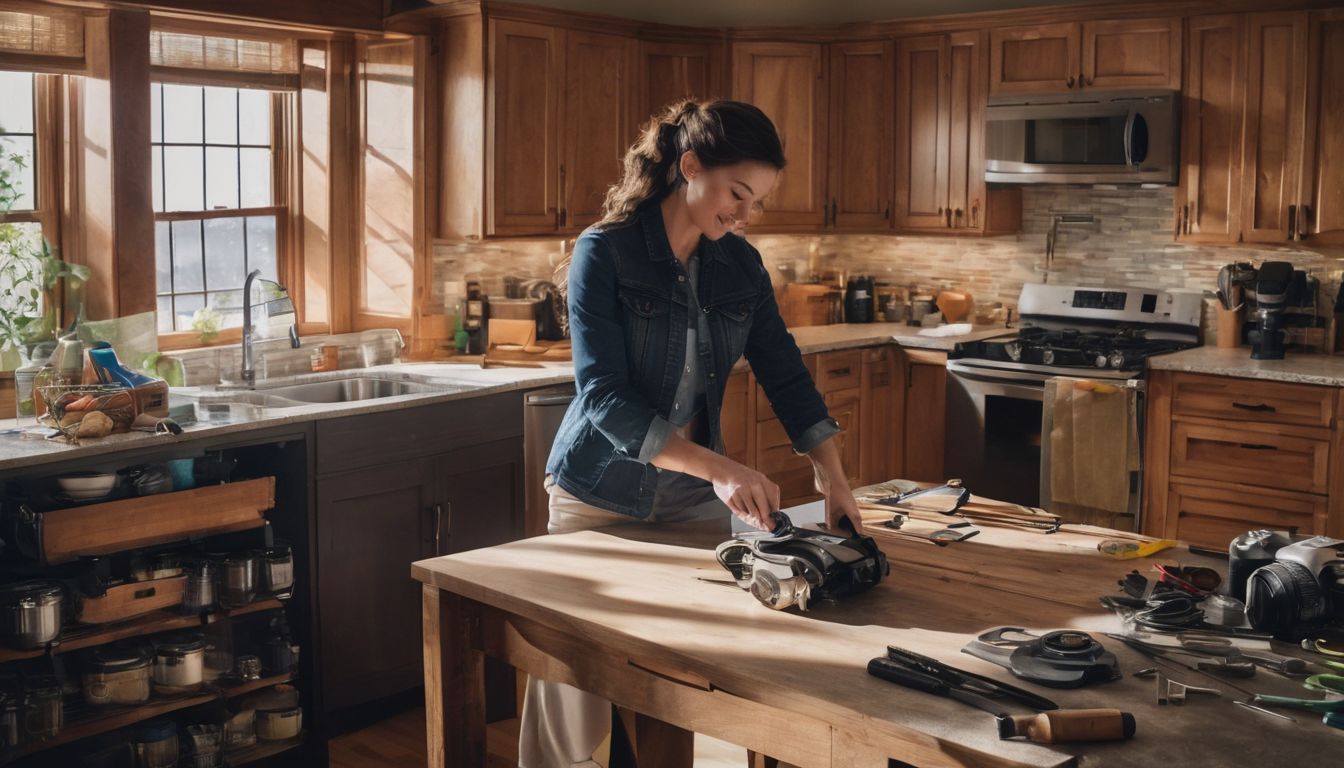
In conclusion, removing kitchen cabinets can be a straightforward process if you follow the step-by-step guide provided. By gathering the necessary tools, preparing the area, and taking proper precautions, you can successfully remove your old cabinets and make way for a fresh new look in your kitchen.
Remember to take it one step at a time and be cautious throughout the entire process. Good luck with your cabinet removal project!
FAQs
What tools do I need to remove kitchen cabinets?
You will need basic tools such as a screwdriver, pry bar, hammer, and pliers to remove kitchen cabinets.
How long does it take to remove kitchen cabinets?
The time required to remove kitchen cabinets can vary depending on factors like the number of cabinets and their complexity. On average, it can take a few hours to complete the process.
Can I reuse the cabinets after removing them?
Yes, you can reuse the cabinets if they are still in good condition. However, keep in mind that reinstalling them may require additional materials and skills.
Do I need professional help to remove my kitchen cabinets?
Removing kitchen cabinets is a DIY task that can be done by most homeowners with basic handyman skills. However, if you’re unsure or uncomfortable with the process, it’s best to consult a professional for assistance.
How do I dispose of old kitchen cabinets?
Old kitchen cabinets can be donated or recycled if they are in usable condition. If not, they should be taken to a local landfill or arranged for pick-up by waste management services following proper disposal guidelines in your area.


