What are the two main ingredients involved in a whitewash? Find out Now!
Tired of staring at dull walls or fences? The secret to a brilliant, budget-friendly refresh lies in two simple ingredients: lime and water. In this blog post, we’ll dive into the classic concoction of whitewash, revealing how these components come together to transform and protect your spaces.
Ready for a change? Let’s embark on a DIY journey that promises to brighten your world!
What The Two Main Ingredients in Whitewash

At the heart of traditional whitewash lies a simple but transformative duo—lime and water. These two elemental components, in their synergy, create a versatile concoction celebrated for its aesthetic appeal and functional benefits.
1. Lime
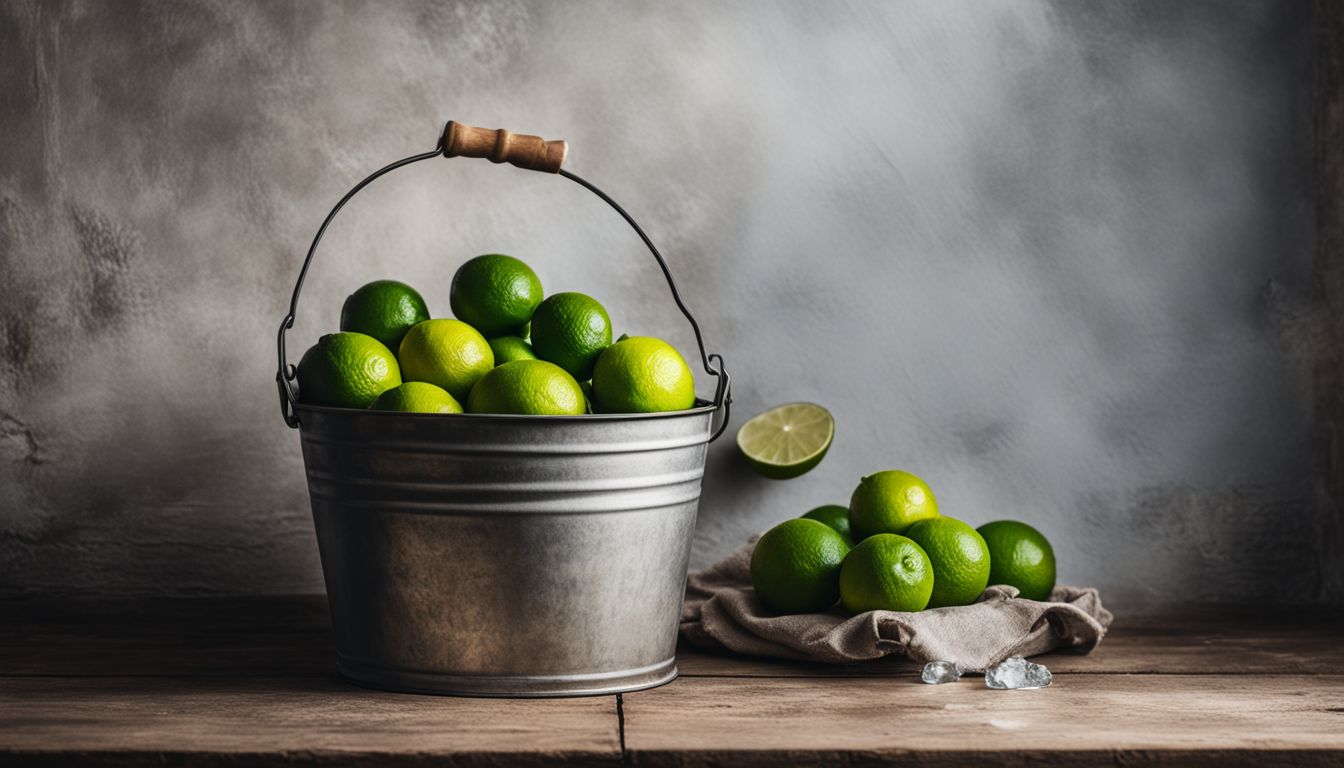
Lime is the backbone of any whitewash recipe. It’s a fine, white powder that comes from burnt limestone, also known as calcium carbonate (CaCO3). When you add water to lime, it turns into a paste that sticks to walls and fences.
This mix dries hard and creates a protective layer over surfaces.
Whitewashes made with lime have been around for centuries. People often choose them because they’re natural. Lime also has antibacterial properties that help keep surfaces clean and hygienic.
Plus, it acts as an insect repellent – a bonus if bugs are a problem where you live!
2. Water
Water is the second essential ingredient in making whitewash. It acts as a carrier, helping to spread the lime evenly over surfaces. Just like milk needs water to become a drinkable solution, lime requires water to transform into an effective paint.
Mixing these two creates a thin, paint-like substance that can soak into wood or brick easily.
The right amount of water matters; too little and the mixture isn’t workable, too much and it won’t cover well. In proper measure, it allows hydrated lime to reach its full potential as a weather-resistant coating.
As you mix it with lime, watch for a smooth consistency—similar to latex paint but without any harmful chemicals or odors.
The Role of Each Ingredient
Understanding the vital functions of lime and water in the whitewash concoction is akin to unraveling a culinary recipe—each component plays a pivotal role. Lime acts as the steadfast backbone, providing durability and protection; meanwhile, water serves as the vehicle for transformation, melding substance into spreadable magic.
Lime’s Function in Whitewash
Lime is a superhero in the world of whitewash! It’s what sticks everything together. As soon as lime meets water, it starts working its magic, growing crystals that latch on to walls like tiny hooks.
This isn’t just about sticking; these crystals are tough fighters against bacteria. They keep your walls clean and healthy by battling unwanted germs.
Lime wash also lets old buildings breathe better than modern paints do. It absorbs carbon dioxide from the air, turning back into limestone and getting harder over time. This amazing transformation helps preserve historic places for generations to enjoy! With lime in your whitewash mix, you’re not just making things look pretty—you’re giving them durable armor and a shield against moisture and decay.
Water’s Role in the Mixture
Water transforms powdered lime into a spreadable paste. It starts thick, but as you add more water, it becomes smooth like heavy cream. This is crucial for the whitewash to coat surfaces evenly.
Water also triggers a reaction with calcium oxide in lime to make calcium hydroxide—this is what helps the whitewash stick to walls and fences.
During drying, water evaporates and leaves behind calcite crystals that bind the paint firmly to the surface. The right amount of water is key; too little won’t allow proper spreading, while too much can weaken the mixture’s ability to adhere.
Properly mixed, with enough water, whitewash creates a durable and sanitary coating that lets walls breathe and resist humidity.
Optional Ingredients in Whitewash
While the traditional whitewash formula is simple, incorporating optional ingredients can bring additional resilience and color variation to your project. Let’s dive into how substances like salt or natural pigments can refine the characteristics of your homemade mix.
Salt
Salt can really make a difference in your whitewash. Throwing in some salt gives it antibacterial powers, which is great for keeping things clean and germ-free. People have been mixing salt into their whitewash for hundreds of years.
It’s not just about health though; salt helps the mixture stick better to walls and fences you’re painting.
Guess what? You can add colors too! Just like adding flavors to food, natural pigments can spice up your white paint job.
Natural Pigments
Moving from the essential elements of lime and water, let’s delve into something extra for your whitewash – natural pigments. These substances come right from the earth, offering a splash of color to your mixture.
They could be simple soil or even flour. Adding these pigments is how you can personalize the hue of your whitewash. Imagine brushing on shades that blend seamlessly with nature or match the warmth of your home.
Natural pigments make whitewashing a creative process. You’re not just protecting walls; you’re giving them character with eco-friendly colors. Whitewashes crafted this way are kinder to our planet—they are non-toxic and biodegrade over time.
Plus, they give surfaces a distinct look that synthetic paints can’t match. With natural pigments in your limewash, every stroke resonates with an organic feel—full of life and free from harmful chemicals.
The Whitewash Making Process
Crafting your own whitewash blend isn’t just a nod to tradition—it’s a hands-on way to personalize and protect various surfaces with ease. Dive into the simplicity of this ancient practice as we guide you through combining lime and water, along with the flair that optional ingredients can bring, creating a concoction suited for both aesthetic appeal and practicality.
Mixing Lime and Water
Start by putting on your protective gear. Lime can be harsh on skin and eyes. Now, grab lime and measure out the right amount. You need about 20% lime for your mix. Slowly pour water into the lime while stirring constantly.
Keep stirring until it looks like a thin paste with no lumps.
Stirring is key here—it makes sure everything combines well. If you rush this step, the whitewash won’t stick to surfaces as it should. So take your time and mix thoroughly! The goal is a smooth mixture that will coat walls or other surfaces evenly, giving them protection and a fresh look at the same time.
Adding Optional Ingredients
Consider a pinch of salt or a spoonful of natural pigments to spice up your whitewash. These extras can make the mixture stick better and last longer. For example, adding dry calcium chloride can cut down on dusting off the surface.
Or toss in some color with dried pigments for a custom shade that stands out.
Mix optional ingredients into the lime paint carefully. Make sure they blend well to avoid clumps or uneven colors. With these add-ins, you’ll get more than just a plain white wall; you’ll have a durable, vibrant finish that brings life to any space!
Determining the Number of Coats Needed for Whitewashing
Whitewashing a wall or surface is not just about slapping on some paint. You need the right number of coats to get that perfect white look.
- Look at your surface: Is it smooth or rough? Smooth surfaces often need fewer coats than rough ones.
- Think about the color you’re covering: A dark or bright color will need more whitewash to hide it completely.
- Use your first coat as a test: After it dries, check how well it covers. This can tell you how many more coats you’ll need.
- Consider the whitewash type: Some are thicker and might cover better with fewer coats.
- Remember, whitewash made with lime putty and water needs at least three coats to look semi-opaque.
- Check the weather: If it’s humid or cold, drying takes longer and might affect how many coats you can apply in a day.
- Plan for size: A large area like a wall might show streaks or thin spots after one coat, so plan for additional layers.
Defining Whitewash
Whitewash is a simple paint with just a few ingredients. People have used it for centuries to coat walls, fences, and barns. It’s made mainly from slaked lime—also known as calcium hydroxide—and water.
These two create a mixture that’s thick but workable. Slaked lime starts off as quicklime which then gets mixed with water in a process called slaking, forming the base of whitewash.
This white mixture dries to become hard and opaque. It offers protection against weather and can help prevent insect damage. Farms often choose whitewash because it has antimicrobial properties too.
This means it stops bacteria and mold from growing on surfaces.
Let’s explore deeper into these main ingredients – what they are and why they’re important in making whitewash stick to surfaces so well.
Conclusion
Lime and water are the stars of the whitewash mix. They team up to refresh your space with a bright, clean look. Together, they create an eco-friendly paint that’s safe for animals and people alike.
Simple yet effective, this duo works wonders on surfaces in need of some love. Ready to give your walls or fence a classic touch? Grab lime and water, and start your whitewashing adventure!
For guidance on the right number of layers for your project, check out our detailed article on how many coats you need when whitewashing.
FAQs
1. What exactly is in a whitewash mix?
Whitewash typically mixes two main ingredients—lime, often called calcimine or kalsomine, and water. These combine to form the base of this timeless paint.
2. Do people still use classic whitewash on their homes?
Yes! Homeowners cherish how it transforms timbers and walls with a bright, matte finish—the look is simply ageless.
3. Can other elements be added into whitewash for different effects?
Indeed, you can add binders like oil-based paints or varnishes to make your whitewash stick better and last longer, even outdoors!
4. Is making your own whitewash tricky?
Not at all! You just need lime—like calsomine—and water; mix them until you’ve got that perfect creamy consistency. Sometimes folks even toss in a teaspoon of salt for extra durability.
5. Will I need any special tools for applying the whitwash once I’ve mixed it?
Grab yourself a brush and let’s get going—all you’ll need to apply that fresh coat of charm to your place!


