Can You Paint a Kitchen Sink? A Step-by-Step Guide
Ever found yourself gazing at your kitchen sink, imagining how a new look could transform it? It’s not always easy – feeling stuck with an old, stained sink while dreaming of that perfect kitchen haven.
The great news is: I’ve waded through piles of information and the answer is a resounding yes, painting your kitchen sink can be a DIY project! Stick around for this thorough guide on how to breathe some life back into your tired old sink using nothing more than some paint!
Key Takeaways
- Yes, you can paint a kitchen sink to give it a fresh new look and update the appearance of your kitchen.
- Before starting, identify the material of your sink (porcelain, aluminum, earthenware/stoneware, or stainless steel) for specific preparation and paint requirements.
- You will need tools such as primer, paintbrush or roller, sandpaper for prepping the surface, cleaning supplies, and protective gear.
- Follow the step-by-step guide to prepare your sink properly, fix any damage if needed, apply primer and paint in thin coats with drying time in between each coat. Finish off with sealant or clear topcoat for added durability.
Can You Paint a Kitchen Sink?
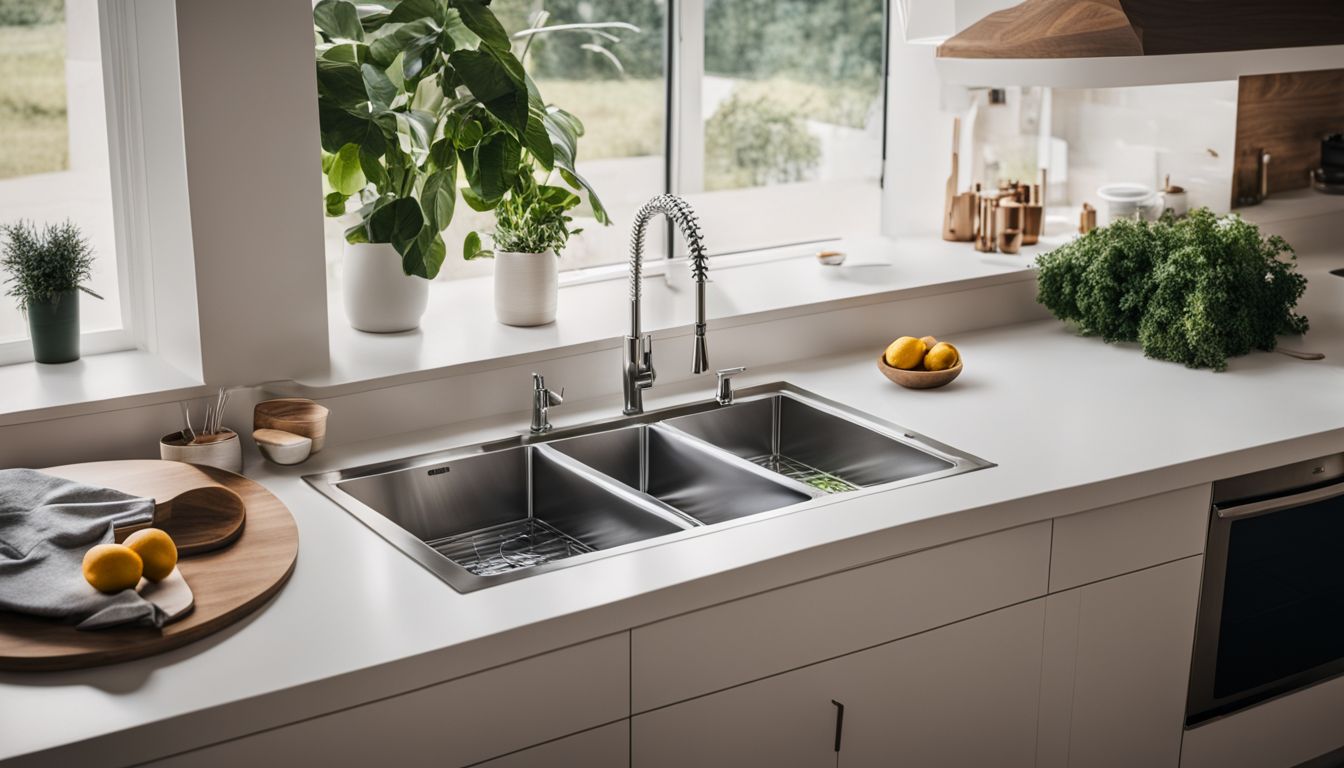
Yes, you can paint a kitchen sink to give it a fresh new look and update the appearance of your kitchen.
Pros and Cons
Painting your kitchen sink can breathe new life into your kitchen, but it’s essential to weigh the pros and cons before diving into this project.
| Pros | Cons |
|---|---|
| Painting a kitchen sink is cheaper than buying a new one. | The process is time-consuming. |
| It helps to eliminate toxins, contributing to a healthier kitchen environment. | It requires proper preparation and a set of specific tools and materials. |
| It gives you the opportunity to customize your sink to suit your personal style. | If not done correctly, the paint can start to chip or peel off over time. |
| You can use paints like epoxy paint which are known for their durability and resistance to water. | Painting a porcelain sink, for example, requires a specific approach and materials. |
| Rust-Oleum offers a kitchen sink paint kit, making the process more manageable for beginners. | Improper application can lead to an uneven or bumpy finish that’s not aesthetically pleasing. |
Before You Start: Identifying Your Sink Material
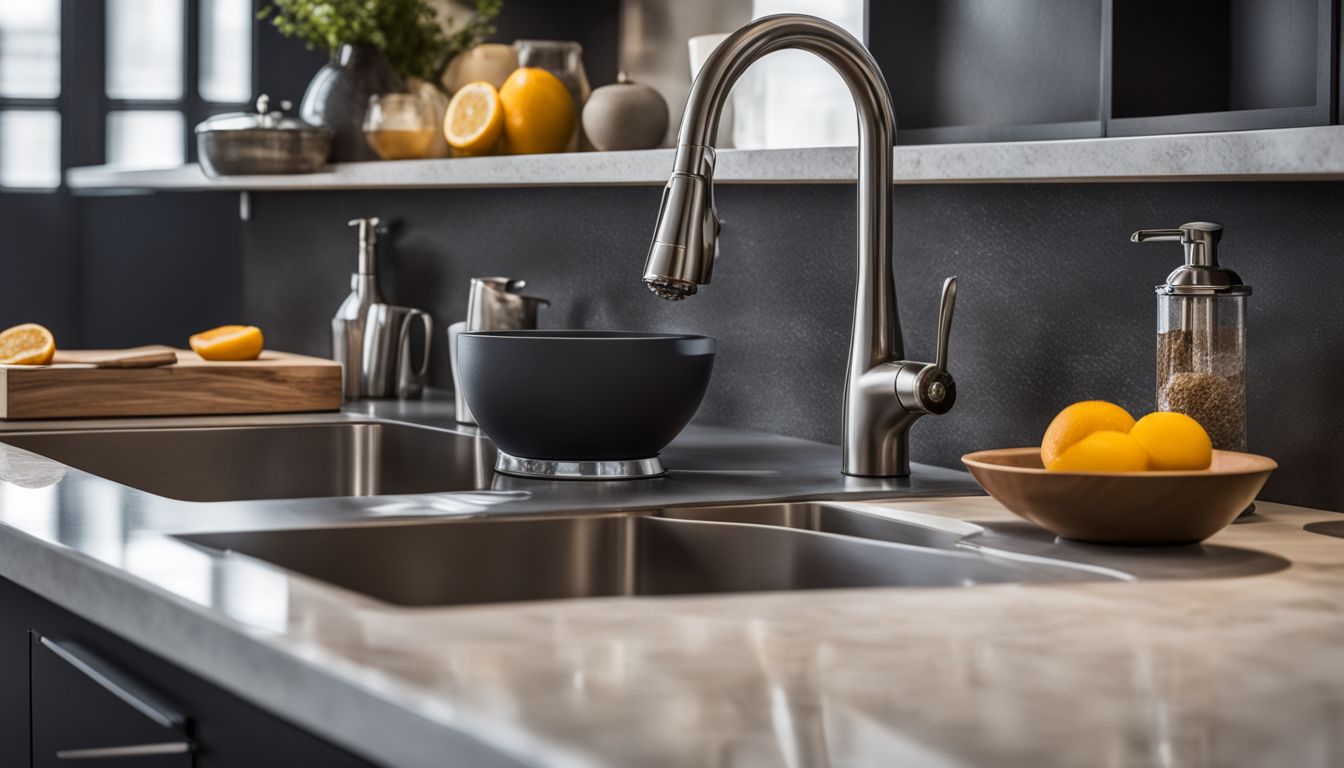
Before you start painting your kitchen sink, it’s essential to identify the material it is made of. Each sink material requires specific preparation and paint for optimal results. Read on to learn more about identifying your sink material and how to proceed with painting it.
Porcelain
Porcelain is a top choice for kitchen sinks. It looks clean and shiny. But over time, it can get dull or stained. Don’t worry! With good planning and the right stuff, you can paint your porcelain sink.
You will need epoxy paint for this job. This type of paint sticks well to porcelain surfaces. Make sure you work in a place with lots of fresh air when painting because epoxy fumes can be strong.
A painted sink is an easy way to give your kitchen a new look without spending too much money.
Aluminum
Aluminum sinks are great, but they can lose their shine. You can bring back the sparkle by painting them! Many colors work well on aluminum. Just make sure to use epoxy paint as it’s best for this kind of metal sink.
First, rinse your sink and let it dry before starting the painting job. This will give you a fresh, clean surface for the new color to stick to. Changing the look of your kitchen is fun and easy when you paint an aluminum sink.
Earthenware/Stoneware
Earthenware and stoneware are types of clay used in pottery making. Earthenware requires lower firing temperatures compared to stoneware clay, which can be fired at much higher temperatures up to 2,345°F.
Both earthenware and stoneware are made by mixing clay with silica and other additives, but the specific mix and firing temperature vary between the two. It’s important to note that working with pottery materials can involve handling hazardous substances.
Overall, stoneware clay is commonly used in pottery making due to its durability and ability to withstand high temperatures.
Stainless Steel
Stainless steel is a popular material for kitchen sinks. It’s durable, low maintenance, and longlasting. Plus, it’s stain-resistant and rustproof. This means that it can handle everyday use without getting damaged easily.
Stainless steel sinks are also versatile and have a modern look that fits well with different kitchen styles. Another great thing about stainless steel is that it’s nonporous, so it won’t absorb odors or bacteria.
Overall, stainless steel is a high-quality choice for your kitchen sink because of its resilience and ease of cleaning.
In the U.S., stainless steel sinks are made to be hygienic, sustainable, and corrosion-resistant. They meet strict standards to ensure their quality and performance in the kitchen.
Tools and Materials Needed
To successfully paint your kitchen sink, you will need several tools and materials. These include primer, paint, a paintbrush or roller, sandpaper for prepping the surface, cleaning supplies to ensure a clean surface before painting, and protective gear such as gloves and goggles.
Primer
Applying primer is an important step when painting your kitchen sink. It helps the paint adhere to the surface and creates a smooth base for better coverage. The primer acts as an undercoat, improving adhesion and promoting long-lasting results.
One coat of primer is usually enough, but always follow the manufacturer’s instructions. Before painting, make sure to properly clean and sand the sink surface. Use painter’s tape to mask off any areas that should not be painted.
Choosing a high-quality primer designed for your sink material will ensure a successful project with a beautiful finish.
Paint
When it comes to painting your kitchen sink, there are a few things you need to know about the paint. It’s important to use the right type of paint for the best results. One option is Rust-Oleum sink paint, which is specifically designed for sinks and other surfaces that come into contact with water.
Another option is epoxy paint, which provides durability and resistance against moisture. You can find these paints at stores like Lowe’s. Remember to follow the manufacturer’s instructions for application time and techniques to make sure your painted sink looks great and lasts long.
Paintbrush/Roller
When painting your kitchen sink, it’s essential to have the right tools for the job. A paintbrush and a paint roller are two common options. The brush allows for more control and precision when applying paint to smaller areas or edges.
On the other hand, a roller covers larger surfaces more efficiently and quickly. To ensure good results, it’s crucial to select high-quality brushes and lint-free microfiber roller covers.
These tools will help you achieve smooth coverage with minimal streaks or lines. After painting, don’t forget to clean your brush properly using the recommended cleaning products so that it can be used again in the future.
Remember, different techniques apply when using a paintbrush versus a roller. With brushes, focus on maintaining proper form and applying even pressure while spreading the paint smoothly on your sink’s surface.
For rollers, start by loading an appropriate amount of paint onto the cover and then roll it evenly onto your sink in long strokes from one end to another.
Sandpaper
Sandpaper is an important tool when it comes to painting a kitchen sink. It helps in preparing the surface by removing any defects or scratches. Sandpaper comes in different grits, with medium-grit (around 120-150 grit) and finer grit (around 220-320 grit) being commonly used for sinks.
The abrasive particles on the sandpaper scratch away imperfections, leaving a smooth surface for painting. I usually do this step by hand, using either the sandpaper itself or a sanding block.
For light sanding, 60-grit sandpaper works well. Just make sure to use a light touch to avoid damaging the sink further.
Cleaning Supplies
For a successful sink painting project, it’s important to have the right cleaning supplies. I recommend using nontoxic and eco-friendly cleaning products to ensure safety. Avoid harsh chemicals that can damage your sink or pose health risks.
Look for natural cleaning solutions that are effective in removing dirt and grime without causing harm. Make sure you have the necessary tools like cleaning brushes and sponges, as well as disinfecting agents for thorough sanitation.
Remember to clean and sanitize your tools before and after use to maintain their effectiveness. By using the appropriate cleaning supplies, you’ll be able to prepare your sink properly before painting it.
Protective Gear
When working on a painting project, it’s important to protect yourself with the right gear. Fumes from paint and other chemicals can be harmful, so wearing a respirator or an N95 mask is crucial.
Safety goggles should also be worn to shield your eyes from any splashes or flying debris. Don’t forget about protective gloves to keep your hands safe from chemicals and sharp tools.
It’s a good idea to wear disposable coveralls to avoid getting paint on your clothes. If you’re using sandpaper or doing any loud work, ear protection is recommended. Finally, make sure you have proper ventilation in the area by using a fan or opening windows for fresh air.
Step-by-Step Guide to Painting Your Sink
Let’s get started on transforming your kitchen sink with this easy step-by-step guide.
Preparation
Before you start painting your kitchen sink, it’s important to do some preparation. First, make sure you clean the sink thoroughly to remove any dirt or grime. This will help the paint adhere better to the surface.
You should also remove any dishes, utensils, or debris from the sink before painting. Next, if there are any damages such as chips or cracks in your sink, fix them using an appropriate repair kit.
Once your sink is clean and repaired, it’s time to prime it. Apply a layer of primer to create a smooth surface for the paint to stick to. After that, you can start painting your sink with your chosen paint color.
Make sure to apply thin coats and allow each coat to dry completely before applying another one. Lastly, finish off your painted sink by adding some finishing touches like sealant or clear topcoat for added durability and protection.
Fixing Any Damage
If your kitchen sink has any damage, like chips or cracks, don’t worry! You can fix it before painting. To repair a ceramic or porcelain sink at home, follow these steps: First, clean the damaged area and let it dry completely.
Then, use a fine-grit sandpaper to smooth out any rough edges. Next, apply an epoxy-based filler to fill in the chip or crack and let it dry according to the instructions. Once the filler is dry, sand it down until it’s smooth and level with the rest of the sink surface.
Finally, wipe away any dust and debris before proceeding with priming and painting your sink as mentioned earlier.
Priming Your Sink
Before painting your kitchen sink, it’s important to prime the surface first. Start by removing any old caulk and cleaning the sink thoroughly. Then, apply automotive primer to ensure proper adhesion of the paint.
Make sure to cover every inch of the sink evenly with primer, allowing it to dry completely before moving on to the next step. If you’re working with a stainless steel sink, use sandpaper with a grit of 220 to roughen up the surface for better paint adherence.
By priming your sink properly, you’ll create a smooth and durable base for your paint job.
Painting Your Sink
When painting your sink, it’s important to start by cleaning the surface thoroughly. This will ensure that the paint adheres properly and lasts longer. Once the sink is clean, you can fix any damage, such as chips or cracks, using a suitable filler.
After that, apply a primer specifically designed for sinks to create a smooth base for the paint. When it comes to choosing the paint color, there are several options available for porcelain sinks.
You can use either a brush or roller to apply the paint onto your sink, depending on what you’re comfortable with.
During this process, remember to take your time and be patient. Painting a sink requires attention to detail and precision. Allow each coat of paint to dry completely before applying another one.
This will ensure an even finish without any streaks or patches.
Finishing Touches
After you have painted your sink and allowed it to dry, it’s time for the finishing touches. To protect the painted surface and increase its durability, apply a clear coat or topcoat.
This will help to seal in the paint and prevent it from chipping or peeling. It is recommended to apply multiple coats of clear coat or topcoat for a smoother and more professional finish.
Make sure to allow each coat to dry completely before applying the next one. Some clear coat products may require a curing time before they can be used, so check the instructions on the product label.
Tips for a Successful Sink Painting Project
To ensure a successful sink painting project, there are a few tips to keep in mind. Firstly, it’s important to be aware that painted sinks can be sensitive to extreme temperature changes.
Avoid placing hot pots or pans directly on the painted surface to prevent any damage.
Before you start painting, make sure to thoroughly clean the sink surface. This will help the paint adhere properly and give you a smooth finish. Also, remember to start painting from the edges and corners first, then work your way towards the center for better coverage.
If you have a stainless steel sink, it may be easier to remove it before painting. This way, you can paint all sides without worrying about missing any spots. Lastly, keep in mind that any grease or dirt on the sink will show through the paint.
So take your time and clean it well before starting your project.
By following these tips and using high-quality materials like epoxy or black epoxy paint designed for your specific sink material, you’ll have a better chance of achieving professional-looking results with your painted kitchen sink.
Common Mistakes to Avoid
I want to share with you some common mistakes that people often make when painting a kitchen sink. Here they are:
- Not properly understanding the necessary prep work involved.
- Neglecting to read the instructions before beginning the painting process.
- Overlooking the importance of cleaning the sink surface before painting.
- Not using steel wool to thoroughly scour the sink for a smooth painting surface.
- Failing to properly assess the cabinets and create a realistic schedule for painting.
- Lack of planning and preparation before starting a kitchen renovation.
- Underestimating the overall cost of the renovation project.
Other Creative Ways to Update Your Sink
In addition to painting your sink, there are several other creative ways you can update its appearance. One option is to add decals or stickers to the surface of your sink for a unique design.
Another option is using contact paper that mimics the look of marble or another desired pattern. These alternatives allow you to give your sink a fresh new look without the commitment and cost of repainting.
Adding Decals
If you want to give your sink a unique and personalized touch, one creative way is to add decals. Decals are adhesive stickers or designs that you can easily apply to the surface of your sink.
They come in various patterns, colors, and styles, allowing you to choose something that matches your kitchen decor. Adding decals is a quick and affordable way to update the look of your sink without having to repaint or replace it.
Simply clean the surface of your sink, peel off the backing of the decal, and carefully stick it onto the desired area. Smooth out any bubbles or wrinkles with a soft cloth or squeegee for a smooth finish.
It’s important to note that when cleaning your painted sink with decals, avoid using abrasive cleaners or scrubbing too vigorously as it may damage the decal’s adhesive or design over time.
Using Contact Paper
If you’re looking for a budget-friendly way to update your kitchen or bathroom sink, using contact paper is a great option. Contact paper is decorative adhesive paper that can be applied to surfaces like sinks and countertops to give them a new look.
It’s an easy DIY project that doesn’t require any special skills or tools. The self-adhesive nature of contact paper makes it simple to apply and remove if you change your mind later on.
Plus, there are many different designs available, so you can find one that suits your style. Whether you want to create the look of granite or just add a pop of color, using contact paper is an affordable and stylish solution for updating your sink or countertop.
Maintaining and Cleaning Your Painted Sink
To keep your painted sink looking its best, it’s important to follow proper maintenance and cleaning procedures. Regularly clean your sink with a mild detergent and warm water, using a soft cloth or sponge to avoid scratching the paint.
Avoid abrasive cleaners or scrub brushes that could damage the surface. Additionally, be cautious when placing heavy pots or pans in the sink to prevent any chipping or peeling of the paint.
With proper care, your painted sink will continue to add beauty and style to your kitchen for years to come.
Dos and Don’ts
Maintaining and cleaning your painted sink is important to preserve its appearance and longevity. Here are some dos and don’ts to keep in mind:
- Do clean your painted sink regularly using a mild detergent and warm water. This will help remove dirt, grime, and soap residue without damaging the paint.
- Do wipe the sink dry after each use to prevent water spots or moisture buildup, which can potentially damage the paint over time.
- Do use soft, clean cloths for wiping and cleaning the painted sink. Avoid abrasive materials such as scrub brushes or scouring pads that may scratch the surface.
- Do use gentle cleaning methods when dealing with tough stains. For example, you can create a paste of baking soda and water to gently scrub away stubborn stains without harming the paint.
- Do consider using recommended products specifically designed for maintaining and protecting painted sinks. These products can help enhance the durability of the paint finish.
- Don’t use harsh chemicals or abrasive cleaners on your painted sink. These can strip away the paint or cause it to fade prematurely.
- Don’t leave standing water or wet sponges on the surface of your painted sink for long periods of time. This can lead to moisture seeping into the paint layers, causing peeling or discoloration.
- Don’t allow heavy objects to bang against the sink surface, as this can chip or dent the paint. Be cautious when handling pots, pans, or other utensils near the sink.
- Don’t use sharp tools or knives directly on your painted sink. Always use cutting boards to prevent accidental scratches.
Recommended Products
When it comes to maintaining and cleaning your painted sink, there are a few recommended products that can help. For keeping the surface clean, use a spray cleaner or soapy water with a soft cloth.
If you have a white enamel sink, spraying it down with a spray cleaner and patting it dry with a paper towel works well. It’s important to avoid abrasive cleaners that could damage the paint.
Additionally, using a clean cloth dampened with water before painting can help prepare the sink surface for better adhesion of the paint. Remember to follow any specific product instructions and recommendations for best results in maintaining and cleaning your painted sink.
Conclusion
In conclusion, painting a kitchen sink can be a great way to give it a fresh new look. With the right tools and materials, as well as proper preparation, you can successfully paint your sink in just a few easy steps.
Just remember to choose the right type of paint for your specific sink material and follow the step-by-step guide outlined in this article. So go ahead and get creative with your kitchen sink makeover!
FAQs
1. Can I paint my kitchen sink to give it a new look?
Yes, you can paint your kitchen sink to give it a fresh appearance and update the color.
2. Do I need any special type of paint for painting a kitchen sink?
Yes, you will need to use epoxy-based or acrylic enamel paint specifically designed for high-moisture areas like sinks.
3. What steps should I follow to paint my kitchen sink?
To paint your kitchen sink, first clean and sand the surface, then apply a primer coat followed by multiple thin coats of the chosen paint. Finish with clear sealant for added protection.
4. How long does it take for the painted finish on a kitchen sink to dry and cure?
The drying time varies depending on the specific product used, but generally, it takes around 24-48 hours for the painted finish to dry and at least several days to fully cure.


