Can a Cracked Kitchen Sink be Repaired? 7 Best Fixing Options
Experiencing the shock of finding a crack in your kitchen sink can be disconcerting — trust me, there’s something about that unsightly blemish marring your once pristine sink that just doesn’t sit well.
This led me on a journey to decipher the best methods for repairing such cracks effectively. So stick around! This guide promises to arm you with several handy repair options, ensuring those pesky cracked sinks won’t compromise the picture-perfect charm of your kitchen anymore!
Key Takeaways
- Repairing a cracked kitchen sink is important to prevent further damage to your house and maintain the appearance of your kitchen.
- Different materials used for kitchen sinks have varying levels of durability and susceptibility to cracks, so it’s important to choose the right repair method based on the type of material.
- DIY options for repairing a cracked sink include using repair kits, mixing and tinting resin, applying epoxy resin, and sanding/smoothing the repaired area.
- If you prefer not to do it yourself or if the crack is severe, professional repair services are available. They can assess the damage and use specialized techniques to fix your sink.
Can a Cracked Kitchen Sink be Repaired: The Importance of Repaire
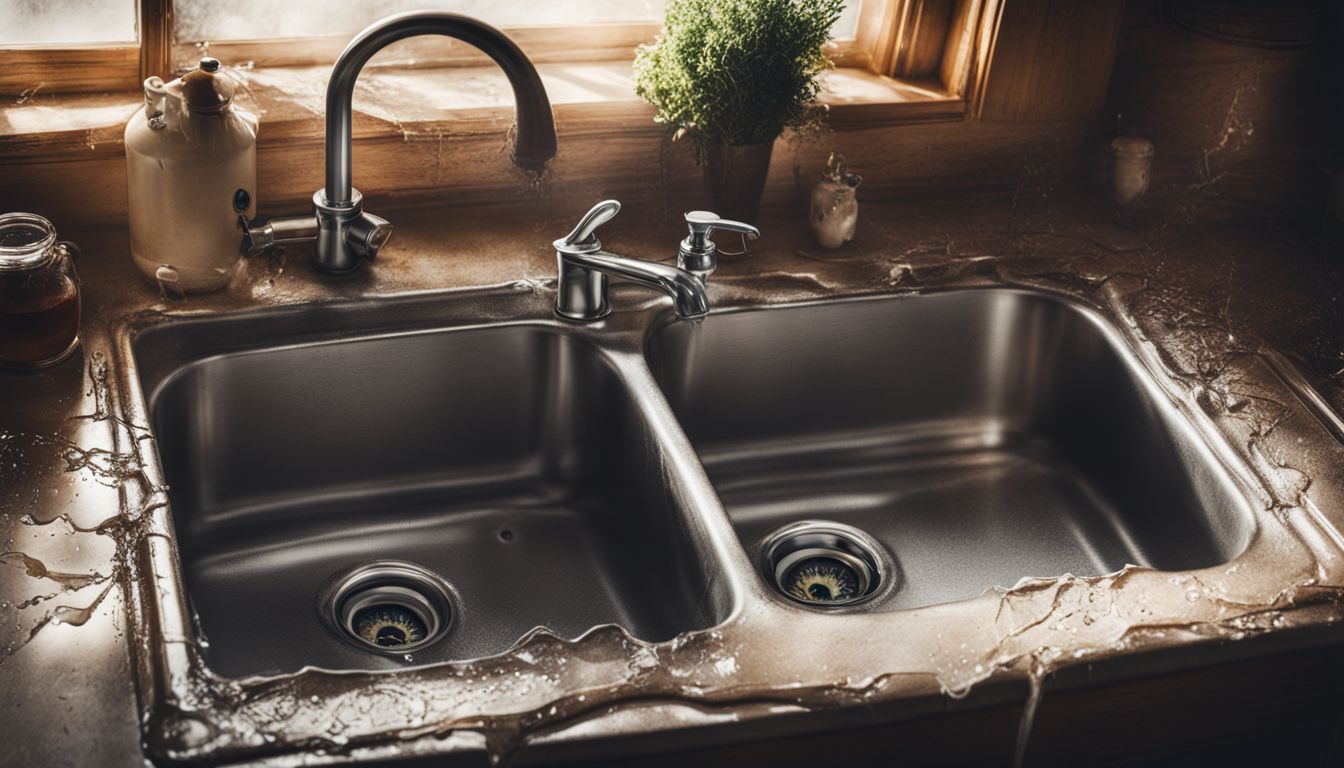
A cracked kitchen sink is a big problem. It doesn’t just look bad, it can cause damage to your house. Water can leak through the crack and get into parts of your home that should stay dry.
This may ruin cabinets or even harm the structure of your house.
Fixing a sink right away stops more problems from happening. A fast repair might let you use the same sink for many years without needing to buy a new one. Small issues like clogs, leaks and chips are easy fixes too.
Some professionals can fix cracks which saves money since you won’t need a new sink.
Types of Materials Used for Kitchen Sinks

I want to share something about what kitchen sinks are made from. There are many kinds of materials used in making them.
- Porcelain sinks: These are pretty but can crack.
- Cast iron sinks: These are strong and last a long time.
- Ceramic sinks: They look nice but can chip.
- Fireclay sinks: These are solid and hold up well.
- Quartz sinks: They don’t get stained or chipped.
- Stone sinks: Each one is unique and very sturdy.
- Marble sinks: They give any kitchen a luxurious feel.
- Acrylic Sinks: This is a more affordable option but less durable than other types.
- Nickel Sinks: These do not chip or crack easily, just like stainless steel and copper sinks.
- Brass Sinks: This type also does not chip or crack often.
The Best Ways to Repair a Cracked Kitchen Sink
When it comes to repairing a cracked kitchen sink, there are several effective methods you can try. From choosing the right repair kit to applying and smoothing out the resin, this step-by-step guide will show you how to fix your sink with ease.
Read on to learn more!
Choose the right repair kit
Picking the right repair kit is key. If your kitchen sink is porcelain, go for a porcelain sink repair kit. It will have all you need for the job. But if your sink is ceramic, epoxy may be best.
This strong glue works great on small and big damages alike. So before you start fixing your cracked sink, make sure to pick out the correct fix-it pack!
Prepare the area
To start repairing a cracked kitchen sink, it is important to prepare the area properly. First, clean the area around the crack with a gentle cleanser and make sure it’s completely dry before you begin.
Then, sand the crack lightly to create a smooth surface for repair. Next, apply painter’s tape around the edges of the crack and seal off the surrounding area with wrapping material to protect it from any spills or drips during the repair process.
Once everything is prepared, you can move on to mixing and applying the repair compound.
Mix and tint the resin
To repair a cracked kitchen sink, one of the best methods is to mix and tint resin. By adding tint to the resin, you can match the color of your sink for a seamless repair. Before applying the epoxy resin, it’s important to clean the sink with acetone or rubbing alcohol.
This will ensure proper adhesion of the resin and a lasting repair. Mixing and tinting the resin allows you to not only fix hairline cracks in porcelain sinks effectively but also restore your sink’s appearance.
So, when repairing your cracked kitchen sink, don’t forget to mix and tint the resin for a professional-looking outcome!
Apply the resin to the crack
To repair a cracked kitchen sink, you can use epoxy resin. First, clean the crack with acetone or rubbing alcohol to get rid of any dirt or residue. Then, mix and tint the epoxy resin according to the manufacturer’s instructions.
Carefully apply the resin to the crack using a brush or spatula, making sure it fills in all the gaps. Smooth out the resin evenly so it blends with the rest of the sink surface. Allow it to dry completely before sanding down any rough edges for a smooth finish.
Remember: Clean the crack before applying epoxy resin and follow all instructions carefully for best results.
Smooth out the resin
To smooth out the resin when repairing a cracked kitchen sink, you will need to use sandpaper. Start by using a very fine (400 grit) sandpaper and gently sand the repaired area. Gradually move on to rougher sandpapers, such as 240 and 120 grit, until the surface feels smooth to the touch.
It’s important to let the resin dry completely before starting this process. By following these steps, you can achieve a nice and even finish on your repaired sink.
Allow it to dry
After applying the resin to the crack in your kitchen sink, it’s important to allow it to dry completely before moving on. This will ensure that the repair sets properly and creates a strong bond.
Be patient and give it enough time to dry according to the instructions provided with your repair kit. Once it’s fully dry, you can proceed with sanding and smoothing the repaired area for a seamless finish.
Allowing proper drying time is crucial for a successful repair job.
Sand and smooth the repaired area
After filling in the crack with a waterproof bonding material, it’s important to sand and smooth the repaired area. This step ensures that the repair blends seamlessly with the rest of the sink’s surface.
By using sandpaper or a sanding block, gently sand down any rough edges or excess resin until it is level with the surrounding surface. Then, use a fine-grit sandpaper to further smooth out the area.
The final result should be a repaired area that looks just like the rest of your sink!
Before and After: What to Expect from a Repaired Sink
When you repair a cracked sink, you can expect it to look much better than before. The crack will be filled and smoothed out, making the sink appear almost as good as new. If the repair is done properly, it should be hard to notice that there was ever a crack in the first place.
After the repair, your sink should function just as well as before without any leaks or other issues. So if you are wondering whether it’s worth repairing your cracked kitchen sink, rest assured that with the right techniques and materials, you can achieve great results!
DIY Tips for Preventing Cracks and Chips in Your Kitchen Sink
Taking care of your kitchen sink is important to prevent cracks and chips. Here are some DIY tips to help you keep your sink in good condition:
- Use a sink mat or cushioned rack to protect the bottom of your sink from heavy pots and pans.
- Avoid dropping sharp or heavy objects into the sink, as they can cause damage.
- Don’t pour boiling water directly into the sink, as extreme temperature changes can lead to cracks.
- Clean your sink regularly with a mild cleaner and avoid using abrasive scrubbers that could scratch the surface.
- Be mindful when handling glassware or ceramic dishes, as they can easily chip the edges of your sink.
- Install a garbage disposal system to prevent food scraps from clogging the drain and potentially damaging the sink.
Other Options for Repairing Cracked Sinks
If the DIY route is not your preference or if you have a more severe crack, there are alternative options available for repairing cracked sinks.
Waterproof bonding material
When your kitchen sink gets cracked, it’s important to repair it as soon as possible. One of the best options for repairing a cracked sink is using waterproof bonding material. This type of adhesive is designed to create a strong and durable bond that can withstand water exposure.
To fix the crack, you will need to fill it in with the bonding material and then sand and paint it to match the rest of the sink. This will not only restore the appearance of your sink but also prevent further damage from occurring.
So, if you have a cracked sink, consider using waterproof bonding material for a reliable and long-lasting repair solution.
Sink repair kit
A sink repair kit is a handy tool for fixing cracks and chips in your kitchen sink. These kits usually come with everything you need to make the repairs, including a waterproof bonding material or resin.
The process involves preparing the damaged area by sanding it down, mixing and tinting the resin, applying it to the crack, and smoothing it out. Once applied, you’ll need to let it dry before sanding and smoothing the repaired area.
It’s important to follow the instructions provided in the kit for best results. Using a sink repair kit can save you money on costly replacements and extend the lifespan of your sink.
Epoxy repair
Epoxy repair is a popular and reliable option for fixing cracked kitchen sinks, especially porcelain sinks. Epoxy putty can be used to fill in the crack and create a durable seal. The great thing about epoxy repair is that it can be sanded and painted, so you can match the color of your sink perfectly.
Just make sure to use epoxy specifically designed for sink repairs. The process involves applying resin to the crack, smoothing it out, allowing it to dry, and then sanding the repaired area.
With epoxy repair, you can restore your cracked sink back to its original function and appearance.
Professional Repair Services for Cracked Kitchen Sinks
If you have a cracked kitchen sink and don’t want to fix it yourself, you can hire professional repair services. These experts specialize in repairing all types of kitchen sinks, including composite materials like Corian countertops and ceramic sinks.
They have the necessary skills and tools to fix the cracks and make your sink look as good as new. Hiring professionals for this job ensures that the repairs are done properly, avoiding any further damage or issues with your sink.
When you hire professional repair services for your cracked kitchen sink, they will assess the extent of the damage and determine the best course of action. They may use specialized techniques such as waterproof bonding material, sink repair kits, or epoxy repairs depending on the type of sink material and severity of the crack.
These professionals have experience working with different types of sinks, so you can trust their expertise in providing high-quality repairs.
By hiring professionals for your cracked kitchen sink repair, you can save time and effort. Instead of attempting DIY repairs that may not last long or cause more damage, these experts will handle everything for you efficiently.
They will ensure that your repaired sink looks seamless without any visible signs of cracking or damage.
Remember that if your kitchen sink is beyond repair or if it has multiple cracks or severe damage, replacement may be necessary. Professional repair services can also help advise you on whether a replacement is needed based on their assessment.
Overall, professional repair services are a reliable option when it comes to fixing a cracked kitchen sink. With their expertise and knowledge in handling different types of sinks, they can provide efficient and effective solutions to get your sink back into top shape without hassle.
Frequently Asked Questions about Repairing Cracked Kitchen Sinks
I often get asked questions about fixing cracked kitchen sinks. Here are some of the most common ones:
- Can I repair a cracked sink myself??
- What materials do I need to fix a cracked sink??
- How long does it take for the repair to dry??
- Will the repaired area match the rest of the sink??
- Can I prevent cracks from happening in the future??
- Are there any other options besides DIY repairs??
- Should I hire a professional to fix my cracked sink??
Conclusion
In conclusion, a cracked kitchen sink can indeed be repaired. There are various options available, such as using a repair kit or filling the crack with a waterproof bonding material.
It’s important to assess the extent of the damage and choose the right method for repair. While a visible repair may be inevitable, your sink will still be functional and usable once it’s fixed.
By exploring these options and taking preventative measures, you can keep your kitchen sink in good condition for years to come.
FAQs
1. Can a cracked kitchen sink be repaired?
Yes, a cracked kitchen sink can be repaired depending on the severity of the crack and the material of the sink.
2. How can I repair a small crack in my kitchen sink?
A small crack in your kitchen sink can be repaired using epoxy or acrylic-based adhesive specially designed for sinks.
3. Is it possible to fix a large crack in my kitchen sink?
If you have a large crack in your kitchen sink, it may require professional repair or even replacement, depending on the extent of the damage.
4. What are my options if my kitchen sink cannot be repaired?
If your kitchen sink cannot be repaired, you have the option to replace it with a new one. There are various types and materials available to choose from.
5. Can I prevent cracks from forming in my kitchen sink?
To help prevent cracks from forming in your kitchen sink, avoid dropping heavy objects into it and use gentle cleaning agents that won’t damage the surface. Additionally, consider using protective mats or cushions when handling dishes and utensils inside the sink.


