Can Vinyl Kitchen Doors be Painted? A Step-by-Step Guide
Looking at worn-out vinyl kitchen doors can really put a damper on your culinary inspiration, right? I completely understand how you feel. While exploring possible and budget-friendly solutions, I came across the magic combination: thorough preparation and high-quality paint like Dulux Renovation range.
These two elements can bring your old vinyl surfaces back to their glory days! In this blog post, you’ll find an all-inclusive guide on painting those tired-looking vinyl kitchen doors into vibrant and inviting ones without emptying out your pockets.
Prepared for a DIY project that will totally revamp your kitchen? Let’s roll up our sleeves and get started!
Key Takeaways
- Vinyl kitchen doors can be painted to update the look of your cabinets.
- Proper preparation, including cleaning and sanding the surfaces, is crucial before painting vinyl kitchen doors.
- Choosing the right paint and primer specifically designed for vinyl surfaces is important for durable results.
- Following proper application techniques, such as applying thin and even coats of paint, will help achieve a professional finish.
Can Vinyl Kitchen Doors be Painted: Understanding Vinyl Wrapped Kitchen Cabinets
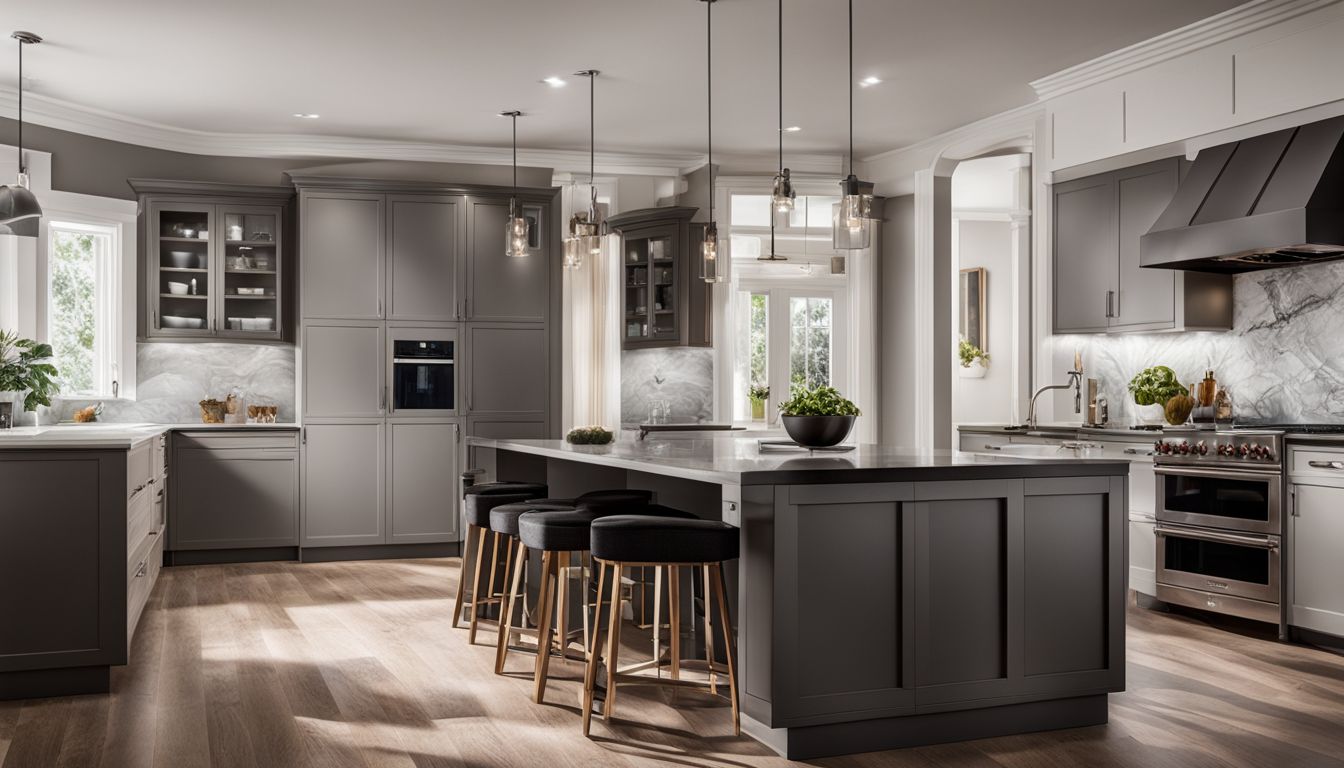
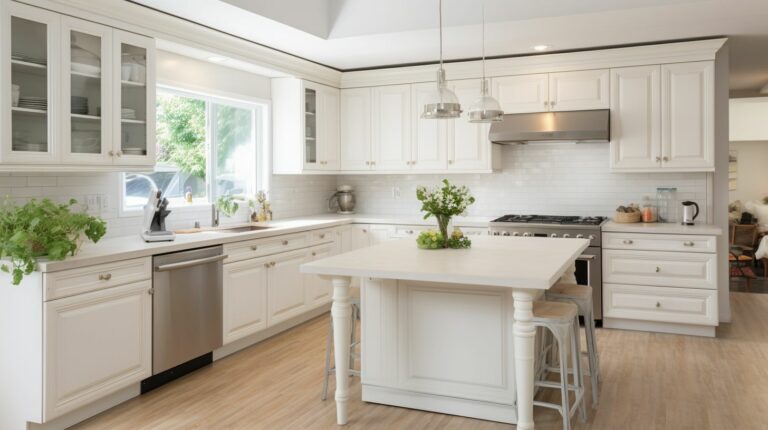
One reason people like these cabinets is that they are easy to clean. You can also paint them to change how your kitchen looks. To do this right, you need the correct paint type and tools.
Some people even take off the vinyl wrap to paint the MDF board underneath it all! But keep in mind: this is only an option, not always needed.
Preparing for Painting
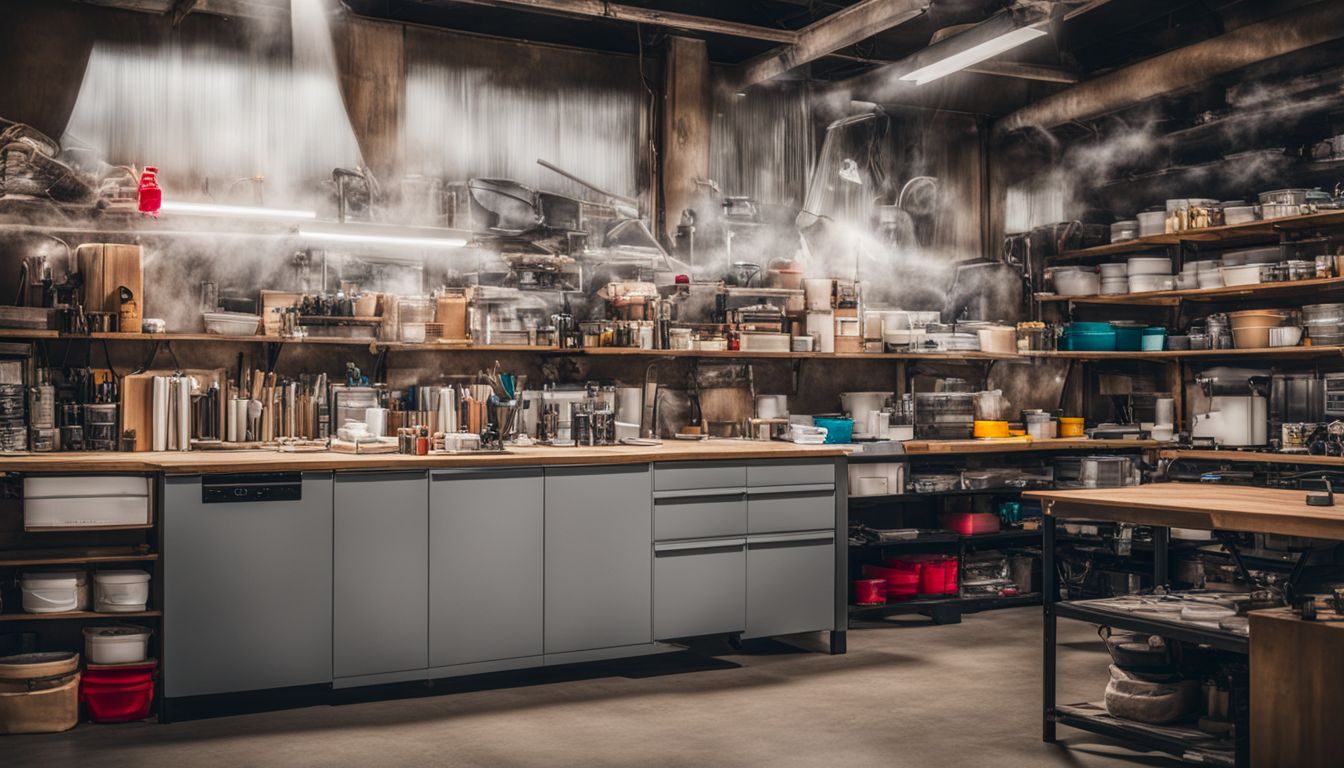
Before you can start painting your vinyl kitchen doors, it’s crucial to properly prepare the surfaces. This involves removing cabinet components, cleaning the cabinets thoroughly, and protecting your work area from any potential damage or mess.
Removing cabinet components
Here’s how I remove parts of my kitchen cabinets before painting.
- I start by pulling out the drawers.
- Next, I take off all doors from their hinges.
- After that, I remove all knobs, pulls, and other hardware.
- Then, to keep things organized, I label every piece and put them in separate bags.
Cleaning the cabinets
Cleaning the cabinets is a vital step in preparing for painting. Here are some tips to make it easier:
- Start with an empty cabinet. Take out all the items from inside.
- Wipe down the surfaces with a wet rag. This gets rid of dust and grime.
- Use a degreaser solution next. It helps take off oils and grease that are stuck on the cabinet.
- Don’t forget about the corners and gaps where dirt can hide.
- Once you’re done, give one more quick wipe with a dry rag.
Protecting work area
Ensuring that the work area is protected is an important step when preparing to paint vinyl kitchen doors. Here are some tips to safeguard the painting workspace:
- Clear the area: Remove any items that could potentially get in the way or be damaged during the painting process.
- Cover nearby surfaces: Use drop cloths or plastic sheets to protect countertops, floors, and other surfaces from paint splatters or spills.
- Tape off adjacent areas: Apply painter’s tape along edges and around fixtures to prevent accidental paint transfer onto surrounding surfaces.
- Ventilate the space: Open windows and use fans to ensure proper air circulation, especially if you’re using oil-based paint or working in a confined area.
- Wear protective clothing: Put on old clothes, gloves, and goggles to protect yourself from accidental paint drips or splatters.
- Use a dust sheet: Lay down a dust sheet underneath your workspace to catch any dust or debris that may fall during the painting process.
- Secure loose objects: If there are any loose cabinet components or hardware, make sure they are safely stored away to avoid damage or loss during painting.
Repairing Chips in Vinyl
To repair chips in the vinyl, start by applying putty to fill in any damaged areas. This step is crucial for achieving a smooth and flawless painted finish.
Applying putty
To repair chips in vinyl, you will need to apply putty. Here’s how:
- Start by cleaning the chipped area with a mild detergent and water.
- Dry the area thoroughly before applying the putty.
- Take a non – shrinking putty and scoop out a small amount with a putty knife.
- Apply the putty onto the chipped surface, using the knife to smooth it out evenly.
- Make sure to fill in any cracks or gaps completely.
- Let the putty dry according to the manufacturer’s instructions.
- Once dry, sand the repaired area gently to create a smooth surface.
- Wipe away any dust or debris from sanding before moving on to painting.
Sanding the Surfaces
To get the best results when painting vinyl or thermofoil kitchen cabinets, it’s important to sand the surfaces. Sanding helps create a rough texture on the doors, which makes it easier for the paint to stick.
It also helps remove any existing finish or imperfections on the surface.
I recommend using a 220 grit sandpaper for this step. The finer grit helps prevent damage to the thermofoil surface while still providing enough roughness for good paint adhesion. Remember to lightly sand the doors and focus on creating an even texture across all surfaces.
Sanding should be done outside or in a well-ventilated area to avoid creating a mess and damaging surrounding areas. Make sure to wipe away any dust or debris after sanding before moving on to priming and painting.
By properly sanding your vinyl kitchen cabinet doors, you’ll set yourself up for success in achieving smooth and durable painted finishes that will last for years to come!
Priming the Surfaces
Before painting vinyl kitchen doors, it’s important to prime the surfaces. This helps the paint adhere better and ensures a smooth finish. When priming laminate cabinets, including vinyl kitchen doors, it’s best to use a special bonding primer that is designed for these types of surfaces.
This type of primer helps create a strong bond between the paint and the laminate surface, ensuring long-lasting results. To prepare the surface for priming, lightly scuff it up using sandpaper or a sanding sponge.
This helps the primer stick better and promotes better adhesion. Once you’ve scuffed up the surface, clean it thoroughly with a solution like Krud Kutter to remove grease or dust that could affect how well the primer adheres.
By properly priming your vinyl kitchen doors, you’ll set yourself up for success when it comes time to apply the paint coat.
Vinyl coatings,
Laminate cabinets,
Bonding primer,
Scuffing up surface,
Adherence
Painting Process
To ensure a successful painting process, it is important to choose the right paint for your vinyl kitchen doors and apply it using proper techniques.
Choosing the right paint
When choosing paint for your kitchen cabinets, it’s important to consider a few factors. First, make sure you select a paint that is specifically designed for use on cabinets or other high-traffic areas.
This type of paint is more durable and will hold up better over time. Additionally, opt for a paint with a semi-gloss or satin finish, as these finishes are easier to clean and more resistant to moisture and grease.
Another important consideration is the color of the paint. Lighter colors tend to make a space feel larger and brighter, while darker colors can create a more dramatic look. Think about the overall style and color scheme of your kitchen when selecting the paint color.
Lastly, don’t forget about primer! Using a high-quality primer will help ensure that your paint adheres properly and provides long-lasting results. Look for a primer specifically formulated for use on laminate or vinyl surfaces.
Proper application techniques
To achieve the best results when painting vinyl kitchen doors, it’s important to follow proper application techniques. Here are some tips to help you get started:
- Clean the surface thoroughly before painting to remove any dirt or grease.
- Use a primer specifically designed for vinyl surfaces to ensure good adhesion of the paint.
- Apply the paint in thin and even coats, allowing each coat to dry completely before applying the next.
- Use a high – quality brush or roller to apply the paint, ensuring smooth and even coverage.
- Avoid overloading the brush or roller with paint, as this can lead to drips and uneven application.
- Follow the manufacturer’s instructions regarding drying times and recommended number of coats.
- If necessary, lightly sand between coats to ensure a smooth finish.
- Allow the final coat of paint to dry completely before reassembling the cabinets.
Reassembling the Cabinets
Once you have finished painting the cabinets, it’s time to reassemble them. Start by placing the doors and drawers back onto their respective frames. Make sure they are aligned properly and functioning smoothly.
Use any necessary hardware or screws to secure them in place.
Next, attach any additional accessories such as handles or knobs. Take your time to ensure that everything is positioned correctly and tightened securely.
Finally, double-check that all parts are working properly and nothing is loose or crooked. Give the cabinets a gentle wipe down to remove any dust or fingerprints from the reassembly process.
Remember, take your time when reassembling the cabinets to ensure everything is done correctly. Patience and attention to detail will result in beautiful-looking kitchen cabinets that will last for years to come.
Common Issues and Troubleshooting
During the painting process, you may encounter some common issues and troubleshooting that can affect the final result of your painted vinyl kitchen doors. These issues include peeling paint, blisters or bubbles, and uneven coverage.
Peeling paint
Peeling paint can be a common problem, and it can happen for different reasons. One reason is excess moisture, which can cause the paint to bubble up and peel off. Another reason is not properly preparing the surface before painting, like not cleaning or scraping away old paint properly.
Also, using latex paint on top of oil-based paint can make the new coat of paint peel off. To prevent peeling paint, it’s important to clean and prepare the surface well before painting.
Make sure to remove any loose or flaking paint, sand the surface if needed, and apply a primer before applying new paint. Taking these steps will help ensure that your painted vinyl kitchen doors look great and stay looking great for a long time.
Blisters or bubbles
I’ve seen it happen before – blisters or bubbles forming on painted front doors can be a real headache. This is a common issue that can occur even after the paint has dried. Blistering often happens with latex or acrylic paint, and it’s because of something called osmotic gradients associated with soluble factors.
But don’t worry, there are ways to fix this problem. You can either patch and fix the bubbles, or strip off the old paint and repaint the door altogether. Just keep in mind that choosing the right type of paint and applying it properly will help prevent blistering in the future too.
Uneven coverage
When painting vinyl kitchen doors, achieving even coverage can be a challenge. Uneven coverage can result in patchy or streaky-looking cabinets. To prevent this issue, it is important to properly prepare the surface before painting.
Start by sanding the doors to create a smooth surface for the paint to adhere to. Applying primer before painting will also help with adhesion and reduce the chances of peeling or chipping paint.
When choosing paint, opt for one specifically formulated for vinyl surfaces to ensure durability and an even finish. Applying multiple thin coats of paint will help you avoid drips and achieve consistent coverage across your cabinets.
Tips for Maintaining Painted Vinyl Cabinets
Regular cleaning is essential for maintaining the look of your painted vinyl cabinets. Avoid harsh chemicals and be sure to touch up any chips or scratches that may occur over time.
Regular cleaning
Regular cleaning is important for maintaining painted vinyl cabinets. Here are some tips to keep your cabinets looking their best:
- Clean your cabinets regularly with a soft damp cloth.
- Use a mild detergent or multi – purpose cleaner to remove fingerprints, spatters, and other marks from the surface.
- Avoid using harsh chemicals or abrasive cleaners that could damage the paint or finish.
- Gently wipe down the cabinets in the direction of the grain to avoid scratching the surface.
- Pay extra attention to areas near handles and knobs, as they can accumulate dirt and grease more quickly.
- For tougher stains or grime, you can use a solution of warm water and mild dish soap.
- Dry the cabinets thoroughly after cleaning to prevent moisture from seeping into the wood or causing damage.
Avoiding harsh chemicals
To keep your vinyl cabinets looking their best, it’s important to avoid using harsh chemicals that can damage the surface. Here are some tips for cleaning and maintaining your painted vinyl cabinets:
- Use gentle alternatives: Instead of using bleach or ammonia-based cleaners, opt for non-abrasive and chemical-free cleaning products that are safe for vinyl surfaces.
- Choose mild cleansers: Look for cleaners specifically designed for vinyl surfaces to ensure they won’t cause any harm.
- Follow manufacturer’s recommendations: Check the care instructions provided by the cabinet manufacturer to find out the best way to clean and maintain your vinyl cabinets.
- Regular cleaning: Wipe down your cabinets regularly with a soft cloth or sponge dampened with warm water and mild soap to remove dirt and grime.
- Avoid abrasive materials: Don’t use scouring pads or abrasive sponges as they can scratch the surface of your cabinets.
- Be gentle when scrubbing: When you need to scrub off stubborn stains, use a soft-bristled brush or toothbrush and gently scrub in a circular motion.
- Dry immediately after cleaning: After wiping down your cabinets, make sure to dry them thoroughly with a clean cloth to prevent any moisture from seeping into the vinyl.
Touching up chips or scratches.
If you have chips or scratches on your painted vinyl cabinets, don’t worry! It’s easy to touch them up and make your cabinets look good as new. Here are some helpful tips:
- Run your fingers lightly over the chips to feel the divot or indentation.
- Clean the area around the chip with a mild soap and water solution.
- Use a small paintbrush or toothpick to apply a matching paint or touch – up marker to fill in the chip or scratch.
- Gently feather out the paint or marker to blend it with the surrounding area.
- Let the touch – up paint dry completely before applying any sealant or topcoat.
Conclusion
In conclusion, painting vinyl kitchen doors is a great way to update the look of your cabinets. With the right technique and preparation, you can transform your outdated kitchen into a fresh and modern space.
Just remember to remove any components, clean the cabinets properly, and protect your work area. Repair any chips in the vinyl before sanding, priming, and applying the paint. By following these steps, you can achieve beautiful results and enjoy a new look for your kitchen without breaking the bank.
FAQs
1. Can I paint my vinyl kitchen doors?
Yes, you can paint your vinyl kitchen doors following a step-by-step guide.
2. What materials do I need to paint vinyl kitchen doors?
You will need primer, paint specifically designed for vinyl surfaces, painter’s tape, brushes or rollers, sandpaper (optional), and a clean cloth.
3. Do I need to prepare the surface before painting?
Yes, it is important to clean the doors thoroughly and lightly sand them for better adhesion of the paint.
4. How many coats of paint should I apply?
It is recommended to apply at least two coats of paint for an even and durable finish on your vinyl kitchen doors.
5. Should I seal the painted vinyl kitchen doors?
No, sealing is not necessary as long as you use high-quality paints formulated for vinyl surfaces.


