Creative Upcycling Ideas for Easy Crafts with Students
Looking for engaging, hands-on activities to keep your students creative and busy? You’ve probably heard about the trend of upcycling – essentially turning waste into valuable resources.
This blog is brimming with over 65 unique projects that transform commonplace household items into innovative crafts, encouraging sustainable practices while sparking creativity! Ready to inspire your students? Let’s dive right in!
Key Takeaways
- Upcycling is a fun and creative way to turn waste into valuable resources.
- There are over 65 unique upcycled craft ideas in this article that can be done with students using materials like toilet paper rolls, cardboard boxes, and egg cartons.
- These crafts not only promote creativity but also teach children about recycling and repurposing materials.
- From making a DIY toy car storage out of toilet paper rolls to creating a cardboard play kitchen or a colorful rainbow craft using egg cartons, there are endless possibilities for engaging and sustainable arts and crafts activities with your students.
Upcycled Crafts using Toilet Rolls
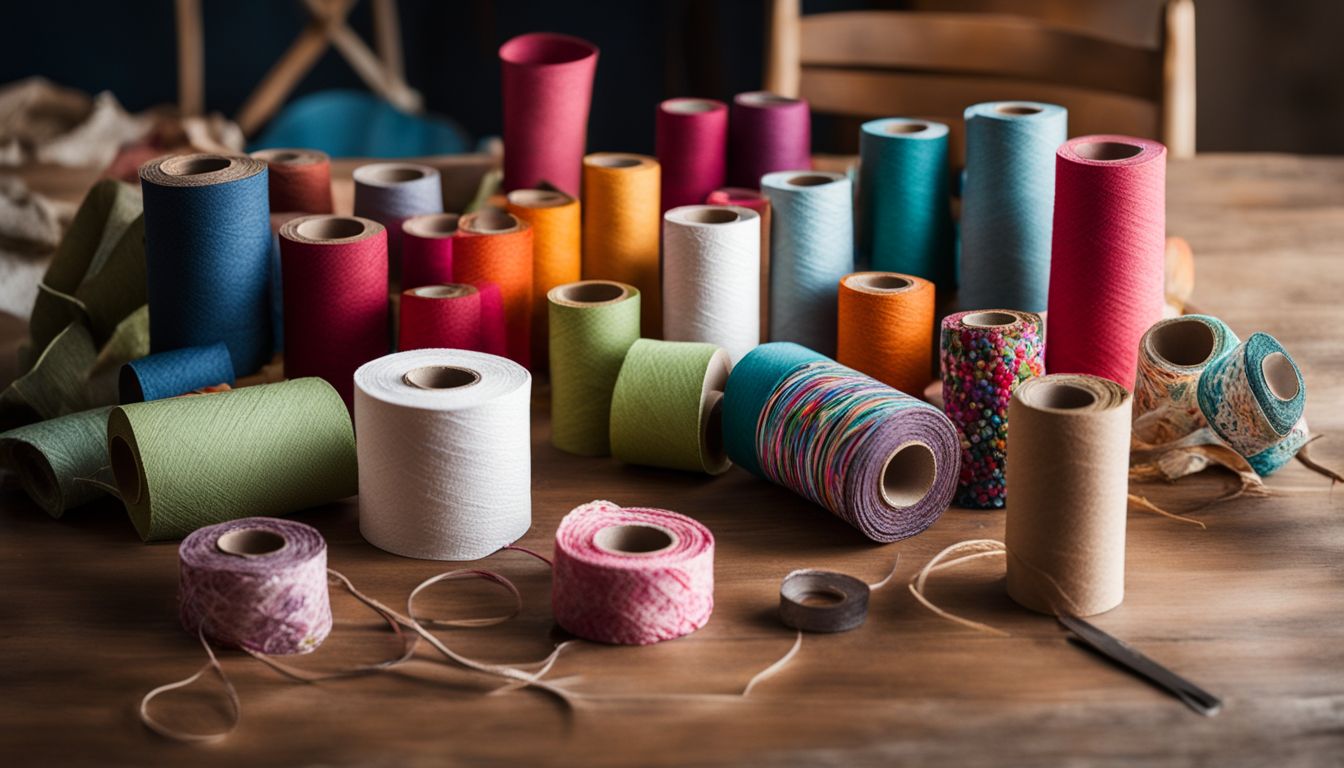
Create fun and creative crafts with students using toilet rolls such as a DIY Toy Car Storage – Cardboard Parking Garage, Dinosaur Toilet Paper Roll Craft, Toilet Paper Roll Binoculars, DIY Upcycled Toilet Paper Seedling Pots and Painted Stone Garden Markers, and Pirate Toilet Paper Roll Craft.
DIY Toy Car Storage – Cardboard Parking Garage
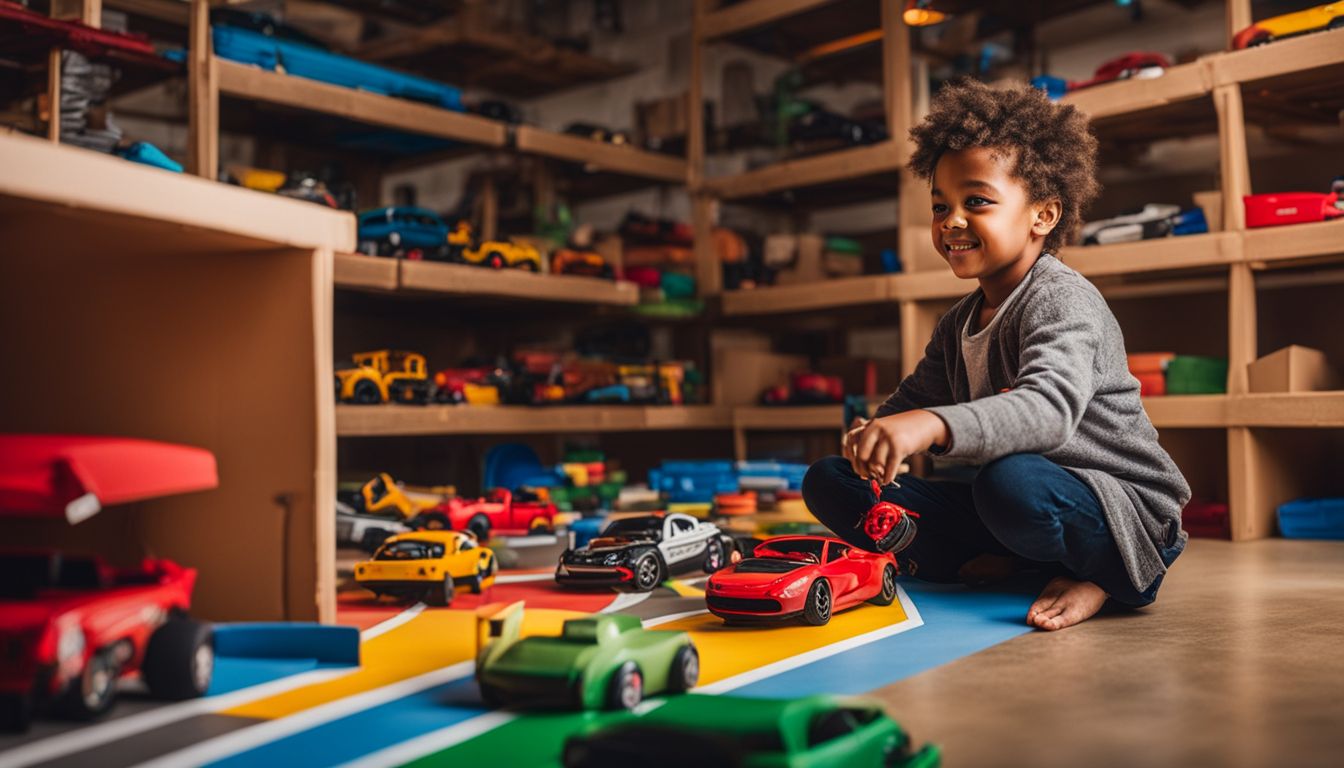
Start building a toy car storage with an empty toilet roll! This fun craft uses items you can find at home. Follow these steps:
- First, gather all the toy cars for sizing.
- Next, find a big cardboard box.
- Cut out slots in the box to fit the rolls.
- Then, slide the toilet rolls into the slot. Each roll will hold one car.
- Lastly, decorate it as a parking garage.
Dinosaur Toilet paper roll craft for kids
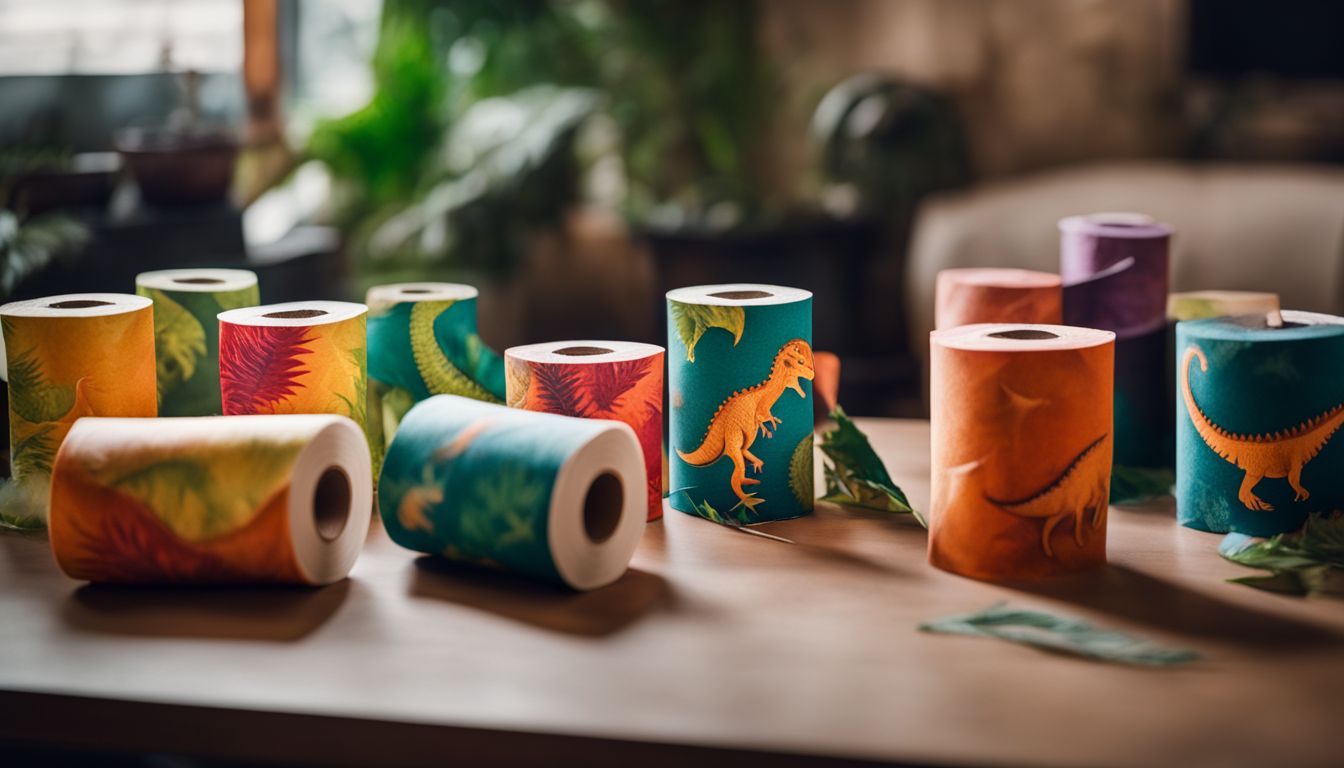
Looking for a fun craft activity for kids? Try making a dinosaur using toilet paper rolls! It’s easy and they’ll love it. Here are the steps:
- Gather your supplies: toilet paper roll, green paint, googly eyes, scissors, and glue.
- Paint the toilet paper roll green to resemble the dinosaur’s body. Let it dry.
- Cut out small triangular shapes from another piece of green paper to make the dinosaur’s spikes.
- Glue the spikes onto the back of the toilet paper roll.
- Attach two googly eyes to the front of the roll using glue or tape.
- Add any additional details you like, such as drawing on a mouth or using colored markers to decorate.
Toilet Paper Roll Binoculars with only Three Materials
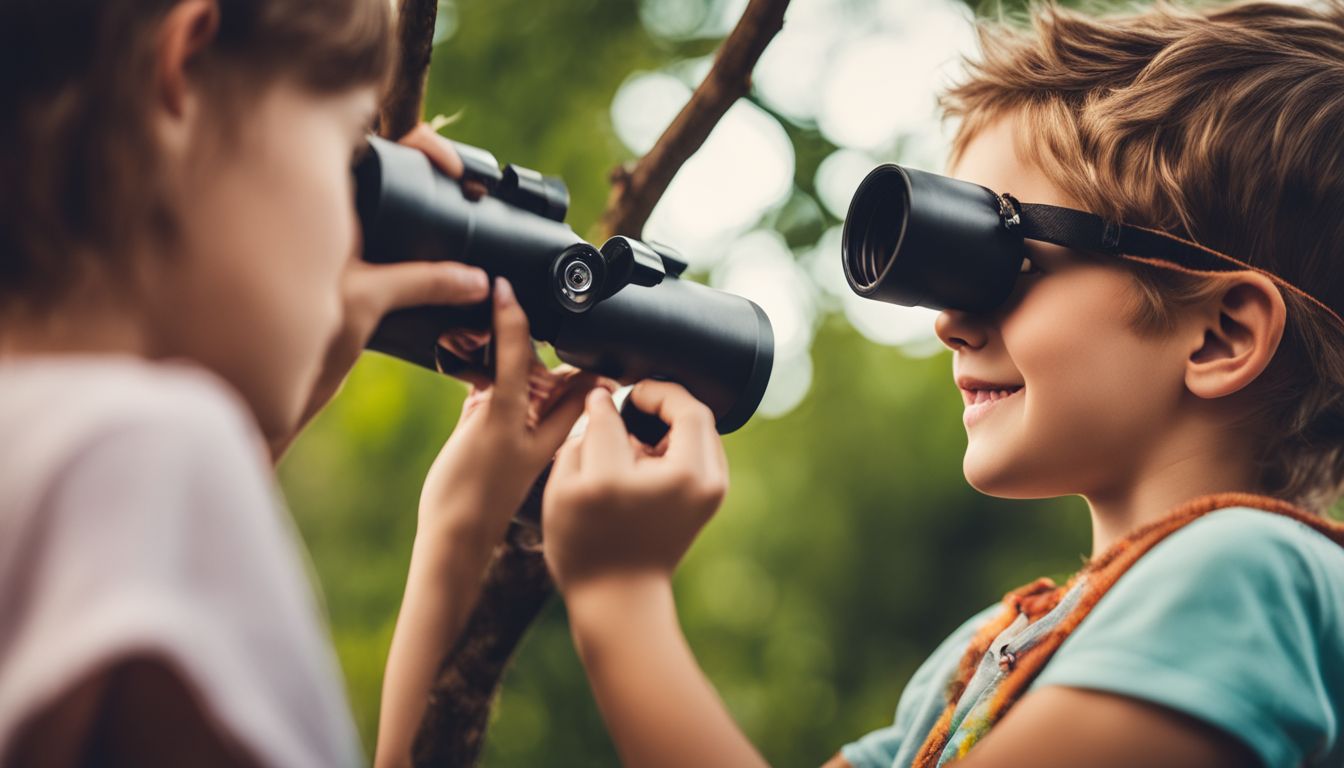
Toilet Paper Roll Binoculars are a fun craft that kids can make using just three materials. They can use toilet paper rolls, colored paper or markers, and string or yarn. These binoculars are easy to make and can be used for imaginative play or outdoor adventures. It’s a great way to repurpose toilet paper rolls and promote creativity in children.
DIY Upcycled Toilet Paper Seedling Pots and Painted Stone Garden Markers
Pirate Toilet Paper roll craft: A Fun Pirate themed craft for kids
Transform an ordinary toilet paper roll into a fun pirate-themed craft that kids will love. Here are some simple steps to create this project:
- Gather your materials: toilet paper rolls, construction paper (in colors such as black, red, and white), scissors, glue, markers or crayons.
- Cut a strip of construction paper that is about the same length as the toilet paper roll. This will be the pirate’s bandana.
- Next, cut out a small rectangle from the construction paper to create the pirate’s eye patch.
- Glue the strip of construction paper around one end of the toilet paper roll to create the bandana.
- Attach the eye patch by gluing it onto the opposite side of the bandana.
- Use markers or crayons to draw a face on the front of the toilet paper roll, adding details like an eye and a mouth.
- To complete your pirate craft, cut small shapes from construction paper to create a hat, a sword, and other accessories for your pirate.
Upcycled Cardboard Crafts
Create fun and functional crafts with your students using nothing but cardboard. Transform a single box into a cardboard train and rocketship, or build DIY bookshelves for their favorite stories.
Let them enjoy imaginative play with a homemade cardboard play kitchen or construct their very own dog kennel. The possibilities are endless when it comes to upcycling cardboard into unique creations.
How to Make a Cardboard Train & Rocketship from One Box
Making a cardboard train and rocketship from one box is easy. You can turn a regular cardboard box into both of these fun toys with just a few materials. Here’s what you need and the steps to follow:
- One large cardboard box
- Scissors
- Tape or glue
- Paint or markers (optional)
- Start with a large cardboard box that is big enough for your child to sit in comfortably.
- Decide which part of the box will be the train and which part will be the rocketship.
- Using scissors, carefully cut out openings for doors and windows on each side of the train and rocketship.
- Cut out a smaller opening at the top of the rocketship for your child’s head to poke through.
- Attach any additional pieces, such as wings or wheels, using tape or glue.
- If desired, decorate the train and rocketship with paint or markers to make them more colorful and unique.
- Let everything dry completely before letting your child play with their new cardboard creations.
DIY Cardboard Bookshelves (Make a Kid’s Bookcase!)
-e8956b60a6-926609121.jpg)
Make a kid’s bookcase using cardboard. Here are some easy steps to follow:
- Gather your materials:
- Cardboard boxes
- Scissors
- Duct tape or glue
- Ruler
- Measure and cut the cardboard into four equal – sized pieces for the sides and shelves of the bookshelf.
- Use duct tape or glue to attach the sides together, forming a rectangular shape.
- Attach the shelves by taping or gluing them onto the sides at your desired heights.
- Reinforce the corners and seams with additional tape or glue to make it sturdy.
- Decorate your bookshelf with paint, stickers, or wrapping paper to make it more appealing.
- Let it dry before placing books on the shelves.
- Enjoy your new DIY cardboard bookshelves!
How to make Cardboard Play kitchen – Absolutely Easy DIY
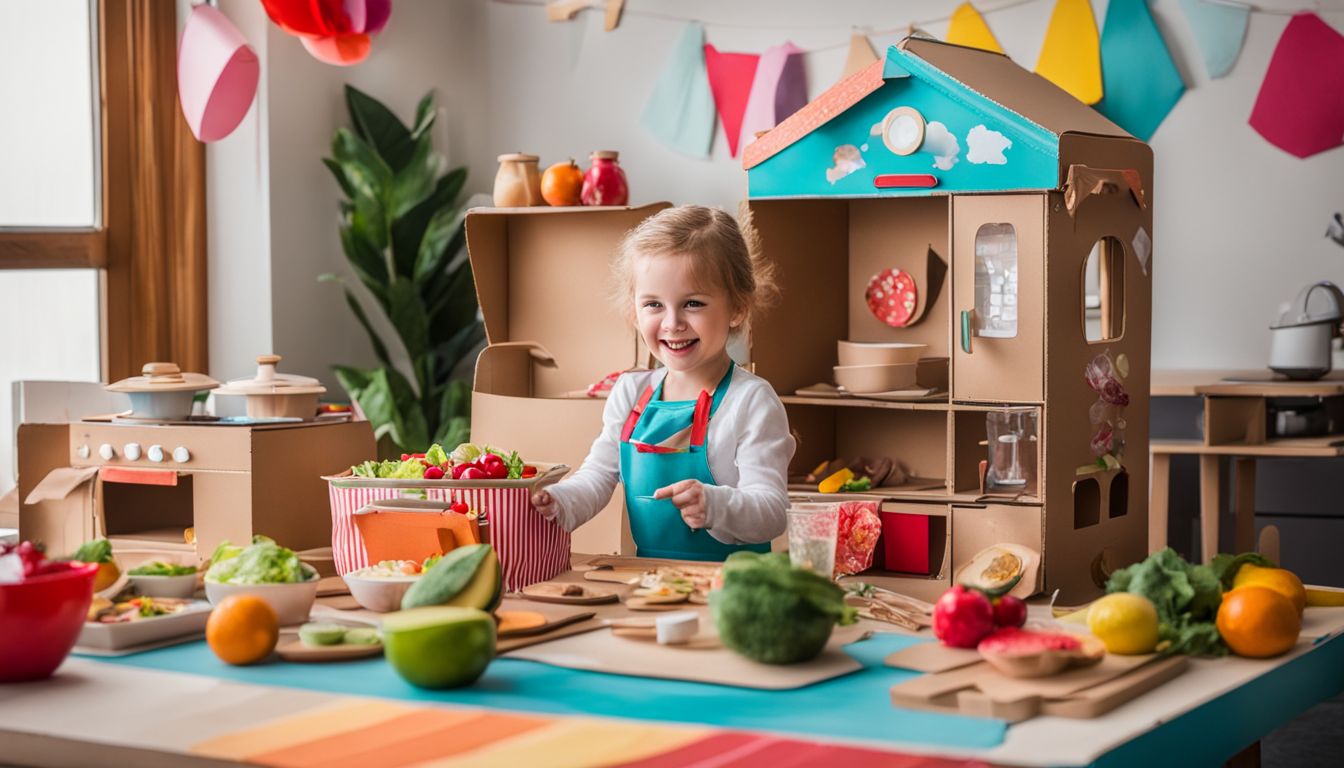
Want to create a cardboard play kitchen with your students? It’s a super easy and fun DIY project. Here’s what you’ll need:
- Cardboard box – Find a medium-sized box that can act as the main structure of the kitchen.
- Scissors – Use scissors to cut out openings for the oven, sink, and stove.
- Markers or paint – Decorate the cardboard with colorful markers or paint to make it look like a real kitchen.
- Old containers – Repurpose empty food containers to use as play pots, pans, and dishes.
- Utensils – Collect old utensils or make your own from cardboard or plastic.
- Start by cutting out openings for the oven, sink, and stove on the top surface of the cardboard box.
- Use markers or paint to add details like knobs and controls to make it look like a real kitchen.
- Attach old containers inside the oven and sink openings to act as pretend appliances.
- Place utensils and play food items in designated areas of the play kitchen.
DIY Cardboard Box Dog Kennel Craft

Make a cozy dog kennel out of a cardboard box. Here are the steps:
- Find a large cardboard box.
- Cut off one side of the box, leaving three sides and the bottom intact.
- Cut a small doorway near the bottom of one side for your dog to enter.
- Decorate the outside of the box with paint or markers to make it look like a mini house.
- Add some bedding inside the kennel for comfort, such as blankets or pillows.
- Place your dog’s toys and treats inside to make it inviting.
DIY Cardboard Treehouse
Want to build a fun and creative play space for your students? Try making a DIY Cardboard Treehouse! It’s easy and inexpensive. Here’s how:
- Find a sturdy cardboard box that is big enough to fit one or two children inside.
- Cut out windows and a door on one side of the box using safety scissors.
- Decorate the outside of the box with markers, paint, or colored paper to make it look like a real treehouse.
- Use additional cardboard pieces to create a roof, branches, and any other details you want to add.
- Secure everything in place with tape or glue.
- Let your students explore and play in their very own cardboard treehouse!
Upcycled Crafts using Egg Cartons
Create fun and colorful crafts with egg cartons that are perfect for kids. Make an Egg Carton Rainbow Craft by painting each individual section of the carton in different colors and assembling them in a rainbow shape.
Another idea is to make Ladybugs from a Recycled Egg Carton by cutting out ladybug shapes, painting them red, adding black spots, and attaching pipe cleaner antennae. Get creative and let your imagination run wild with these upcycled egg carton crafts!
Egg Carton Rainbow Craft for Kids
Create a colorful rainbow craft with kids using egg cartons. This project is simple and fun, and it helps teach children about recycling. Here’s how to make it:
- Cut out individual cups from an empty egg carton.
- Paint each cup in a different color of the rainbow – red, orange, yellow, green, blue, and purple.
- Once the paint is dry, arrange the cups in a curved line to create the shape of a rainbow.
- Glue or tape the cups together to secure them in place.
- Optional: Add cotton balls or other fluffy materials to create clouds at each end of the rainbow.
- Display your colorful creation on a wall or shelf.
EASY Egg Carton Art on Canvas (for Kids)
Upcycling can be a fun and creative activity for kids, and one easy craft idea is creating egg carton art on canvas. Here’s how you can do it:
- Cut out individual cups from an empty egg carton.
- Have the kids paint each cup in different colors using acrylic or tempera paint.
- Once the cups are dry, arrange them on a canvas in any pattern or design desired.
- Use a hot glue gun to attach the painted egg carton cups to the canvas.
- Let the artwork dry completely before displaying it.
How to Make Ladybugs from a Recycled Egg Carton
Turn your old egg cartons into adorable ladybugs with this fun and easy craft project. Here’s how:
- Cut out individual sections of the egg carton to create the ladybug bodies.
- Paint each section red or any other preferred color for the ladybug’s body.
- Once the paint is dry, use black paint to add spots on the ladybug’s body.
- Attach googly eyes or draw eyes using a marker on one end of the ladybug.
- Cut small pieces of pipe cleaners for antennae and glue them on top of the ladybug’s head.
- Finally, use black paint or marker to draw a smiley face on the ladybug.
Make Egg Carton Creatures
Create adorable creatures using egg cartons! These simple and fun crafts are a great way to reuse materials and spark creativity in students. With just a few supplies, you can transform these everyday items into cute and imaginative characters. Here are some ideas to get started:
- Caterpillar: Cut out a section of the egg carton and paint it green. Attach googly eyes and draw a smiley face. Decorate with pipe cleaners as antennae.
- Ladybug: Paint the egg carton section red. Add black spots using paint or markers. Glue on googly eyes and use pipe cleaners for antennae.
- Bee: Paint the egg carton section yellow. Attach wings made from paper or craft foam, as well as googly eyes. Use pipe cleaners for antennae.
- Butterfly: Cut out two sections of the egg carton and paint them in vibrant colors. Decorate with markers or paint, then attach googly eyes. Create wings by cutting out shapes from colored paper or fabric.
- Fish: Paint the egg carton section any color you like. Decorate with scales using markers or glitter glue. Add a tail made from colored paper or craft foam.
Upcycled Crafts with Old T-shirts
Transform your old t-shirts into stylish fashion accessories and unique wall art. Discover innovative ways to repurpose these shirts with step-by-step tutorials that are perfect for craft sessions with students.
Explore the endless possibilities of upcycling and get inspired to create something new from something old. Read more..
T-Shirt Yarn Wrapped Bangles: Upcycled Fashion Jewellery
Transform your old t-shirts into stylish bangles with this easy upcycling project. Here’s how:
- Cut the t – shirt into strips, about 1 inch wide.
- Wrap one strip tightly around a plain bangle or bracelet, securing it with a small drop of fabric glue at the beginning and end.
- Continue wrapping different colored strips of t-shirt yarn around the bangle until it is completely covered, alternating colors as desired.
- Secure the end of each strip with fabric glue before starting a new one.
- Repeat this process for as many bangles as you’d like to make, using different colors or patterns of t-shirt yarn for variety.
How to Make a No-Sew Braided Headband Tutorial
Making a braided headband is easy and doesn’t require any sewing. Here’s how you can do it:
- Gather your materials: You’ll need an old t-shirt or fabric scraps, scissors, and a ruler.
- Cut the fabric: Start by cutting three strips of fabric, each about 1 inch wide and 20 inches long.
- Tie the strips together: Knot one end of the fabric strips together to secure them.
- Start braiding: Take the left strip and cross it over the middle strip. Then, take the right strip and cross it over the new middle strip.
- Continue braiding: Keep crossing the left and right strips over the middle strip until you reach the end of the fabric.
- Secure the ends: Once you’ve finished braiding, tie another knot at the end of the fabric to hold everything in place.
- Try on your headband: Wrap the braided fabric around your head to see if it fits comfortably. Adjust as needed.
- Finish off your headband: To hide any rough edges or knots, tuck them under or trim them neatly.
An Easy Repurpose of a T-shirt into Wall Art
Transform old t-shirts into wall art with this easy craft idea:
- Cut the t – shirt into squares or rectangles of various sizes.
- Arrange the pieces on a canvas or wooden board to create a desired design.
- Use craft glue or a hot glue gun to secure the fabric pieces in place.
- Optional: Add additional embellishments like buttons, beads, or fabric paint for extra flair.
- Allow the glue to dry completely before hanging the artwork on the wall.
Upcycled Crafts from Plastic Bottles
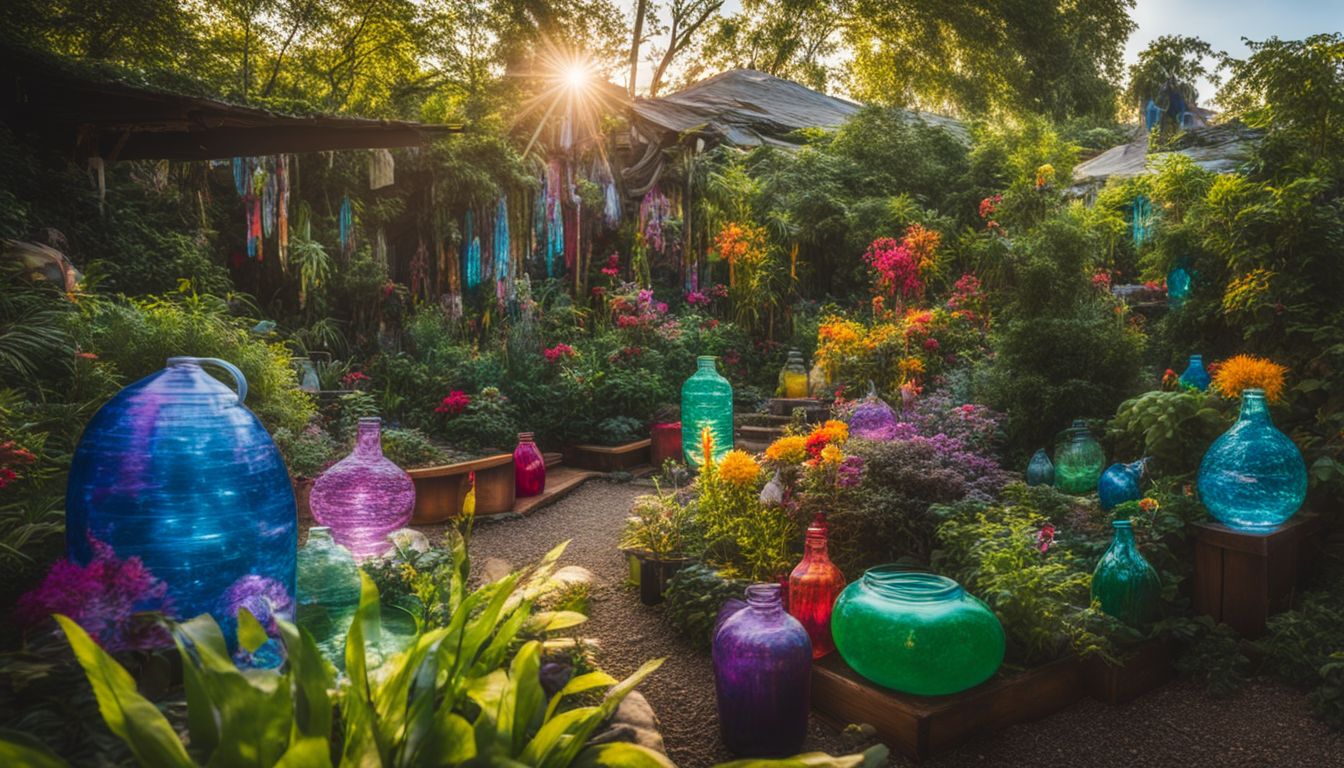
Transform plastic bottles into fun and eco-friendly crafts with these creative ideas.
Upcycling Plastic Bottles into Mickey Mouse Flower Pots
Transform plastic bottles into adorable Mickey Mouse flower pots with these easy steps:
- Cut the top off a plastic bottle to create the base for your flower pot.
- Paint the bottle with black paint and let it dry completely.
- Use white paint to add Mickey’s iconic ears on opposite sides of the bottle.
- Paint a red bowtie below Mickey’s ears.
- Fill the bottom of the bottle with soil and plant your favorite flowers or herbs.
- Place your Mickey Mouse flower pot in a sunny spot and watch your plants grow!
Make Recycled Plastic Water Bottle Sun Catchers
Recycled plastic water bottle sun catchers are a fun and eco-friendly craft idea for all students. Here are some key facts about this project:
- Recycled plastic water bottle sun catchers are a great way to repurpose and reuse materials.
- This craft is easy to make and can be done with simple materials that are already available.
- Students can develop their creativity by designing unique patterns and colors for their sun catchers.
- Making these sun catchers encourages students to think about sustainability and the importance of recycling.
- By hanging these colorful creations near windows, students can enjoy the beautiful sunlight shining through their artwork.
Upcycled Unicorn Planter
The Upcycled Unicorn Planter is a fun and easy craft project for kids. It can be made using materials that you already have at home. Here are the steps to make it:
- Take an empty plastic bottle and remove the label.
- Cut off the top part of the bottle, leaving about 4 inches from the bottom.
- Paint the bottle in bright colors, like pink or purple, to create the unicorn’s body.
- Cut out two ear shapes from colored paper or cardboard and attach them to the top of the bottle.
- Use googly eyes or draw eyes with markers to give your unicorn a face.
- Draw and cut out a horn shape from gold or silver paper, then glue it to the top of the bottle between the ears.
- Fill the bottom of the bottle with soil and plant a small succulent or flower inside.
- Your upcycled unicorn planter is ready! Place it in a sunny spot and remember to water your plant regularly.
DIY Soda Bottle Kitty Cat Planters
Make adorable kitty cat planters by upcycling empty soda bottles. It’s a fun and eco-friendly craft project for kids. Here’s how you can do it:
- Gather your materials: empty soda bottles, acrylic paint (in different colors), paintbrushes, scissors, and potting soil.
- Clean and dry the soda bottles thoroughly.
- Use scissors to cut off the top part of the bottle where it starts to narrow.
- Paint the bottom part of the bottle with white acrylic paint to create the base coat.
- Once the white paint is dry, use black paint to draw on the cat’s face – eyes, whiskers, and a cute little nose.
- Get creative with colors! Use different shades of acrylic paint to add details like stripes or spots to make each kitty cat unique.
- Let the paint dry completely before moving on to the next step.
- Fill the bottom part of each bottle with potting soil, leaving enough space at the top for your plants.
- Choose small plants or succulents that will fit nicely in the planter and transfer them into your soda bottle kitty cat planter.
- Place your new planters in a sunny spot and remember to water them regularly.
Plastic Bottle Butterflies Recycled Art
Plastic Bottle Butterflies Recycled Art:
- Create colorful butterflies by cutting plastic bottles into butterfly shapes.
- Use acrylic paints to paint the bottle pieces in vibrant colors.
- Add details to the butterflies using markers or colored pencils.
- Attach pipe cleaners as antennae, and glue googly eyes for a finishing touch.
- Hang the plastic bottle butterflies from strings or display them on walls for a unique recycled art piece.
Conclusion

In conclusion, these creative upcycling ideas provide a fun and eco-friendly way for students to engage in crafts and activities. By repurposing and reusing materials from the recycling bin, students can create unique art projects while also learning about sustainability.
These easy and innovative craft ideas are perfect for classroom activities or for parents looking to enjoy DIY projects with their children. So grab some recycled materials and get ready to transform waste into beautiful artwork!
FAQs
1. What is upcycling?
Upcycling is the process of transforming old or discarded items into something new and useful, often giving them a creative twist.
2. Can students easily do upcycling crafts?
Yes, upcycling crafts can be easy for students as they involve using simple materials like bottles, cans, or cardboard, and are designed to encourage creativity and imagination.
3. How can I find creative upcycling ideas for crafts with students?
You can find creative upcycling ideas for crafts with students by searching online platforms, such as craft blogs or Pinterest boards dedicated to DIY projects using recycled materials.
4. What are the benefits of doing upcycling crafts with students?
Doing upcycling crafts with students not only teaches them about sustainability but also encourages problem-solving skills, resourcefulness, and innovation while fostering a sense of accomplishment and pride in their creations.


