Easy DIY Latte Art: How To Make Latte Art At Home Without A Machine!
Who hasn’t dreamt of twirling their own barista-style latte complete with impressive art, but felt held back by not owning an espresso machine? You’re definitely in good company. Trust me, I’ve navigated through the same path and discovered that you can indeed create stunning latte art at home without pricey equipment.
We’ll dive deep into the enchanting world of homemade latte art, and learn how to make coffee art without a machine – from exploring milk frothing techniques to mastering the pour using plain old kitchen items that are probably already within your reach.
Are you ready to learn how to make latte art without a machine and surprise your friends with some dazzling barista skillset? Let’s get started!
Key Takeaways
- You can make impressive latte art at home without an expensive espresso machine.
- There are various methods to froth milk without a machine, such as shaking in a jar or using a whisk, electric mixer, frothing wand, blender, immersion blender, pump frother, or French press.
- Choose the right type of milk for your latte art and consider factors like whole milk for creaminess and cold temperature for better foam.
- Heating your milk properly is important to achieve the creamy texture needed for latte art. Use an espresso machine with a steam wand or a French press if you don’t have one.
How To Make Latte Art At Home Without a machine
What is Latte Art and Why Do People Love it?
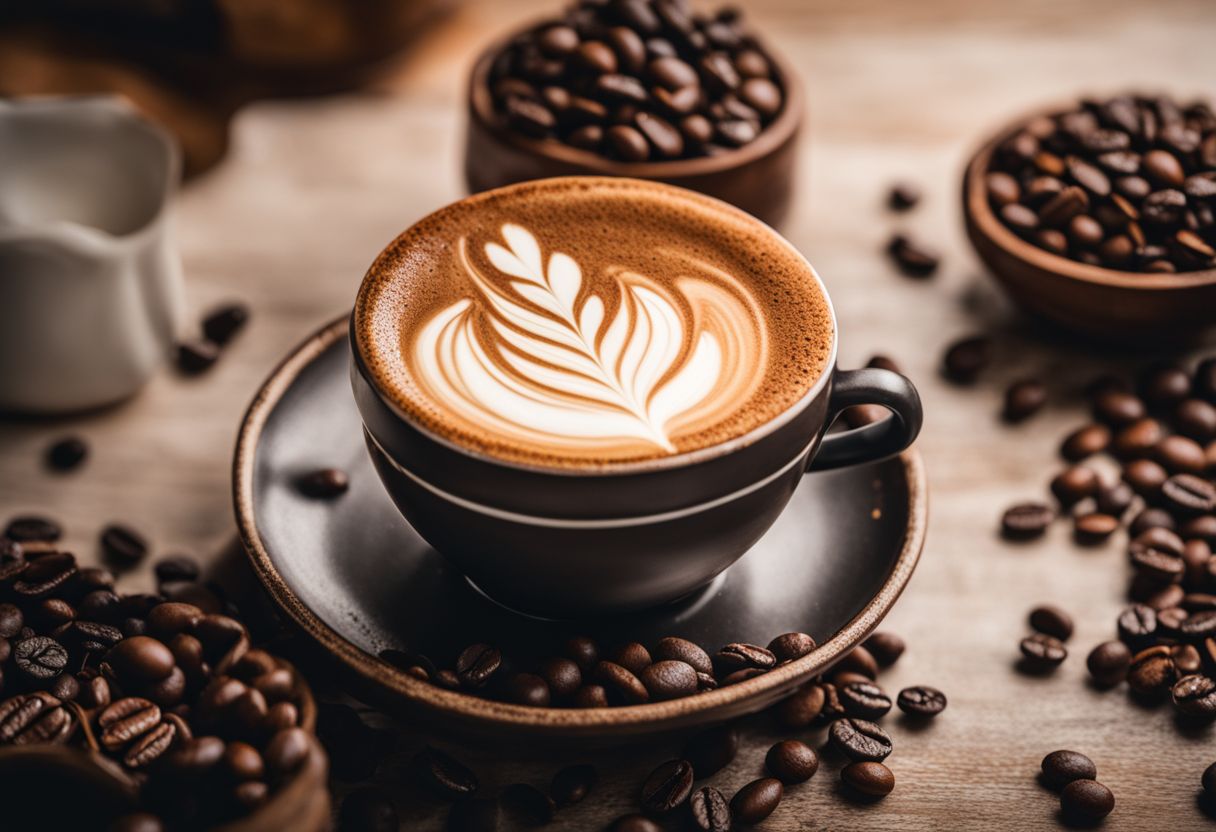
Latte Art is a special type of design. It’s made by pouring froth into espresso. This creates cute shapes on the coffee’s top layer. There are many designs one could make, from easy ones to hard ones.
People enjoy Latte Art for lots of reasons. It makes their coffee look good and fun to drink. Some people see it as art they can show off to others. Everyone likes a nice looking drink! Plus, making coffee Art is a great skill to have if you love coffee like I do!
How to Froth Milk Without an Espresso Machine
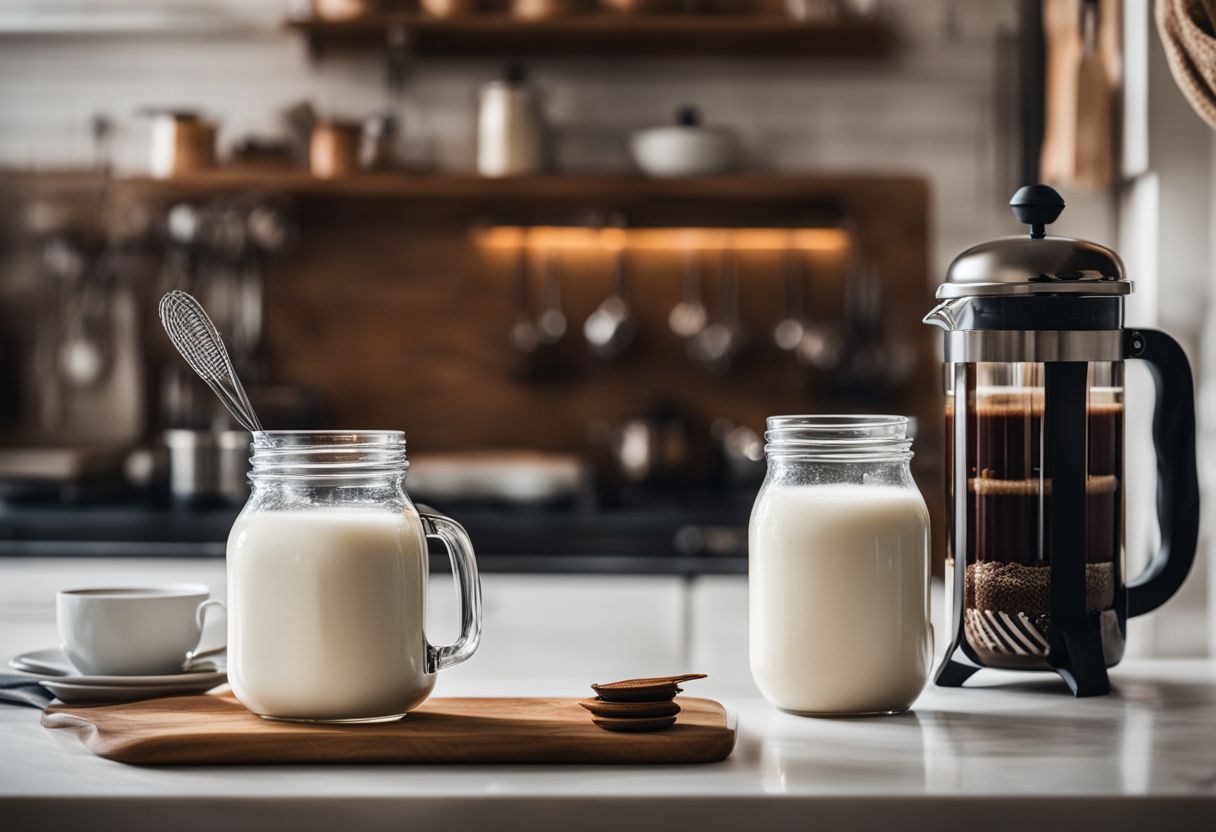
When it comes to learning how to make latte art at home without a machine, there are several methods you can use to froth milk without the need for an espresso machine, including shaking in a jar, whisking by hand, using an electric mixer or frothing wand, blending with a blender or immersion blender, using a pump frother, and even utilizing a French press.
Shaking in a jar
To froth milk without a machine, I often use the jar shaking method. A nice, tall jar is all you need! I start with cold milk. The cold milk can give us the best foam. I pour it in the jar and screw on the lid tight.
Then comes the exciting part, shaking! Shake that jar up and down real fast for about one minute or so. A lot of foam will form inside when done right. Take care to use low-fat or fat-free milk if you like more foam in your latte art.
If you prefer richer taste, go for higher-fat milk types instead as they create less but creamier foam when shaken in a jar.
Whisking by hand
You can also make frothed milk by whisking it by hand! This is a great way to get that foamy milk you want for your latte art. Just grab a large bowl and pour in some warm milk. Then, take a hand whisk and start moving it back and forth as fast as you can in the milk.
Keep going until your milk has lots of tiny bubbles on top. That’s how you know your homemade frothy milk is ready. This hand frothing technique makes for fun DIY milk frothing without needing any machines! So, even without an espresso machine, creating froth using just a whisk isn’t too hard at all.
Electric mixer
An electric mixer can be a handy tool for frothing milk without an espresso machine. It’s a convenient alternative method for creating that foamy goodness you need for your latte art.
With an electric mixer, you don’t have to worry about the steam wand or milk frother that usually comes with an espresso machine. Instead, you can use the electric mixer to prepare perfectly frothed milk right at home.
Whether it’s for a morning cup of coffee or your own creative latte art, the electric mixer is there to help you achieve that creamy and delicious foam. So go ahead and grab your electric mixer – it’s time to get creative with your milk frothing skills!
Frothing wand
One great option for frothing milk without an espresso machine is to use a frothing wand. This handy tool is similar to what professional baristas use and can be easily purchased online or at kitchen supply stores.
To froth the milk, simply immerse the wand in warm milk and turn it on. The wand will create a swirl of frothed milk, giving you that perfect texture for latte art. It’s a simple and effective way to achieve cafe-quality results right at home! So why not give it a try and impress your friends with your latte art skills?.
Blender
Using a blender is a great alternative method for frothing milk if you don’t have an espresso machine. To froth the milk with a blender, simply pour the desired amount of cold milk into the blender and blend it on high speed until it becomes frothy.
The blending process creates foam with small bubbles, which is perfect for making latte art at home. This technique gives you smooth and creamy milk that can enhance your homemade lattes and make them look extra fancy.
So, if you don’t have an espresso machine, give the blender method a try!
Immersion blender
Using an immersion blender is a popular method for frothing milk without an espresso machine. It’s easy to do – just heat the milk, immerse the blender in the milk, and blend until it becomes frothy.
The immersion blender quickly incorporates air into the milk, creating that creamy foam texture you want for your homemade coffee latte. It’s a convenient kitchen appliance that can help you achieve barista skills right at home, giving you a coffee shop alternative without having to invest in expensive equipment.
So grab your immersion blender and get ready to enjoy a delicious cup of frothed milk goodness!
Pump frother
Using a pump frother is one way to froth milk without an espresso machine. It’s a device that creates foam by pumping air into the milk. Pump frothers are great for making foamy, frothy milk for your favorite espresso drinks like lattes, cappuccinos, and macchiatos.
Simply pour cold milk into the frother, pump the plunger up and down a few times, and you’ll have beautifully textured milk ready to pour over your coffee. It’s a convenient option for those who don’t have access to other methods of frothing or prefer a dedicated tool for their latte art creations.
French press
For those without an espresso machine, the French press can be a handy tool for frothing milk. However, it’s important to note that this method creates froth with large bubbles, which may not be ideal for latte art.
To use a French press for frothing, fill it halfway with milk and pump the plunger repeatedly until you achieve the desired frothiness. If you want your milk to be hot, you can microwave it for about 20 seconds after frothing.
Keep in mind that using a French press requires some effort as you’ll need to pump the plunger multiple times. Nevertheless, this method can still produce a creamy foam that is almost as good as using a dedicated frother.
Tips for Choosing the Right Milk
When choosing milk for making latte art, it’s important to consider a few factors. Here are some tips to help you choose the right milk:.
1. Whole milk: Opt for whole milk when making lattes and cappuccinos. It has the ideal balance of fats, proteins, sugar, and water, which helps create a creamy texture.
2. Temperature: Choose cold milk that is around 1˚C or 34˚F. Cold milk froths better and allows you to control the temperature during the frothing process.
3. Foam quality: Look for milk that produces fine foam with small bubbles. The quality of the foam plays a significant role in creating intricate latte art designs.
4. Texture preference: Consider your personal taste preferences when selecting milk for latte art. Some individuals prefer creamier textures, while others like less frothy options.
That’s it! These tips will help you choose the right type of milk for creating beautiful latte art designs at home without needing a machine.
The Importance of Heating Your Milk
Heating your milk is a crucial step when making latte art at home without a machine. It helps to create the creamy and velvety texture that you need for your latte art designs. When you heat the milk, it undergoes a process called steaming, which involves creating foam and increasing the temperature of the milk simultaneously.
This combination of foam and heat gives your milk that smooth and frothy consistency that is perfect for pouring into your espresso shot.
To achieve this, you can use an espresso machine with a steam wand or even a French press if you don’t have an espresso machine. The key is to make sure that the milk reaches the right temperature before pouring it into your cup of espresso.
By heating your milk properly, you are able to enjoy not only the visual appeal of latte art but also its delicious taste. So don’t forget this important step in creating latte art at home!
Preparing Your Espresso Shot
To make a great espresso shot, follow these steps:
1. Grind fresh coffee beans to a fine consistency.
2. Add the ground coffee to your espresso machine’s portafilter and level it off.
3. Tamp the coffee grounds evenly with the right amount of pressure.
4. Lock the portafilter into place in the espresso machine.
5. Start brewing your espresso shot, aiming for a total extraction time of around 25 to 30 seconds.
6. Watch for a thick layer of crema on top of the espresso as it brews.
That’s it! With these simple steps, you’ll have a delicious and flavorful espresso shot ready to use for latte art.
Choosing the Right Tools
When it comes to making latte art at home without a machine, choosing the right tools is key. A mason jar or any reusable pasta/jam jars can work as a makeshift frother, while a handheld milk frother can also be effective in creating that perfect foam for your latte art.
Mason jar (or any reusable pasta/jam jars)
I love using Mason jars or any reusable pasta/jam jars when making latte art at home. These versatile containers are not just for storing food, they can also be great tools in the kitchen.
The durable glass material of these jars makes them perfect for frothing milk. Whether you’re shaking the jar vigorously or using a handheld milk frother inside, the tight seal of the jar ensures that your milk stays put and doesn’t spill while you create beautiful latte art.
Plus, using these jars is an eco-friendly choice since they are reusable and help reduce waste. So next time you want to make latte art without a machine, reach for a Mason jar or any other reusable jar you have on hand!
Handheld milk frother
A handheld milk frother is a small device used to make thick and frothy milk for latte art. It’s not used directly to create the art itself, but rather to whip up the milk into a creamy texture.
When choosing a milk frother, it’s important to consider its frothing capabilities and how easy it is to use. There are different types of milk frothers available, such as manual ones that you operate by hand or countertop models that require less effort.
Remember, you’ll also need other tools in addition to a milk frother to make latte art at home.
Mastering the Pour
Mastering the pour in latte art is all about practice and technique. Here are some tips to help you pour beautiful designs:.
1. Start with a steady hand and a controlled pour.
2. Begin by pouring the milk into the center of the cup from a height of about an inch.
3. As the cup fills, move your wrist slightly side to side or back and forth to create desired patterns.
4. Experiment with different pouring speeds and angles for different effects.
5. Use contrast between dark espresso and lighter milk foam to create more defined designs.
6. Try creating common latte art patterns such as hearts, tulips, or rosettas using simple motions.
7. Once you are comfortable with basic designs, try more advanced techniques like layering colors or combining multiple patterns.
Remember, practice makes perfect when it comes to mastering latte art. Keep experimenting, learning new techniques, and refining your skills. With time and patience, you will be able to create stunning designs in your own homemade lattes.
Additional Menu Options for Latte Art
I love experimenting with different designs for my latte art. Here are some additional menu options that you can try:
- Caramel Drizzle: Add a drizzle of caramel sauce on top of your latte for a sweet and decorative touch.
- Cocoa Powder: Dust some cocoa powder over your latte to create beautiful patterns or write messages.
- Matcha Powder: Sprinkle matcha powder on your latte to add a vibrant green color and earthy flavor.
- Colored Sprinkles: Decorate your latte with colorful sprinkles to make it fun and festive.
- Nutmeg or Cinnamon: Sprinkle nutmeg or cinnamon on top of your latte for a warm and aromatic touch.
- Edible Flowers: Place edible flowers on your latte for an elegant and visually appealing presentation.
- Chocolate Syrup Art: Use chocolate syrup to draw intricate designs or shapes on the surface of your latte.
Conclusion
In conclusion, making latte art at home without a machine is easier than you might think. By using simple techniques and everyday kitchen tools like a French press or a jar, you can froth your milk and create beautiful designs on your coffee.
With a little practice and the right ingredients, you’ll be able to impress yourself and others with your homemade latte art skills. So why not give it a try and enjoy a barista-worthy experience from the comfort of your own home?.
FAQs
1. Can I make latte art at home without a machine?
Yes, you can make latte art at home without a machine using simple tools like a handheld milk frother or whisk.
2. What kind of milk should I use for making latte art?
For making latte art, it is recommended to use whole milk as it produces the best texture and consistency for creating intricate designs.
3. How do I froth milk without a machine?
To froth milk without a machine, heat the desired amount of milk in a saucepan until steaming, then vigorously whisk it back and forth until it becomes foamy and creates microbubbles.
4. Are there any alternative methods to create latte art at home?
Yes, if you don’t have access to a handheld milk frother or whisk, you can achieve basic patterns by pouring hot steamed milk carefully over your coffee in various patterns such as hearts or simple swirls.
5. What techniques can I use to create different shapes in my latte art?
To create different shapes in your latte art, you can try using techniques like free pour (pouring the steamed milk directly into the coffee), etching (using tools like toothpicks or skewers to draw designs on the foam), or stenciling (placing stencils over your coffee’s surface and dusting cocoa powder on top).


